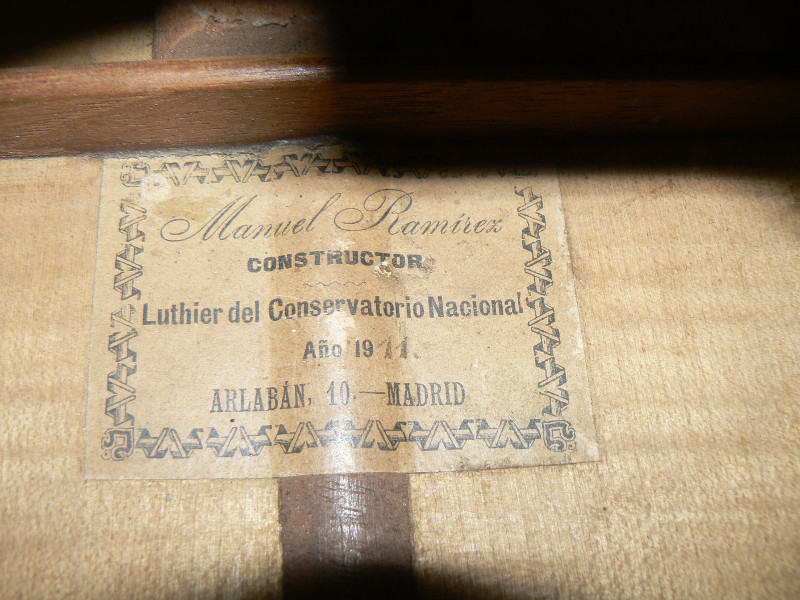
I was recently asked to restore a Manuel Ramirez from 1911 that had once belonged to Francisco Calleja. This guitar has a long and lively history of concerts and accidents, restorations and modifications. Here you can find more information, in Spanish, about this guitar. Some time between 1955 and 1966 the Banchetti brothers modified the guitars from a 7-string to a 6-string and there were extensive repairs made later by Hilario Barrera between 1966 and 1968.
My first task was to decide with the owner Carlos Blanco if we should undertake a complete restoration (and surely change the sound) or rather limit ourselves to what was necessary for the conservation and playability of the guitar. Often what is so appreciated in older instruments is the sound that comes with age, so we decided that we didn’t want to change that. There is something to be said for architectural renewal of an instrument and giving it new acoustic life but the sound does change often for the better but it does change.. One reason that we decided not to do that is that it had already been done in one of the repairs that it had undergone and the result was not what I am sure they had hoped for. Most of the bracing on the top was “new” and this new bracing had failed to support the doming fo the top. 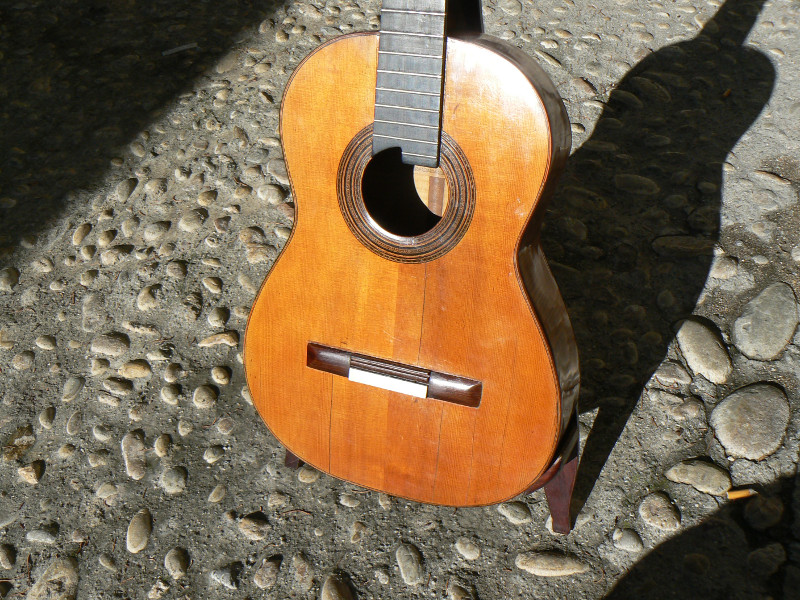
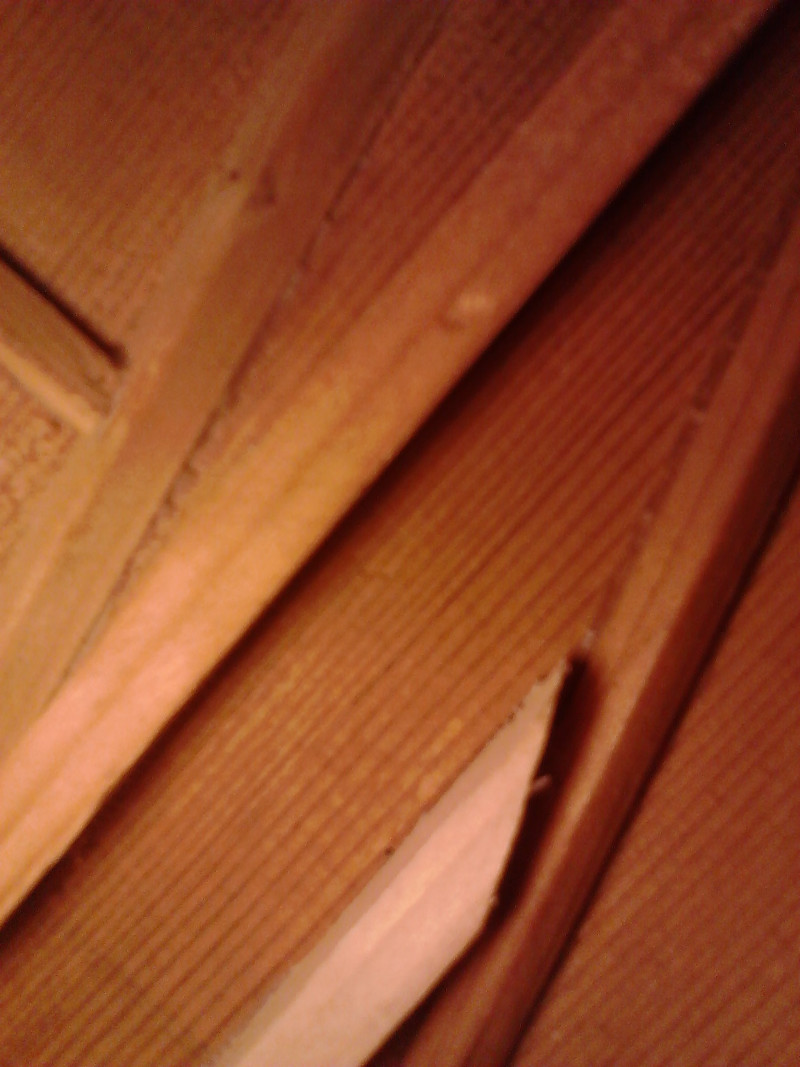
Although I had to change the machine heads, file the fret ends and stop the bridge from coming up the most critical part of this job was to repair a new crack in the soundboard and to immobilize some old loose bits.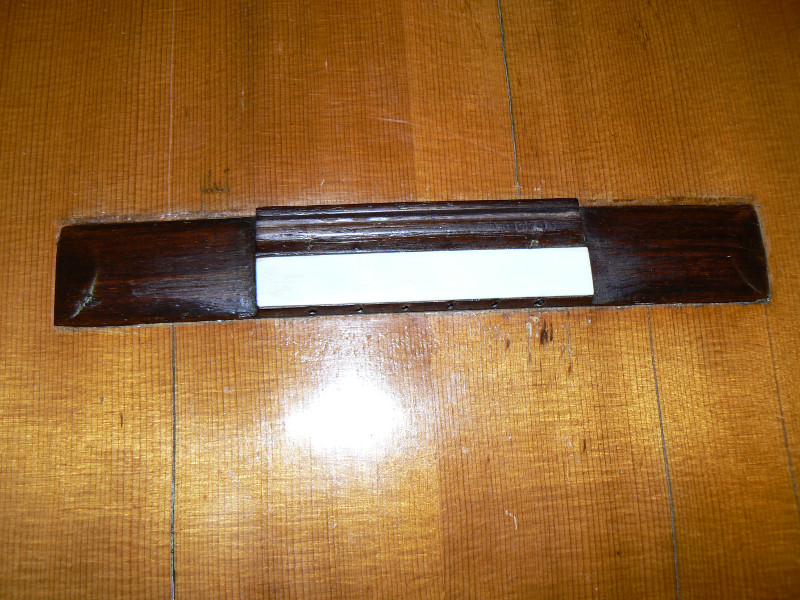 One thing that happens often with old guitars is that the top next to the purfling or the rosette will pull up and vibrate. On this guitar there were loose parts of the top in the lower bout and near the rosette. This sort of problem is difficult because you can’t just put a cleat on, there is usually some sort of re-inforcement too close by. In the second case I put the re-inforcement on the bar under the rosette so as to mitigate the added mass. As for the crack that needed fixing I wanted to use as little mass as possible and to centre the cleats on the crack as closely as possible. Pyramid-shaped cleats are easy to make if you take the back off and can work un-encumbered to give them that shape after you glue them on. In order to achieve the same effect I prepared them all at the same time and then cut them all the way through.
 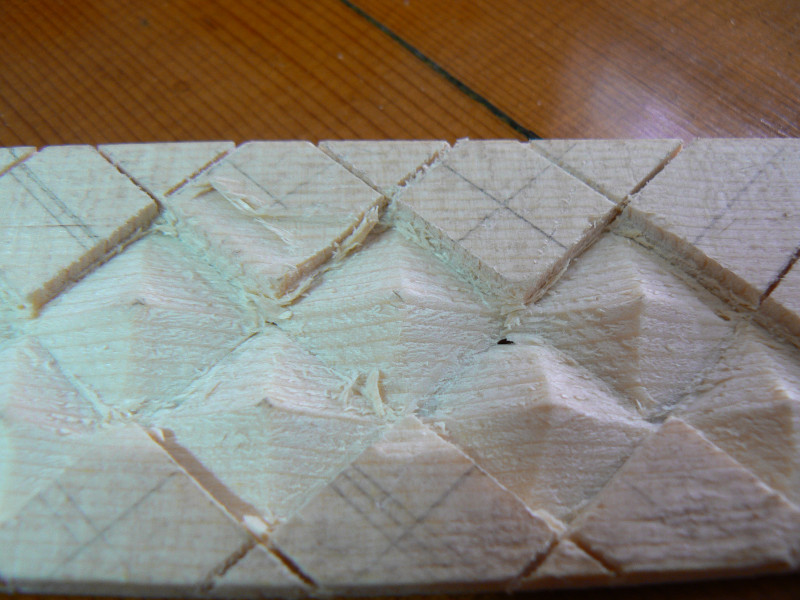 Of course then I needed a caul to glue them on with. At the same time I wanted to make sure that the grain was correctly oriented so I made something that would be easy to control as I worked blind.
 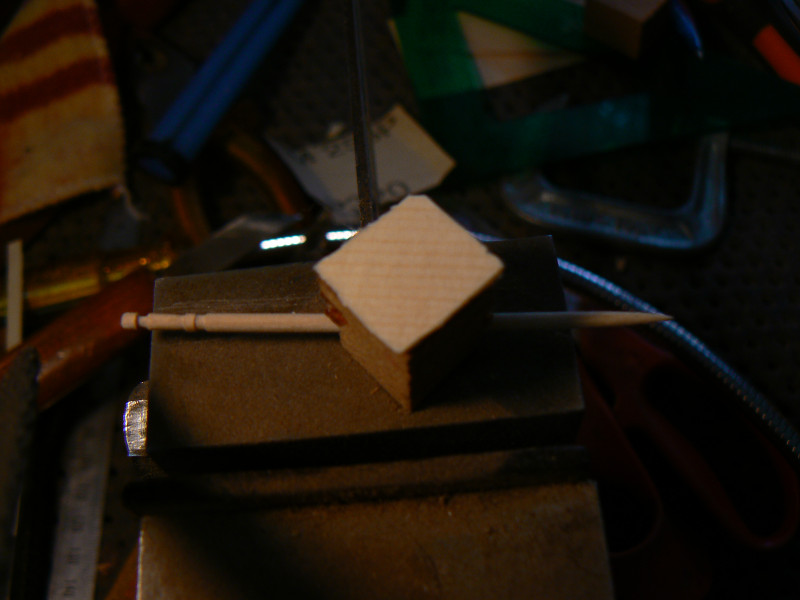 What I used to centre the cleats was a combination of two methods, one being the thread which I pulled up through the crack and the other being two temporary guides which I placed inside the guitar.
 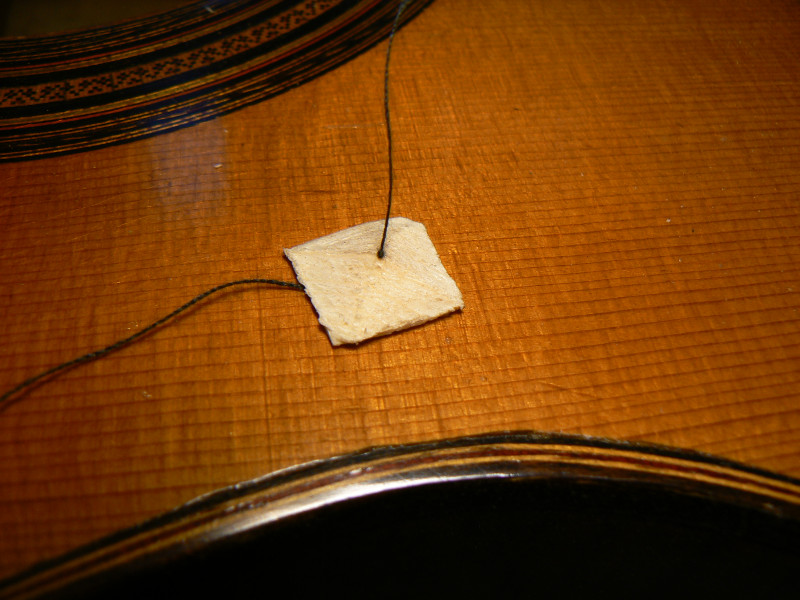 This is common in restoration, you spend a lot of time preparing so that everything goes smoothly but then when you start working it goes more quickly. Speed is important as we are obliged to use hot hide glue on instruments which were built with it in the first place. It is also relevant that vestiges of this glue will not impede future restorations.
 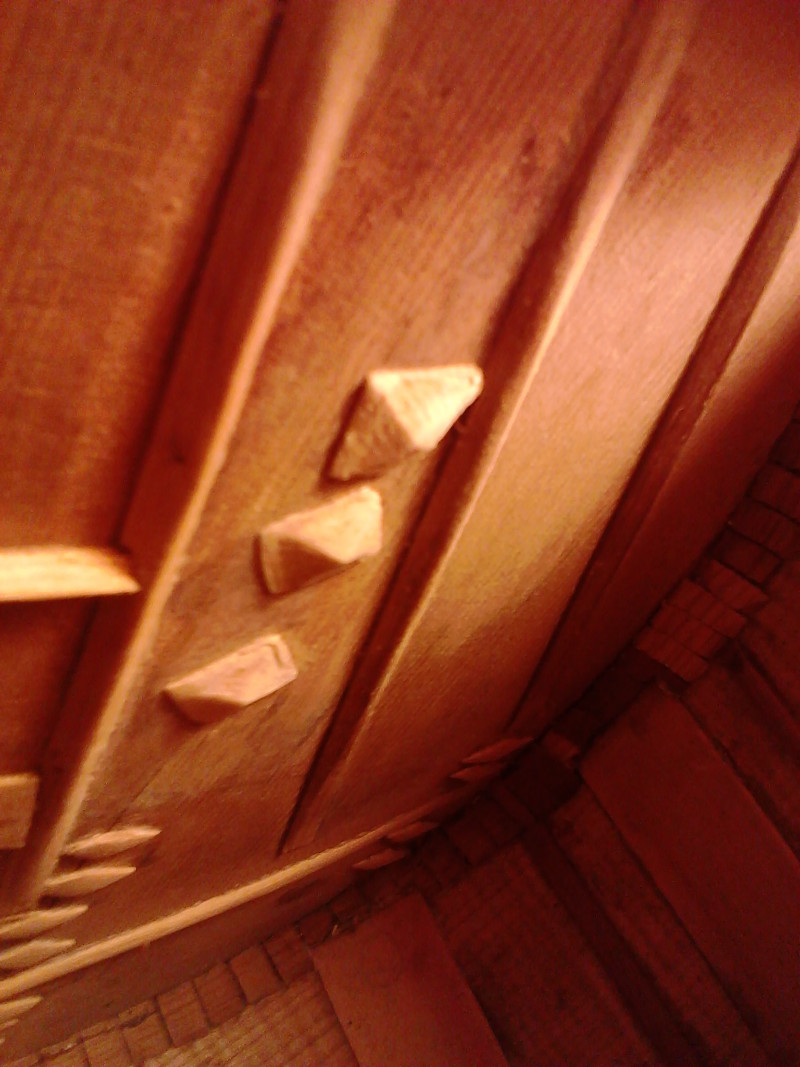 This means that if in the future someone thinks that my restoration criteria were flawed they can take off what I added and start again. Here you can see the three cleats that I used for the crack. You can also see some of the previous work. I thought we should have a recording of this guitar just to see what the sound is like after so many years.

