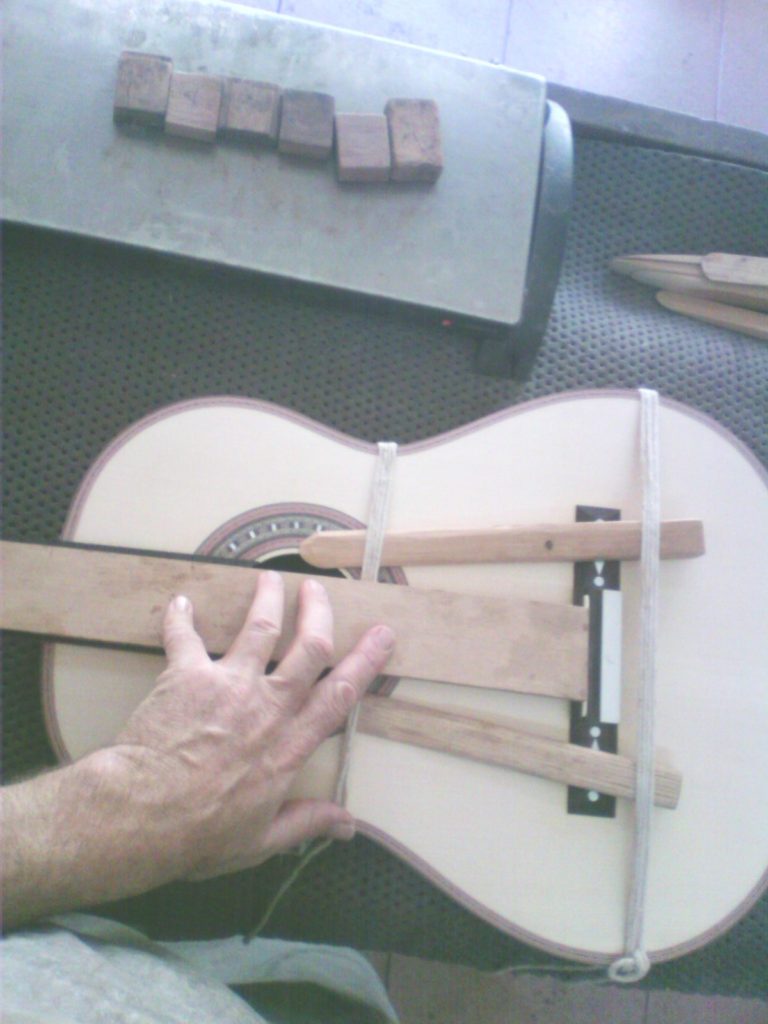
A mention of someone who had problems glueing a bridge on made it seem like it might be useful to explain this method. In addition to making perfect glueing surfaces which come together with the pressure which will be applied and knowing how to use hide glue, I think a simple method to guarantee bridge position is important. If your method allows you to use the saddle as a reference point it is much more precise than using the front edge of the bridge; you might change something on a single bridge and not take it into a account when you are sticking it on. The picture below shows a spacer which is exactly the length of the vibrating string. The wedges apply pressure to the bridge and push it up against that spacer and make it hard to go wrong in that axis. As for the other axis the tight-fitting saddle has a mark on it so that the position of the spacer (also marked) can be easily verified as you position the bridge. The spacer has exactly the same shape as the string layout so as long as the spacer is positioned with its edges along the desired run of strings 1 and 6 your bridge will be perfectly placed. The spacer is made to include compensation and even the bridge slant which causes the 1st string to be slightly shorter. It butts up against the nut and so be sure you know the vibrating length of the string with the most forward nut compensation. The pressure provided by the wedges shown is plenty for the task. There is nothing inside the guitar because the pressure only slightly flattens the dome allowing it to conform perfectly to the bridge. Sorry about the quality of the photo.
Great Guitars of the Past
John Ray Guitar-maker
