One thing that takes more time on my SE153 Torres model is the inlay on the bridge. Firstly I have to lay out the lines so that it is centred perfectly and parallel to the long axis. Not like in the photo 🙂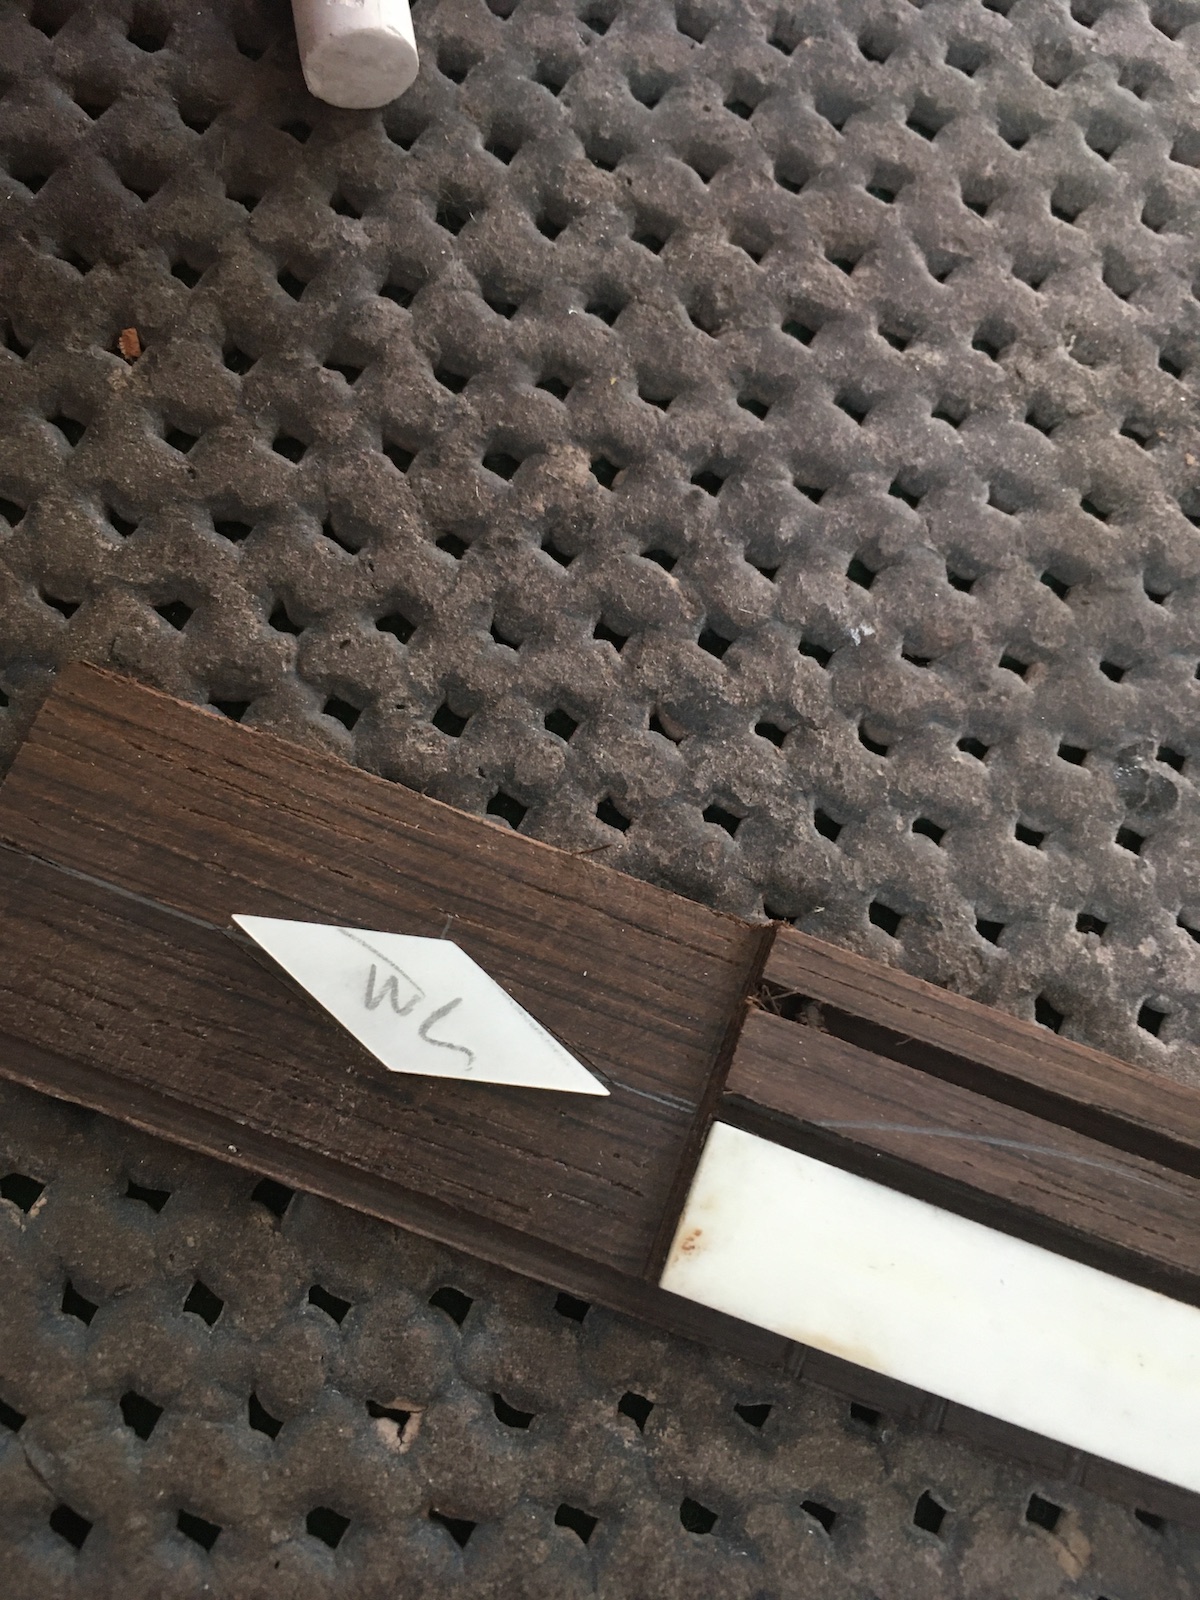 I then mark around the piece with a knife while making sure that the piece doesn’t move. I have to mark the orientation just in case the pieces are not perfectly shaped.
 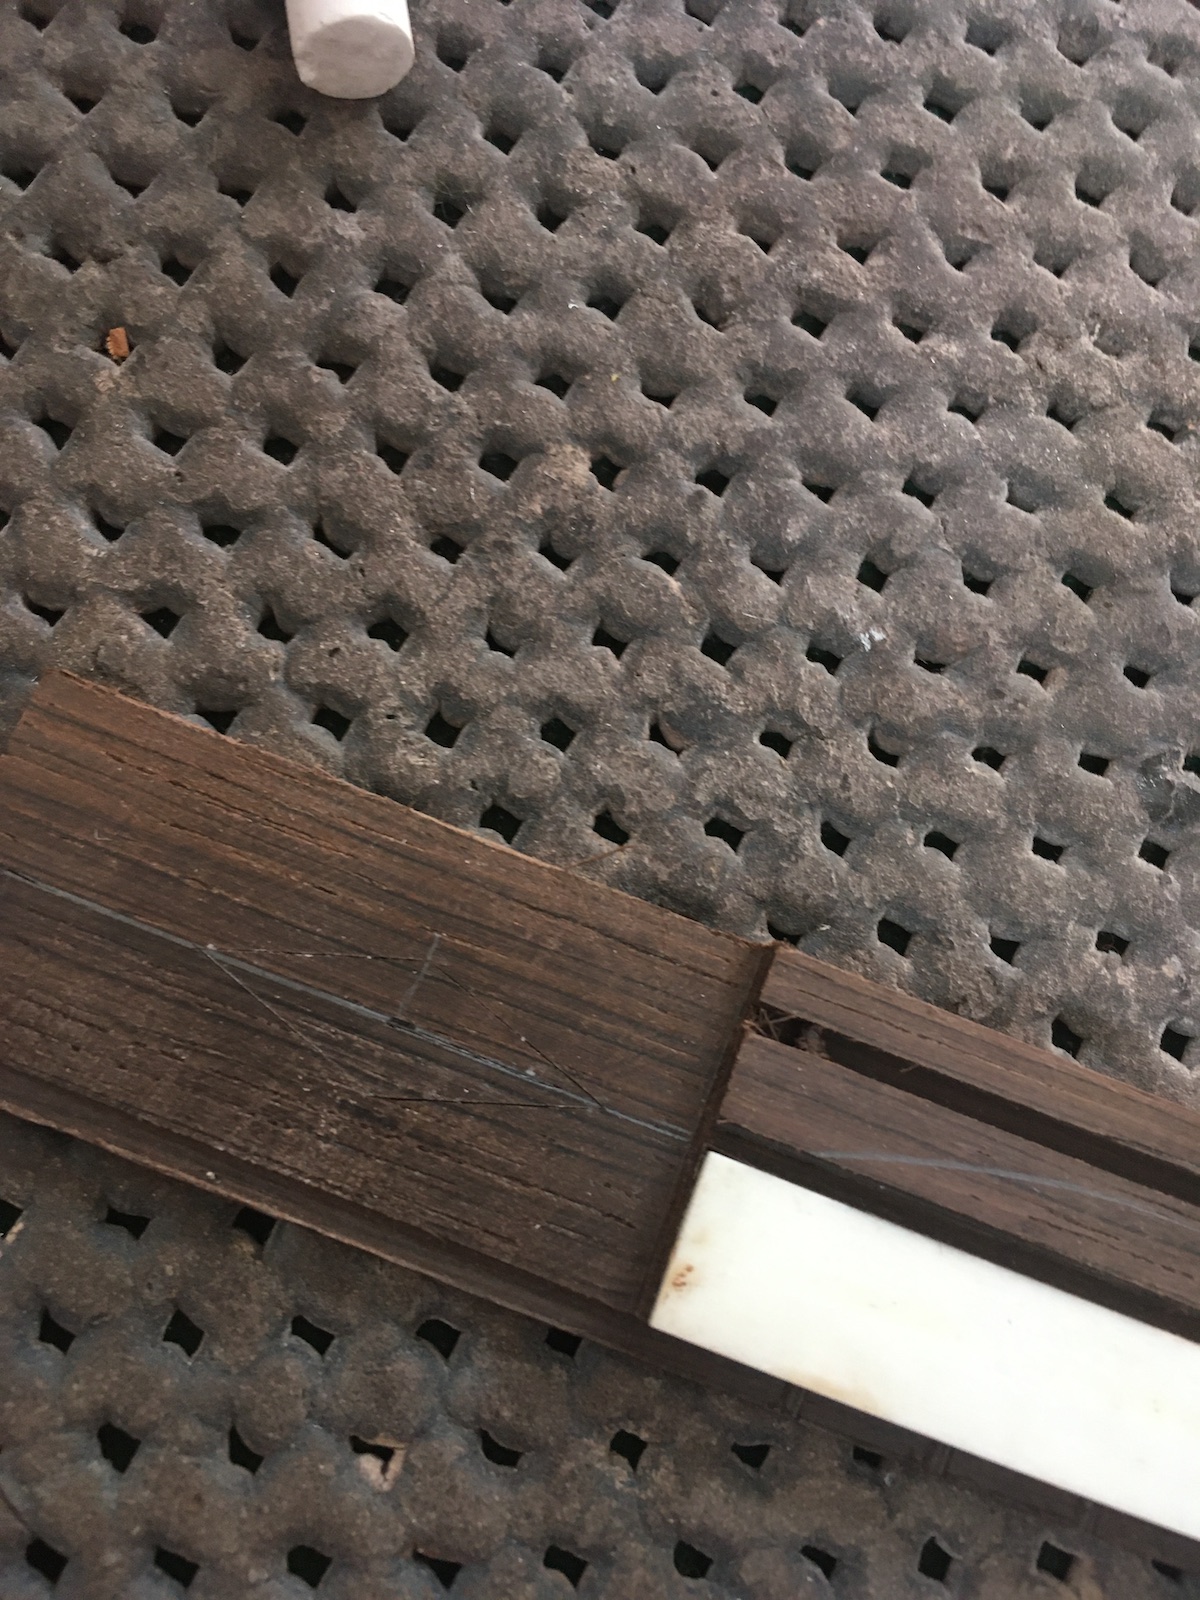 Since the lines aren’t very visible I rub chalk into them because I want them to be there for me right up until the final fitting. You know when you press a chisel into wood the
 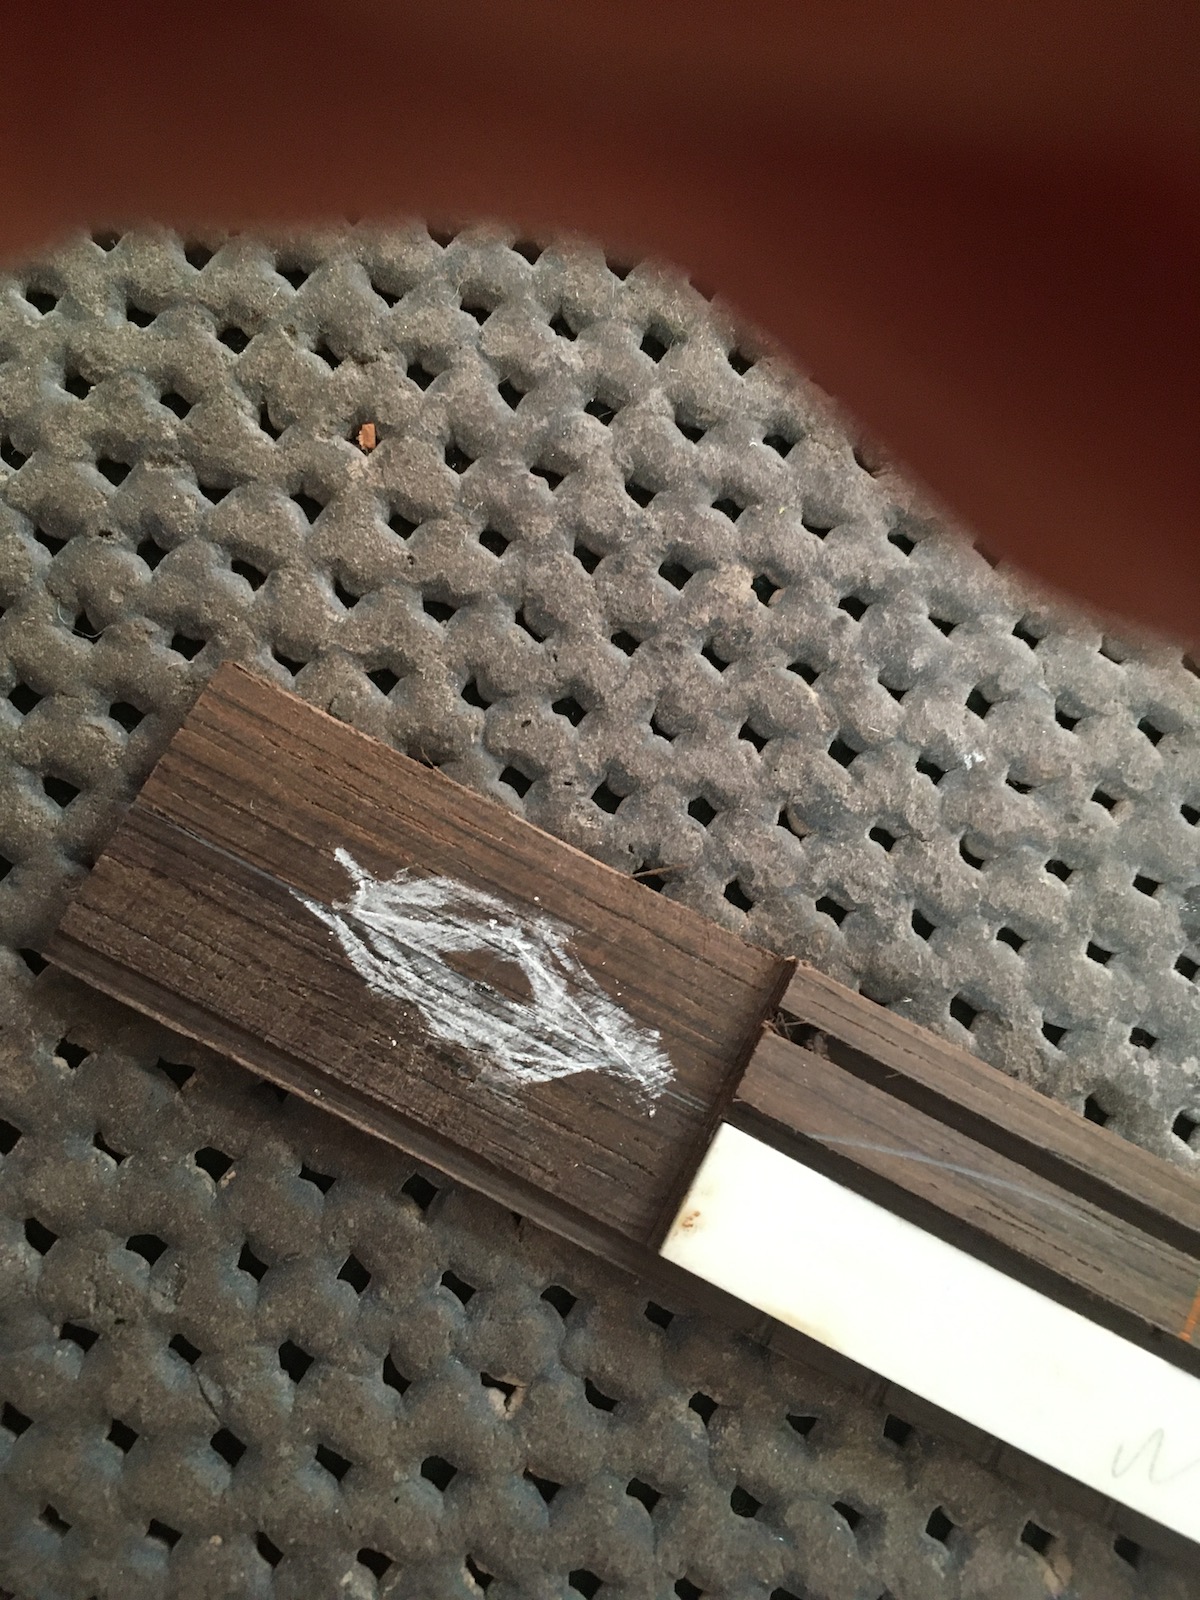 bevel pushes the back of the chisel away from the line and you end up pushing the cut outside of your line.
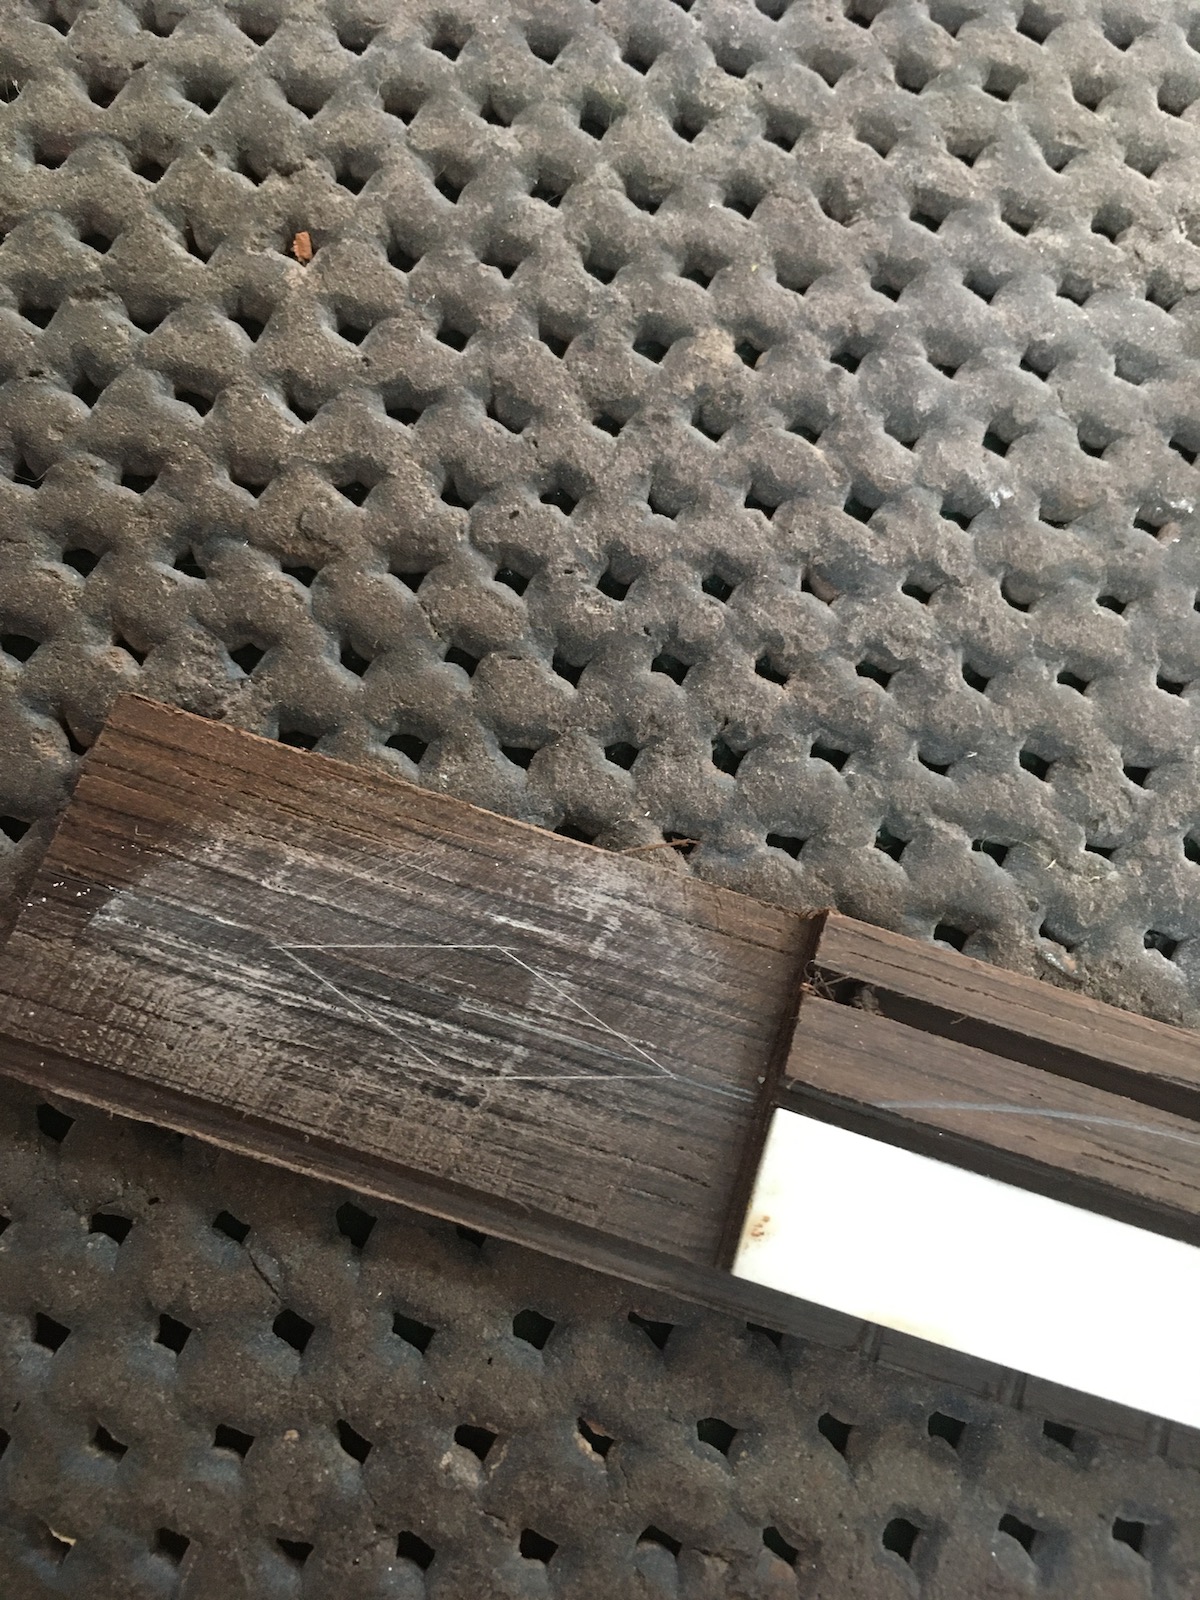 The answer is to cut out the centre and then when you have just a thin wall left until the line to then cut right on the line. Once or twice I have shaped the wings of the bridge before inlaying the mother-of-pearl but realized that it makes more sense to do it before rounding the wings.
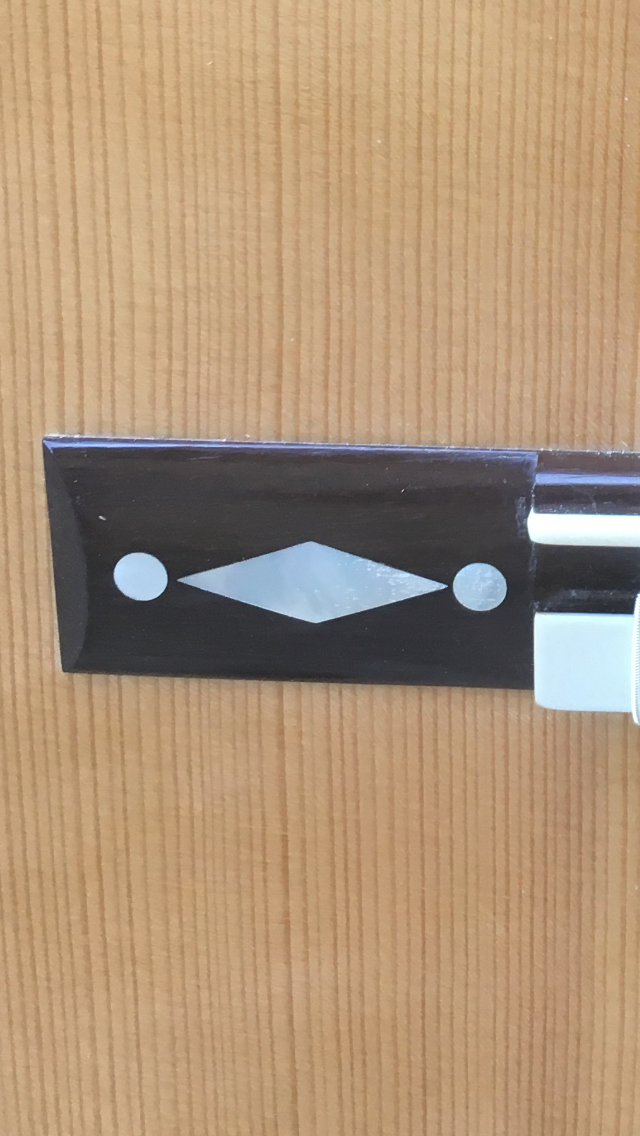
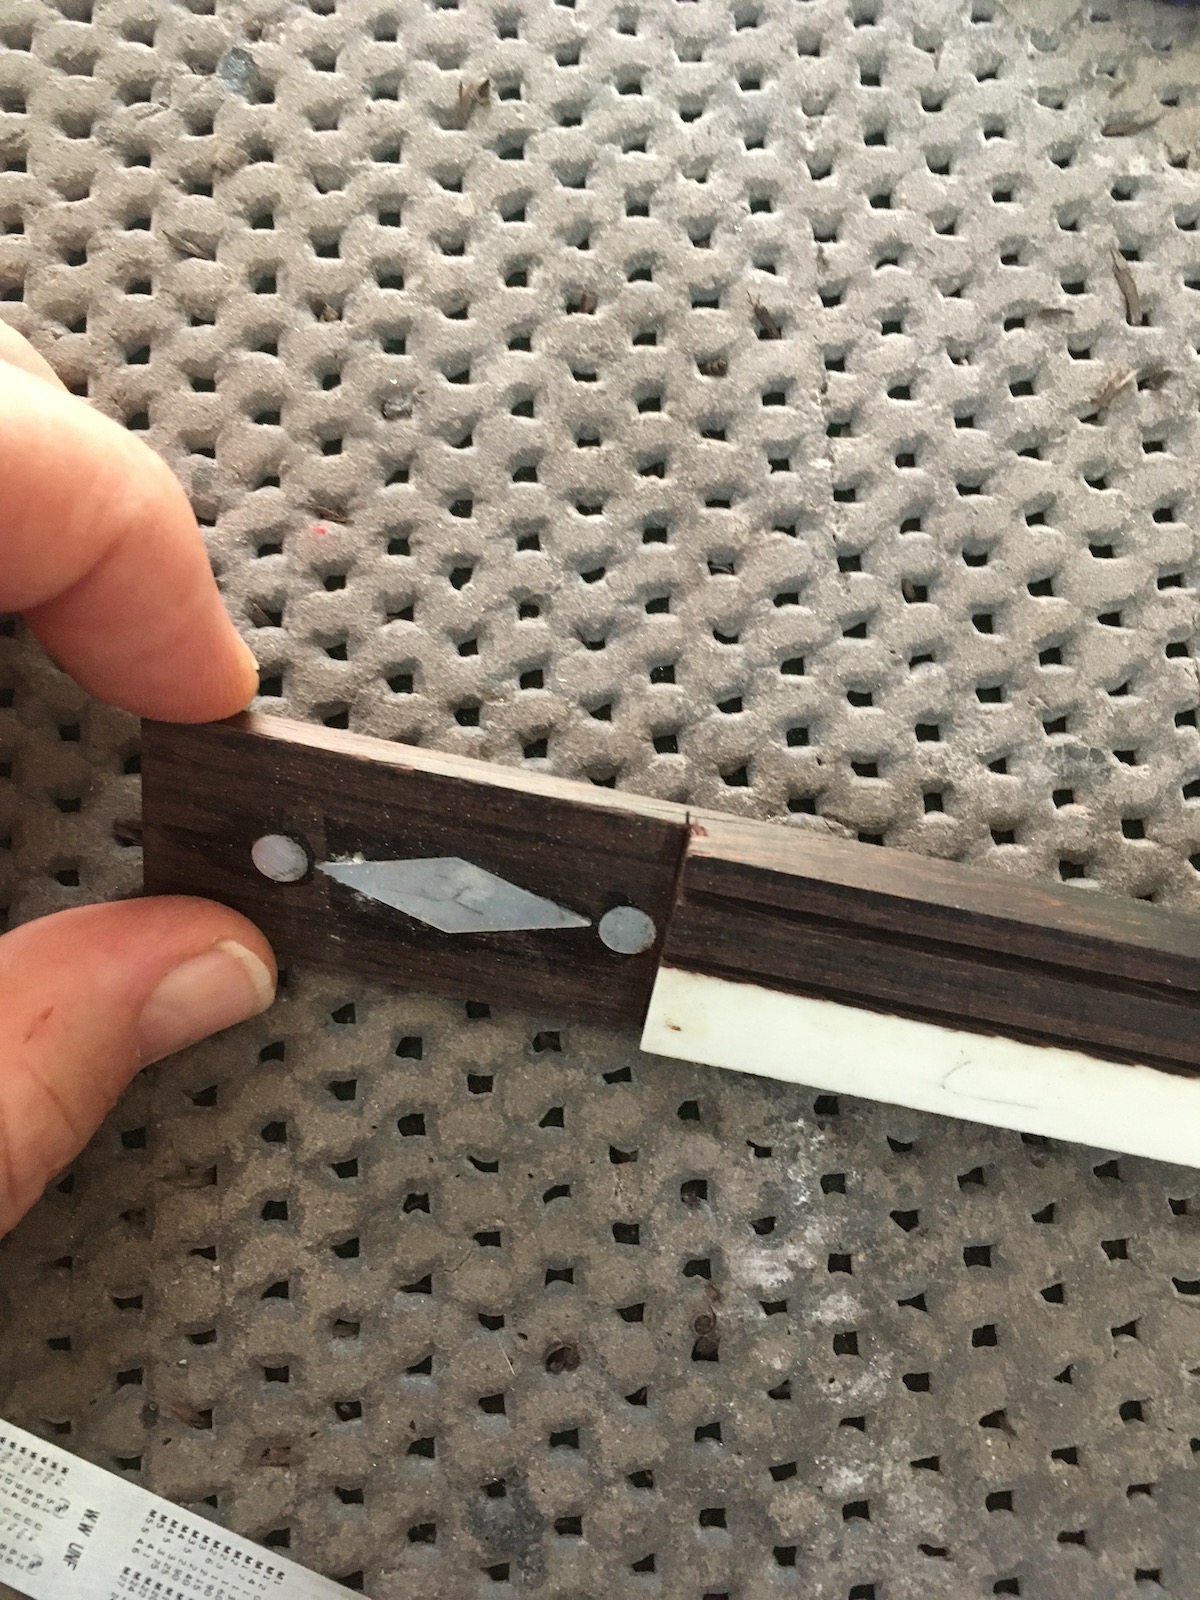 Of course it is easier to round the wings evenly before inlaying but if you are careful and remember that MOP is much harder it works fine this way too. The circles are easy to place after inlaying the larger piece using a brad point bit.
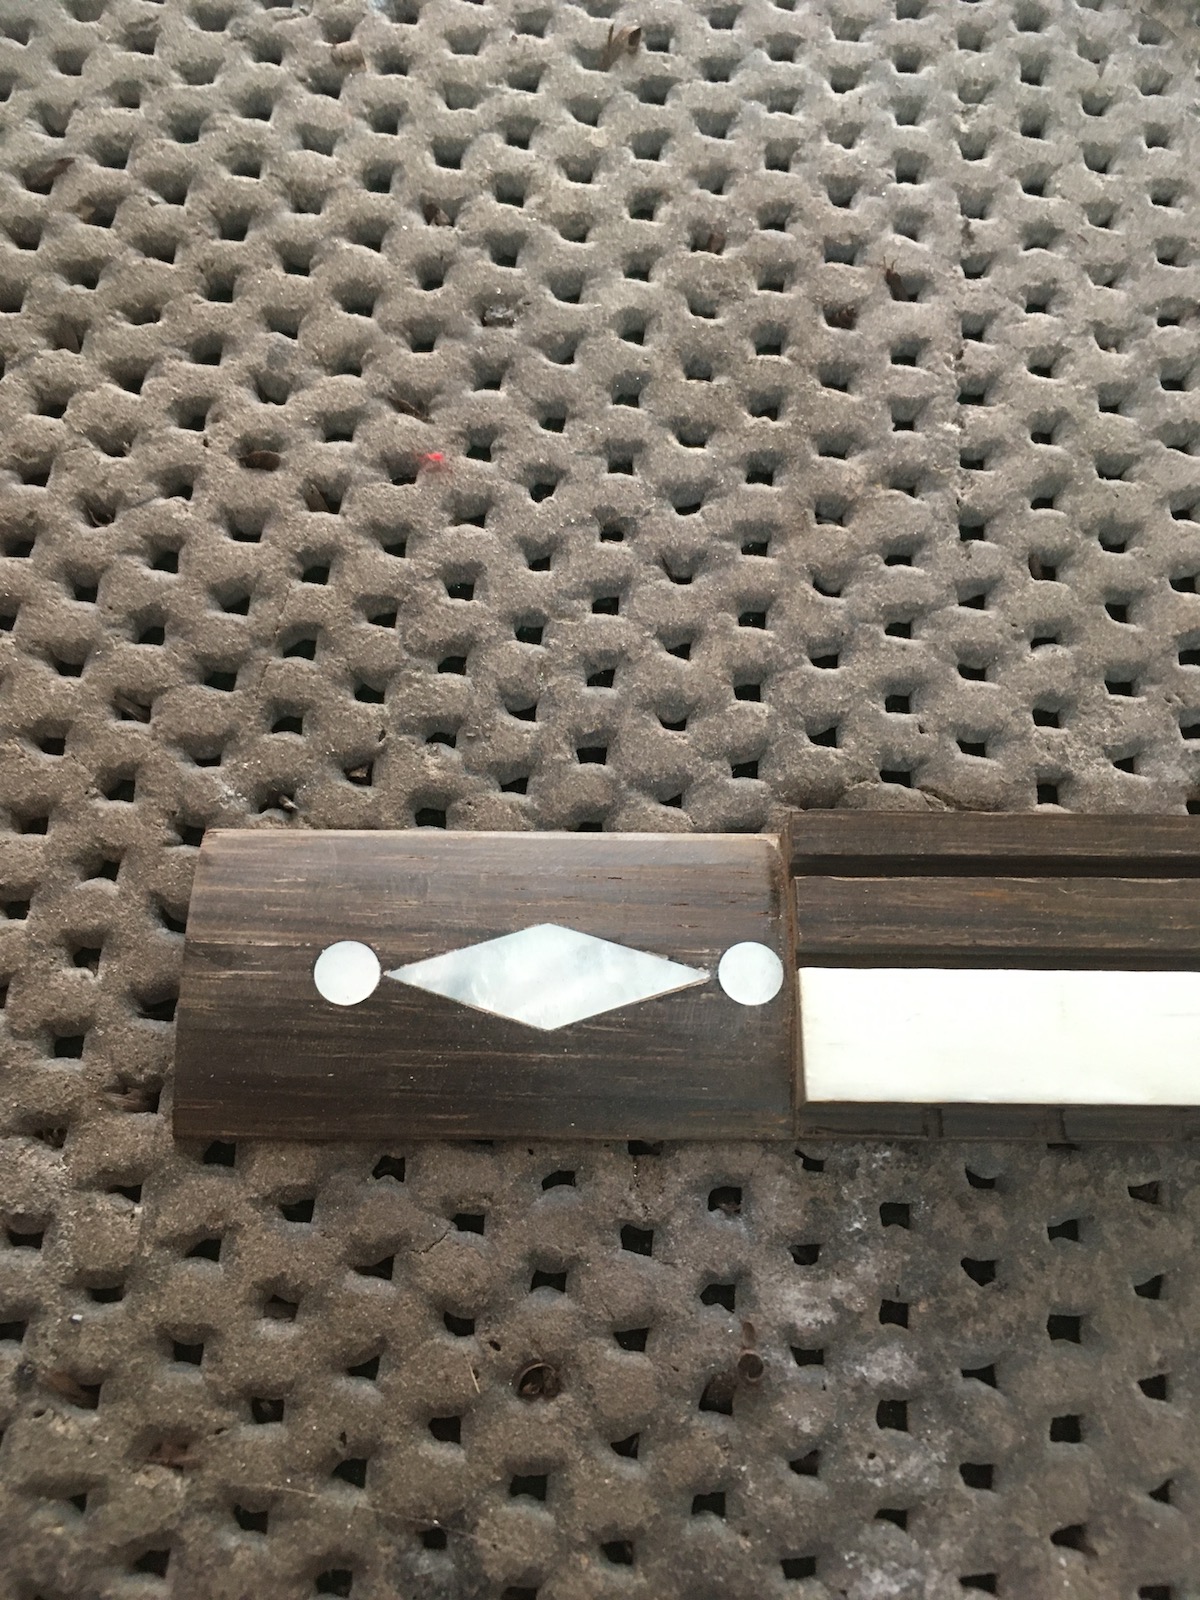
Great Guitars of the Past
John Ray Guitar-maker
