This is the guitar that I have been making and improving since I began. It has undergone a lot of changes in general shape and internal structure. I think these changes are for the better and that I am making the best guitar I can today. I started out with a shape borrowed from Hauser and although I used his bracing it was a very different concept. I arch the top and make it thinner than he did. 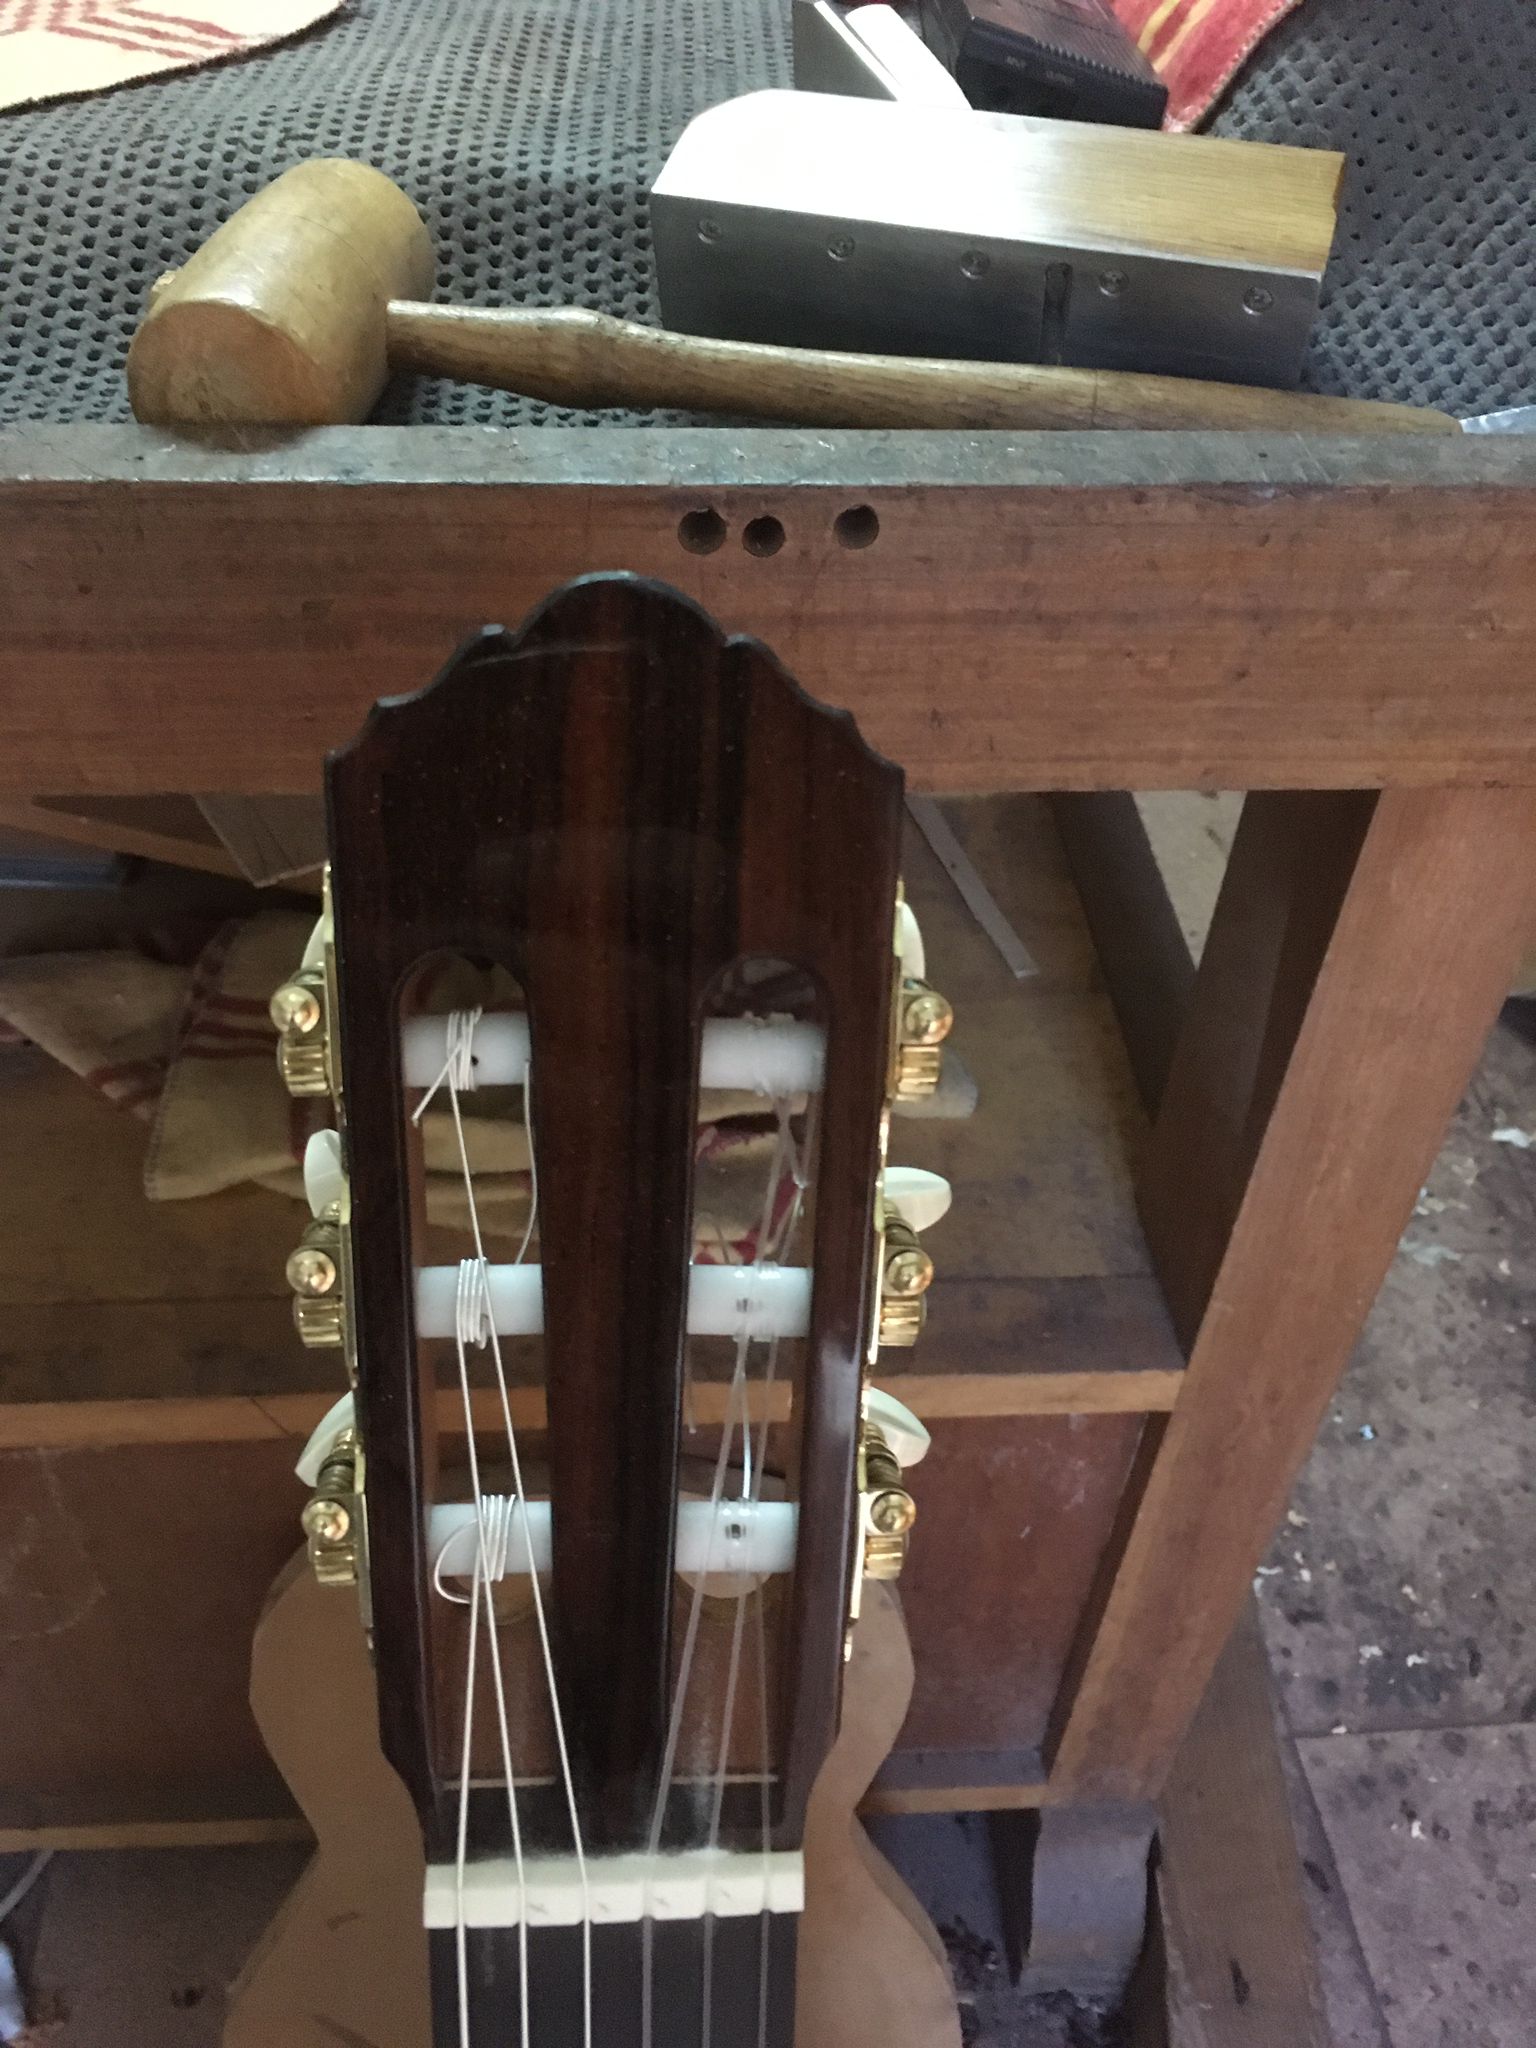
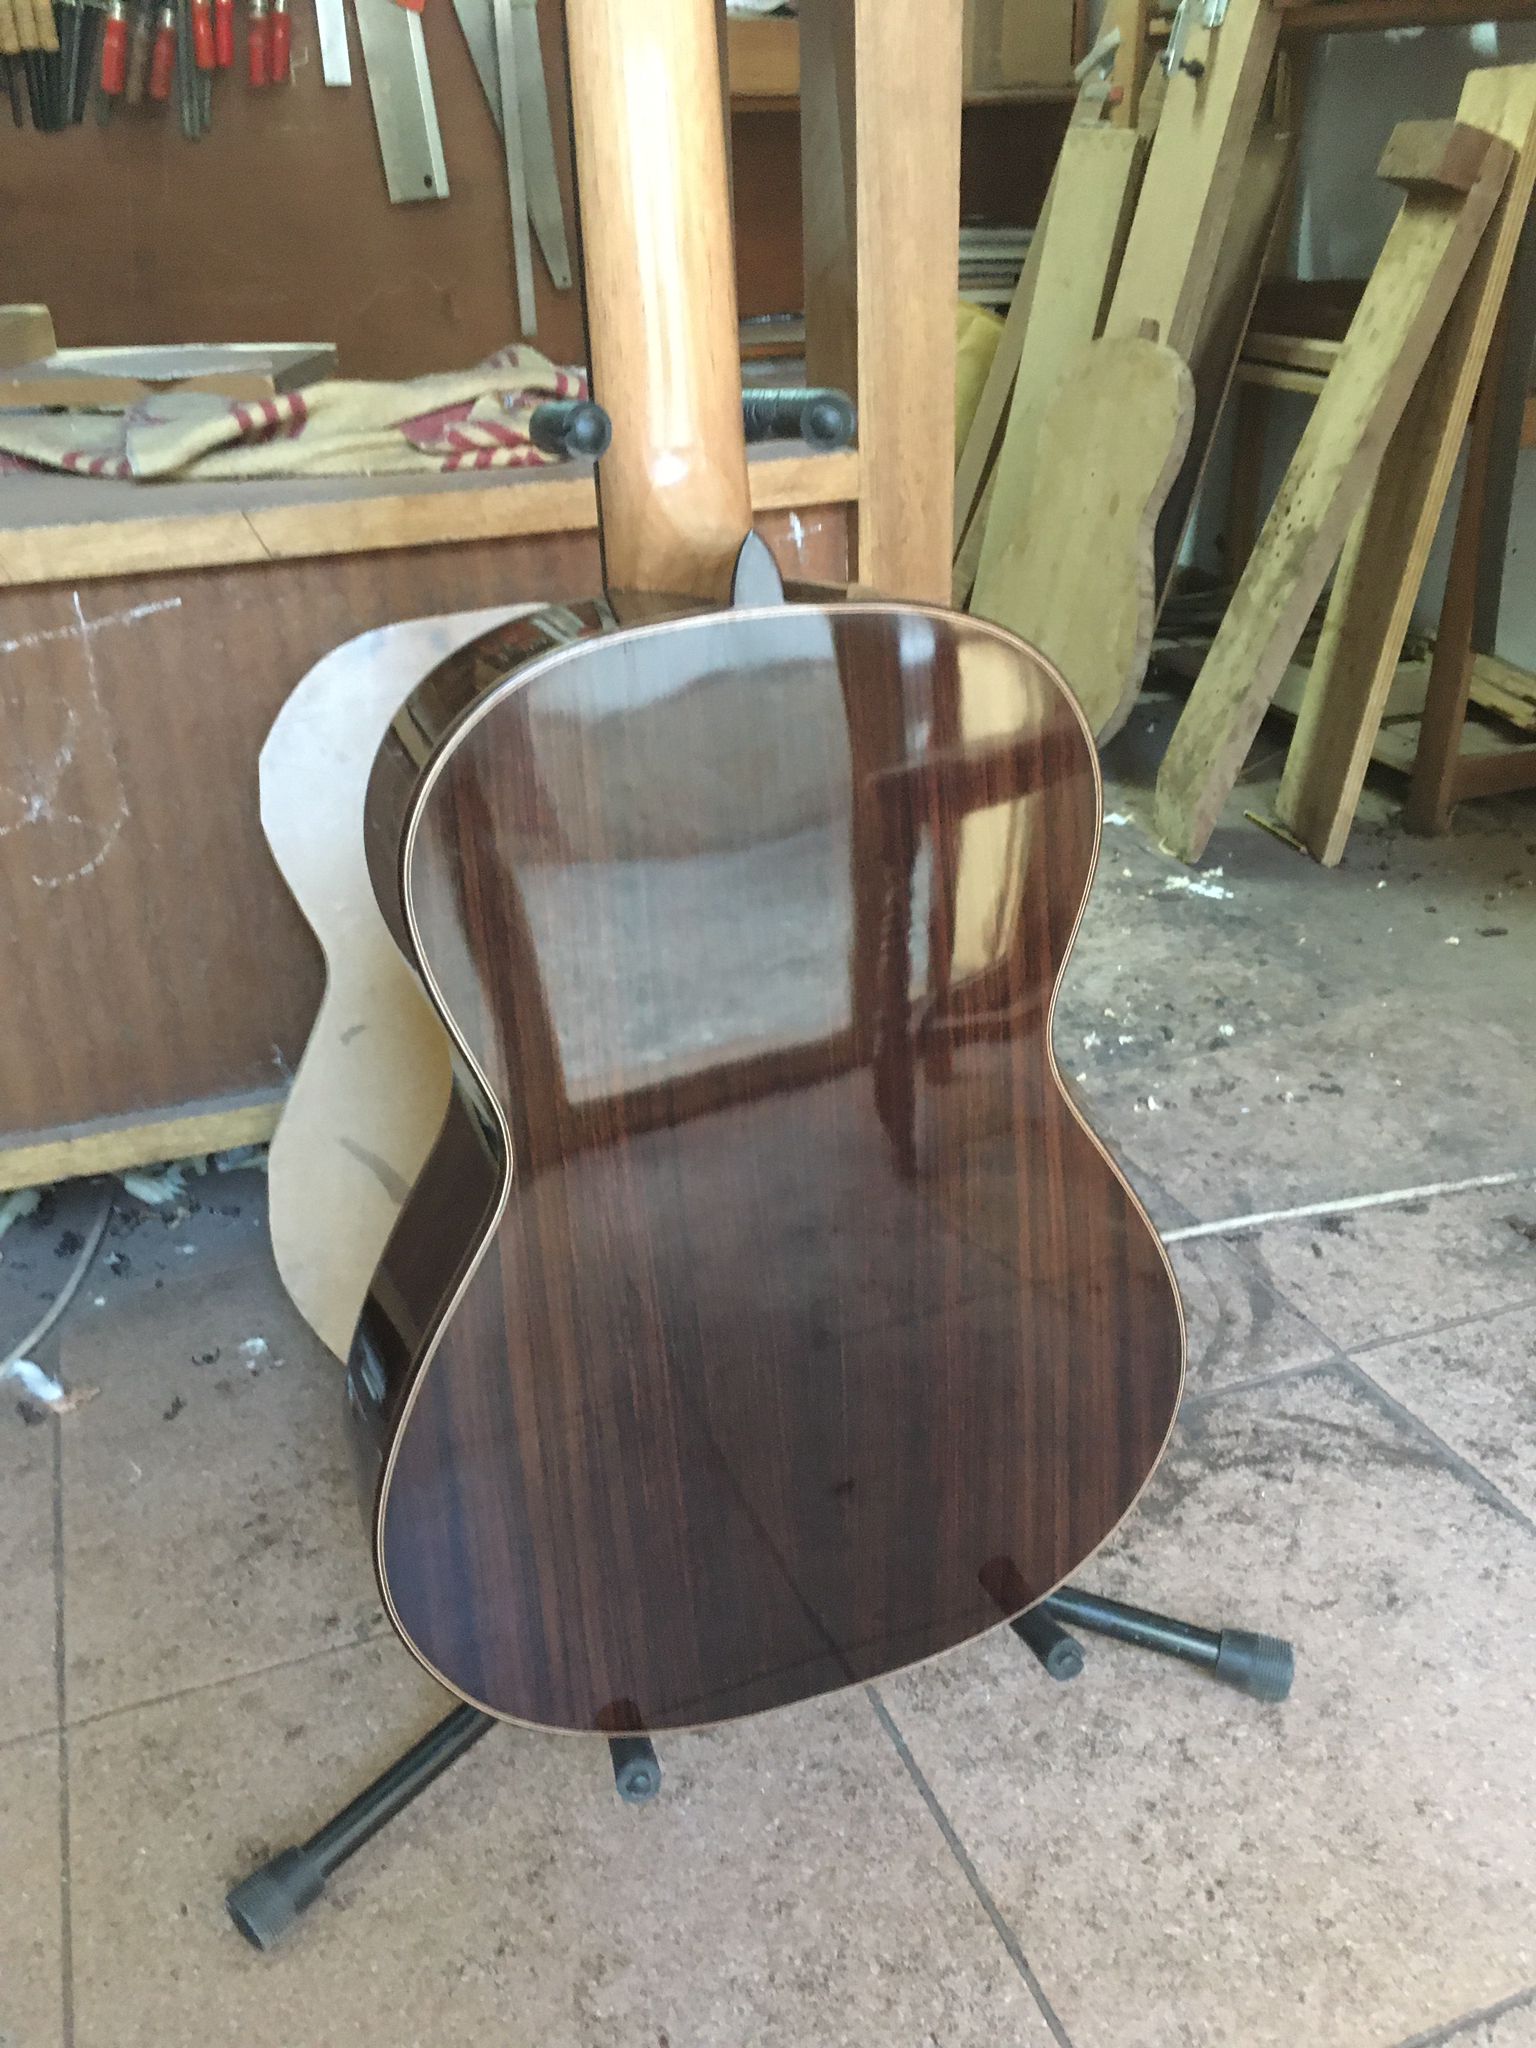
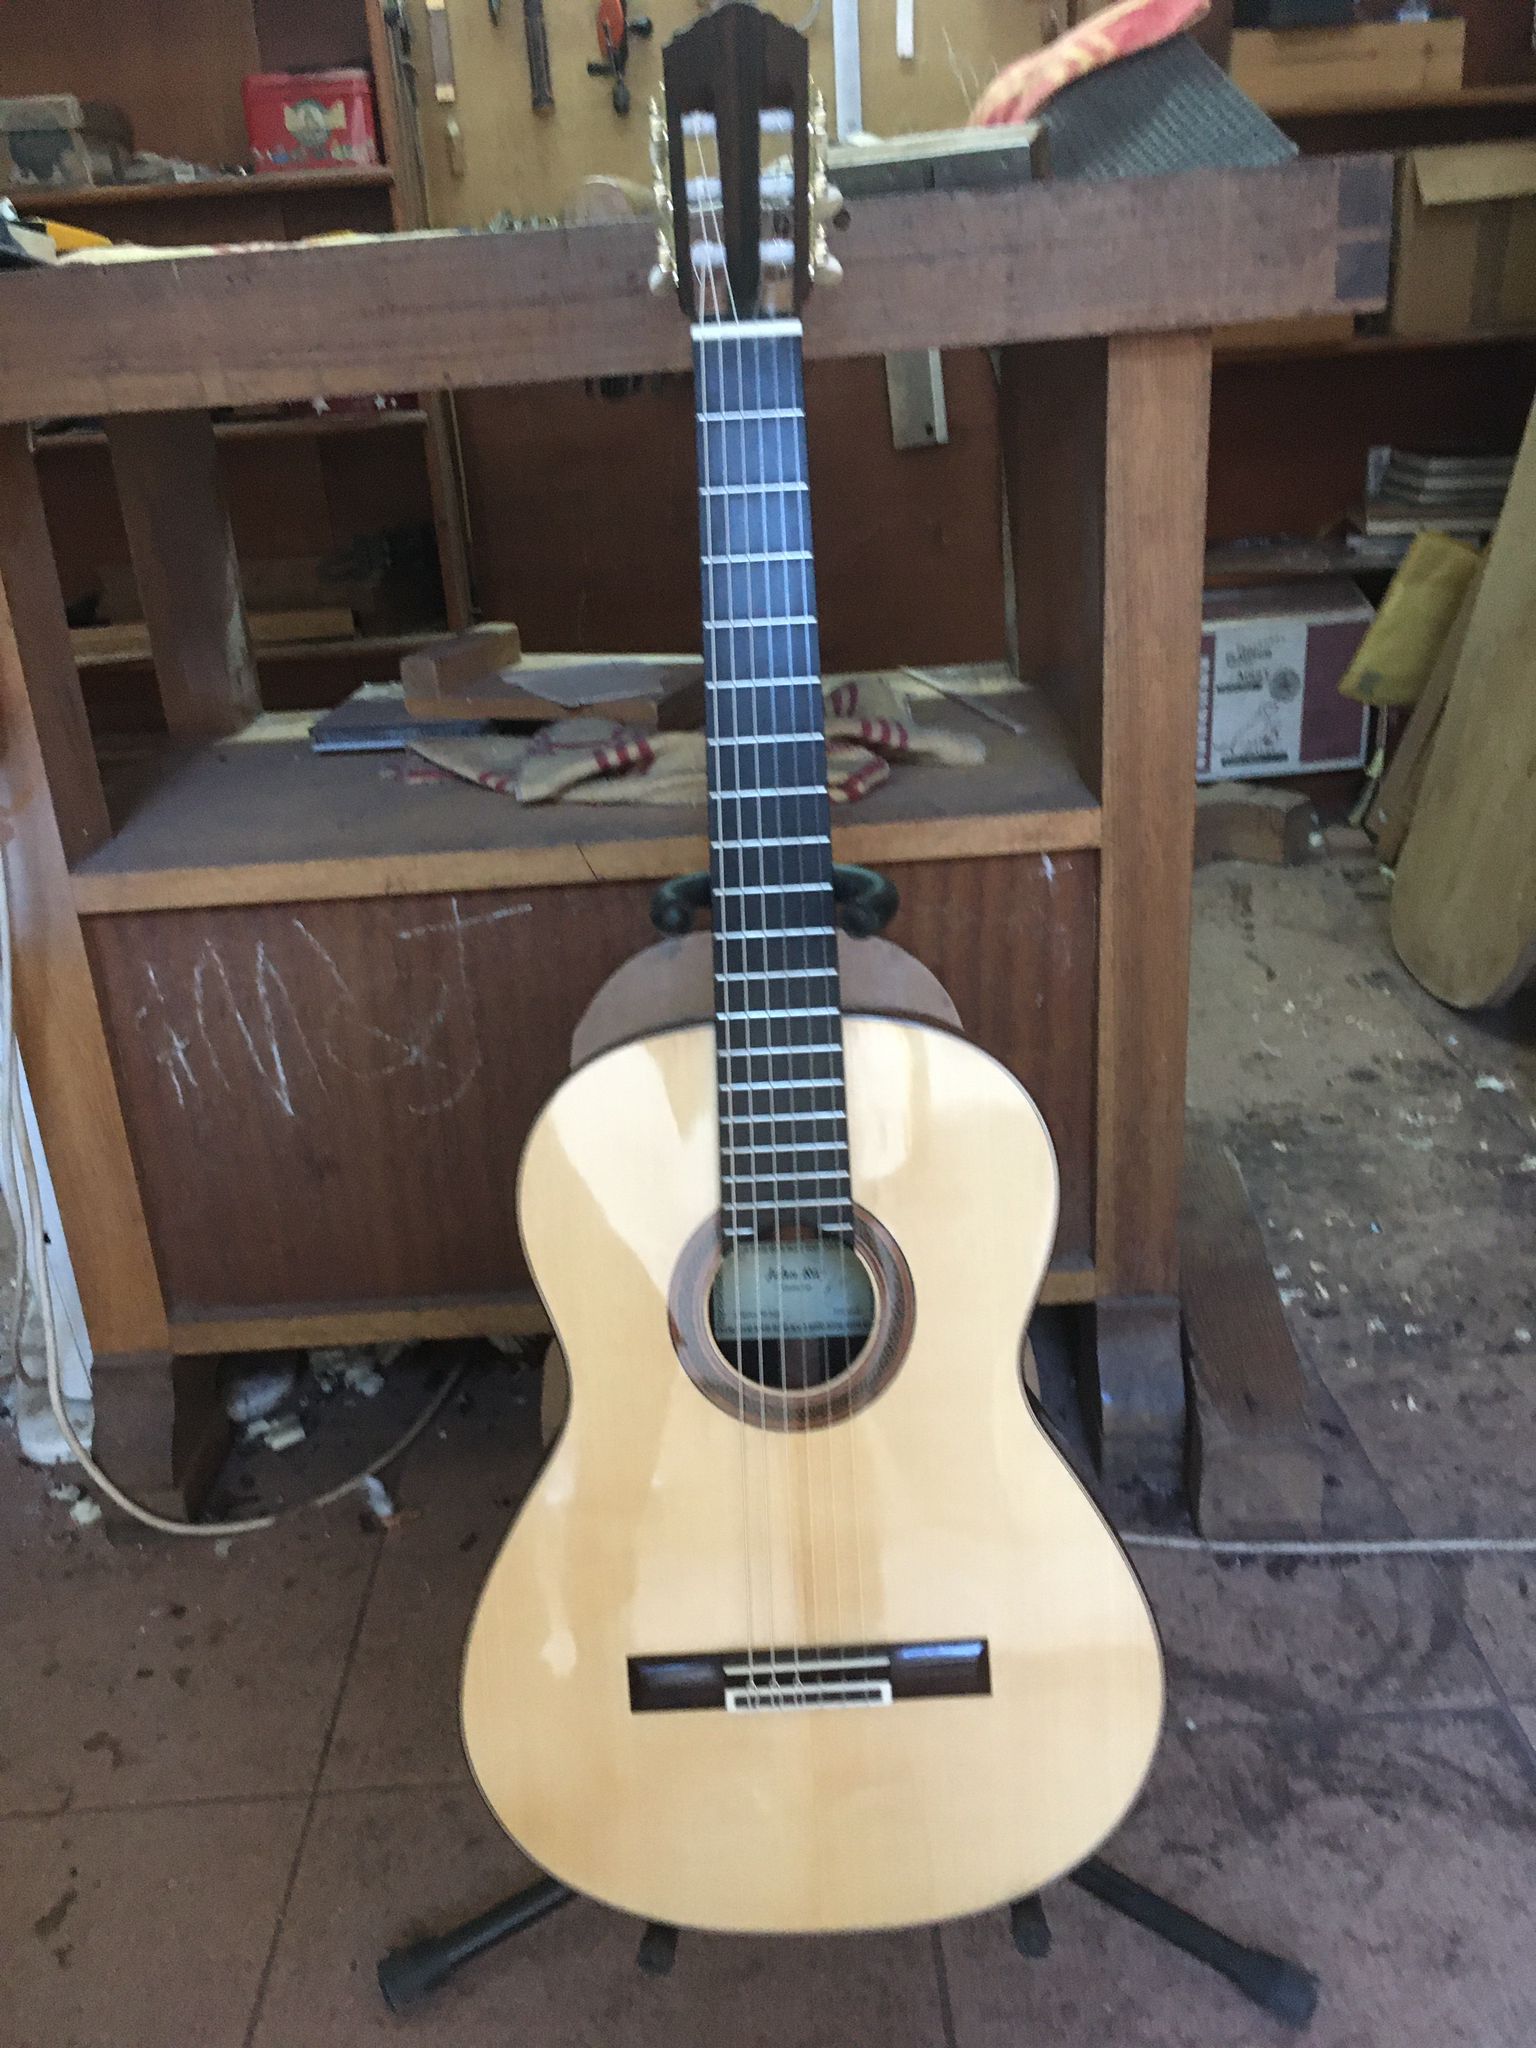
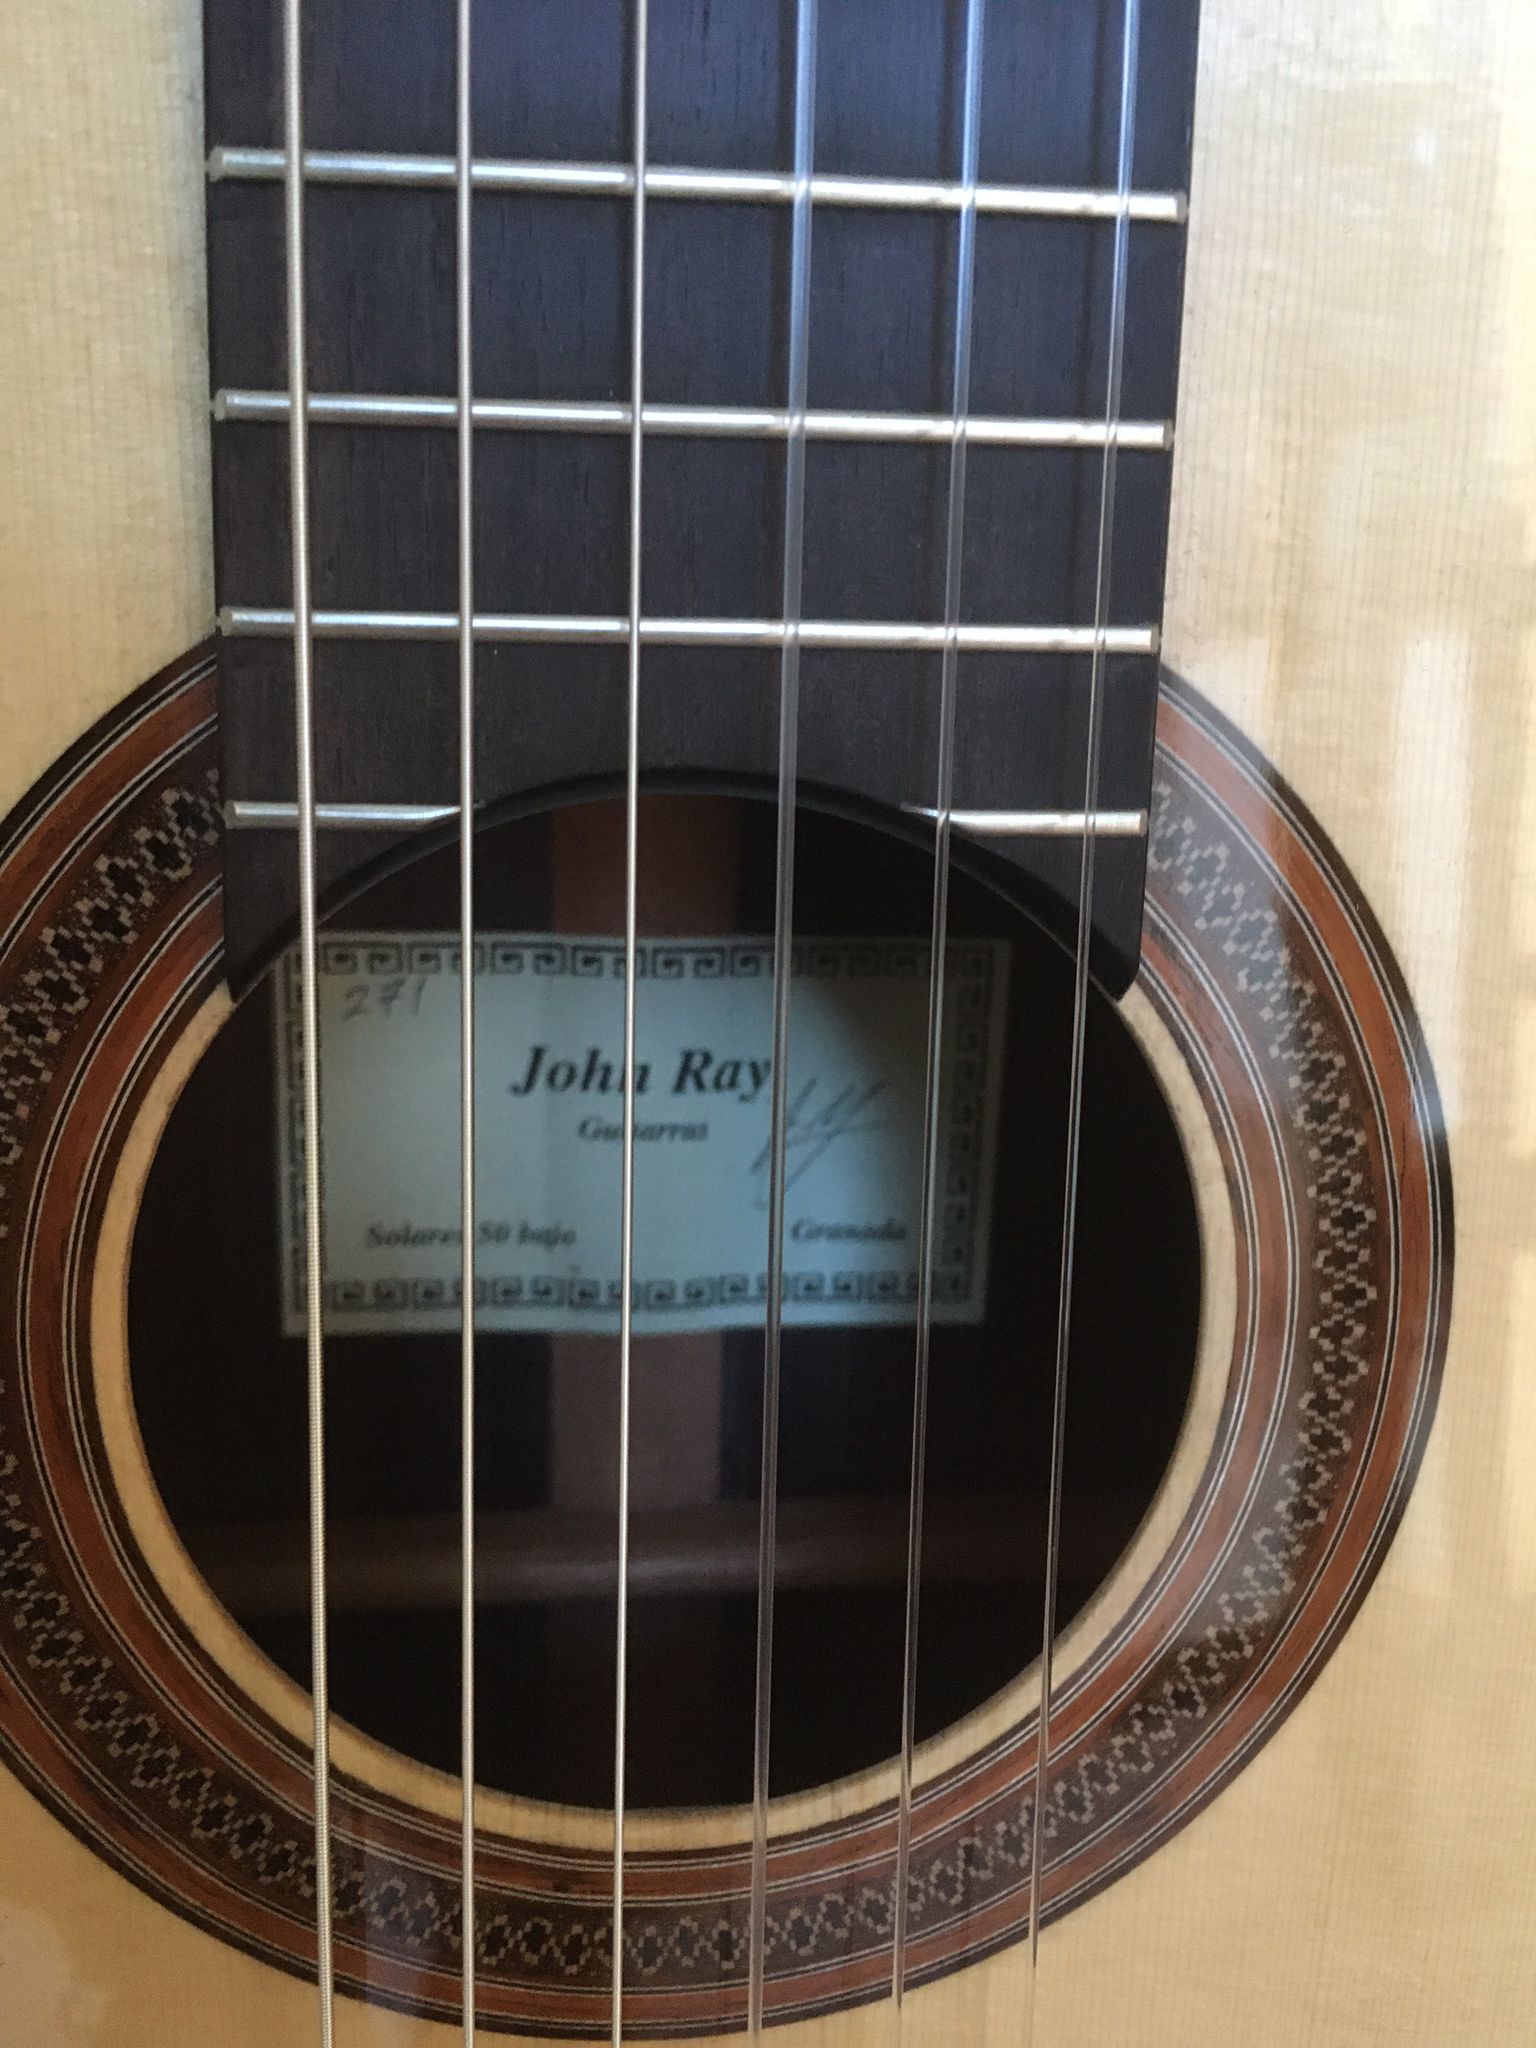 The plan I used was of a very shallow instrument and it was relatively successful. Over the years I experimented with a deeper body, new shapes and a different internal structure and although I continue to search for improvements I have found a great combination of all these elements. My concert guitar has a bit smaller outline but is deeper and has 5 fan braces instead of 7. So, unless someone specifically asks me to go back to what I was doing before I will stick to this.
Tag Archives: antoniodetorres
UV Light Box
I sometimes like a bit of colour on my guitars instead of the almost white. I have never had much luck trying to colour the wood before the french polishing but I think that would be a good way to go. I heard of the different German traditions doing that with earth colours mixed with hide glue (I think). Another option is using dark-coloured shellac but somehow it tends towards blotchiness and I never seem to get what I want. The effect I am looking for, especially with my historic copies is that beautiful golden colour that comes to a guitar after 20 years left out of its case. What I have tried recently is a set of UV lights facing the guitar. These are tubes which are designed for tanning salons so I have an enclosure for them. With just 24 hours of exposure before polishing you get a noticeable tan on spruce or maple which of course darkens as you wet it with the shellac. This is by far my favourite way to colour the tops if I want to do that. I especially like this method for the following reasons:
- The colour is very uniform
- It is just the tone I am looking for
- You can opt for a darker shellac if you wish and any blotches don’t show because of the darker base
- The colour is in the wood so when sanding back you don’t have to worry about losing colour
- Easy-peasy
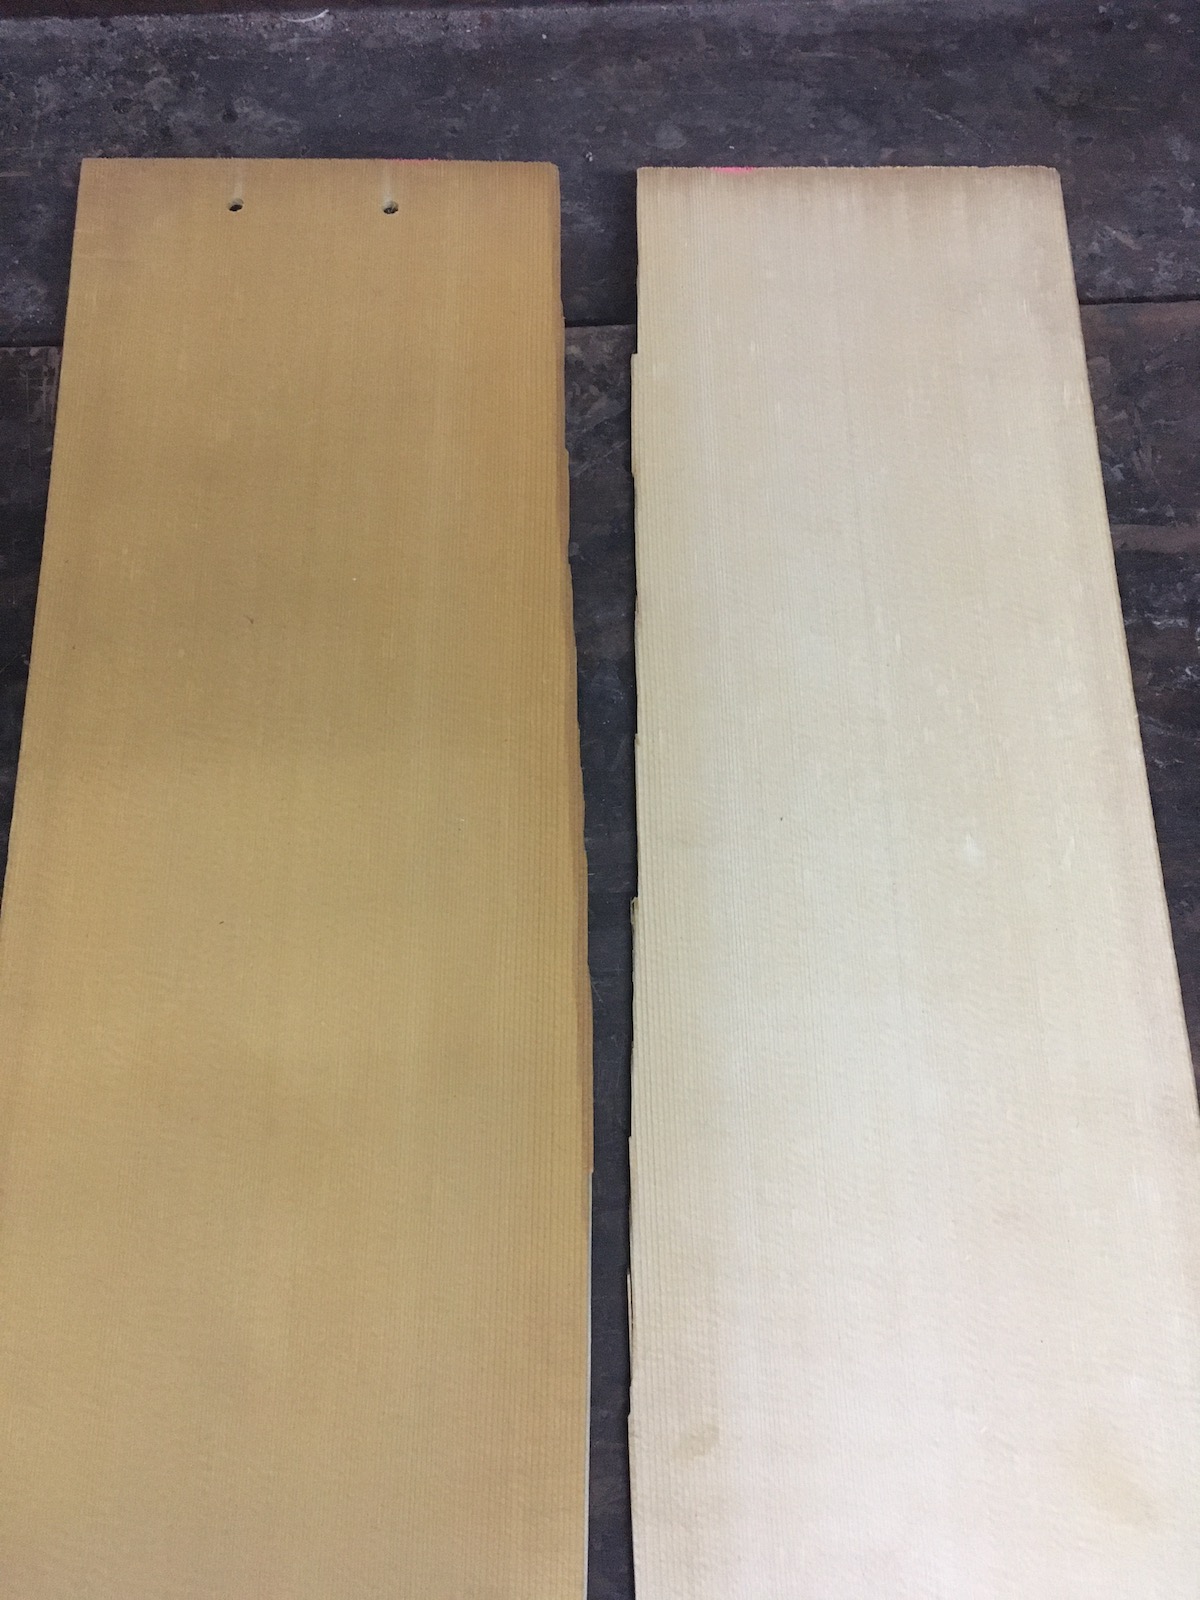
The photo is from when I was testing the setup. I sacrificed a narrow top and put only one part inside the box. I left it there for longer than 24 hours but I don’t remember exactly how long – double or triple that. Above you see the wood as it comes out of the box. Even using the lightest shellac you get a darker tone than what you see here.
Grain Orientation of the Neck
I have two problems writing here: I can’t always find the time and when I do I don’t always have a good idea for something you all will enjoy. Sometimes I get ideas from something I see on the makers’ forums like a recent post about guitar necks. When I started out I used the only cedar I could find which was dry enough and I didn’t have the luxury of rejecting the blanks that had the “wrong” orientation. Then came a period where I only wanted perfectly quartered blanks which had been split to avoid any runout.
Shortly thereafter I began to find what I really wanted in cedar for my guitar necks. Strength and stability are paramount for a neck and mostly that comes from the species of wood – cedar is fantastic. Splitting the neck from a larger piece assures a good strength and so I insist on that too. What has changed is that I will often prefer pieces which are up to 40 degrees off quarter because the perfectly quartered ones from the same piece are not flexible enough. I require my necks to bend just a tiny bit to give me the perfect relief once fretted and strung up and sometimes a neck is just too stiff. You can control this by testing the neck and subsequent thinning and controlling the fretting process. Some makers make a very stiff neck and then work the relief into the fretboard so there are lots of options. Where possible I try to start with the wood that will give me the best result right off and especially will make it easy to play. 
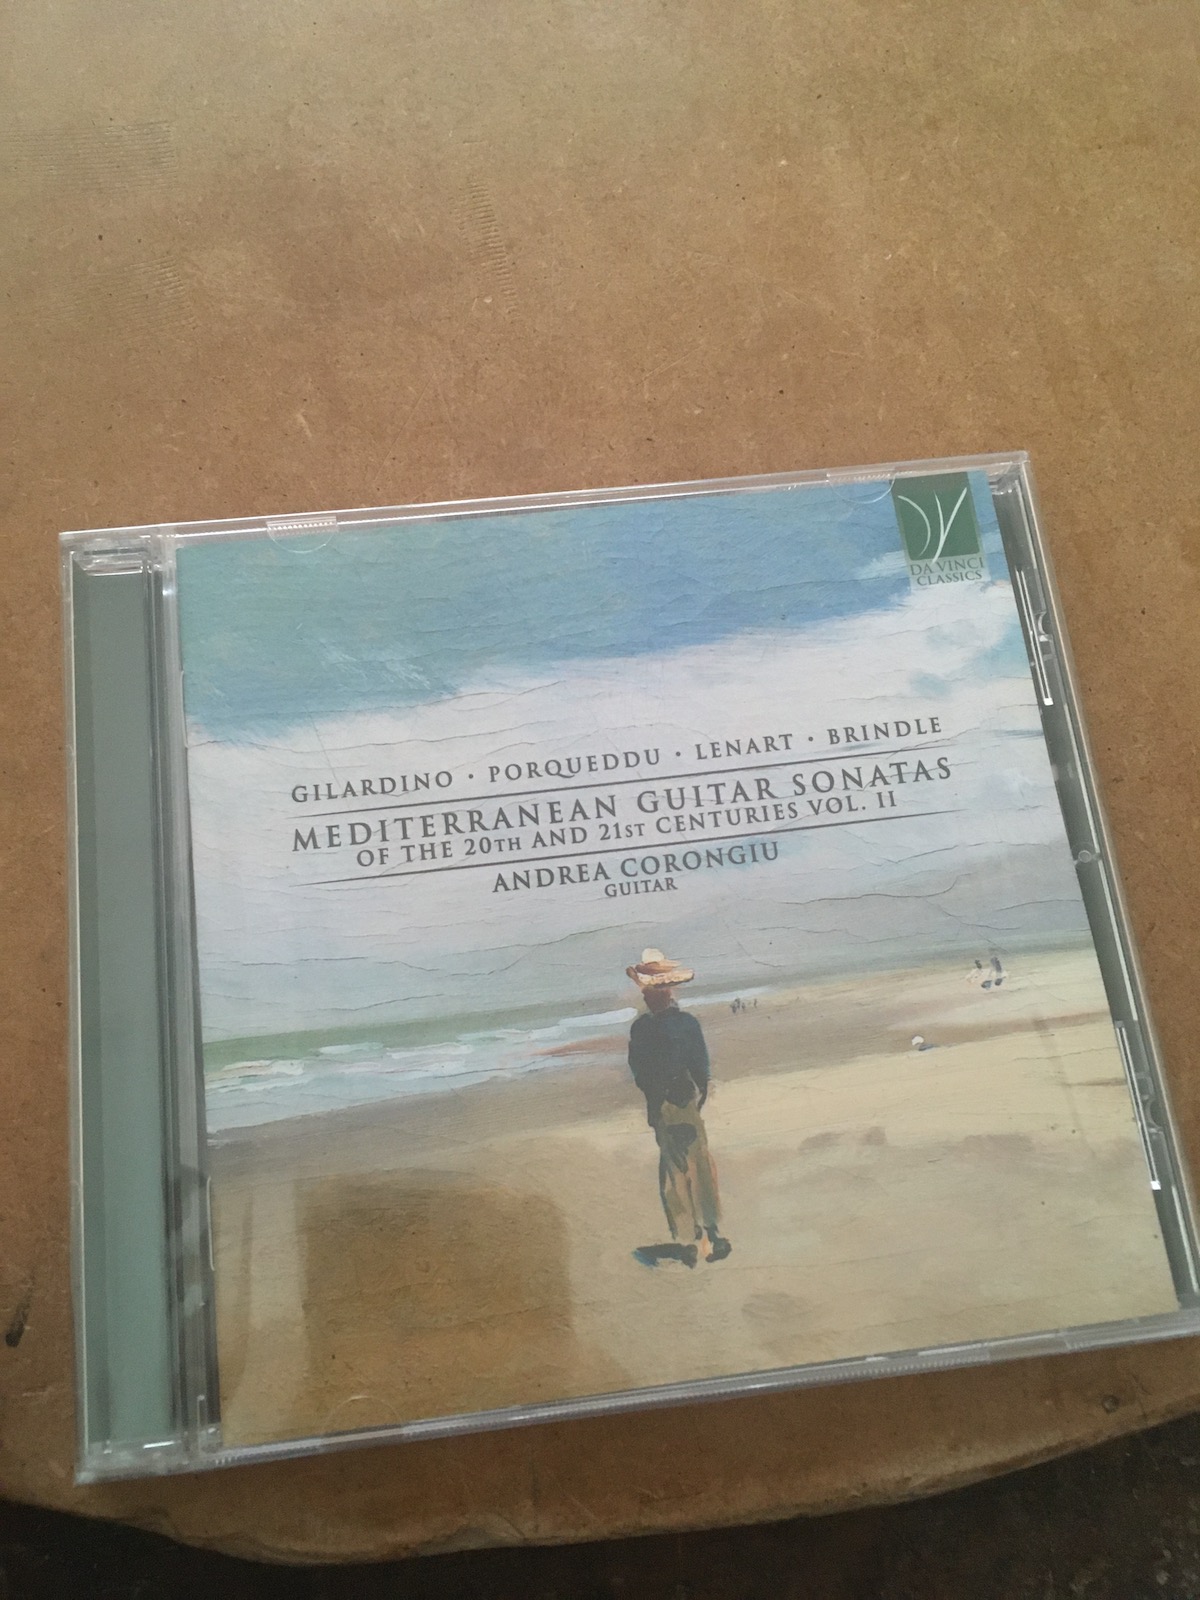
New CD from Andrea Corongiu
This CD was released some time ago but I just got my copy this week. I always love to hear my guitars played by great guitarists and Andrea proved with volume I of this collection that he is up to the task. This second volume is just as impressive. He uses a Santos Hernández copy which I made in 2018. You can buy both cds from Da Vinci Classics.
Sides
 This is one of the stages of building which gives me satisfaction. When I fit the shaped sides into the slots in the neck it starts to look like a guitar. There is still an awful lot of work to do but if feels like progress. Also, as I have often stated, bending the sides is one of my favourite tasks in the workshop. Except when you get a set of sides which will not bend no matter what you do. I don’t know how to recognise those beforehand but I would sure like to be able to. Below is and example; this just happened last week. A break can happen at the waist if you are inexperienced or in a rush but this sort of thing on a larger radius bend is surely due to a quality of the wood which just makes it impossible. Having your sides too thick can cause problems too but these were 1,6 mm so it’s not that either.

