
A friend wanted to hear more about Vicente Arias and I realized that I never finished telling the story of its restoration. Carrying on from where I left off:
From looking inside the un-opened guitar, I had assumed that the hidden linings would be the same as the visible ones: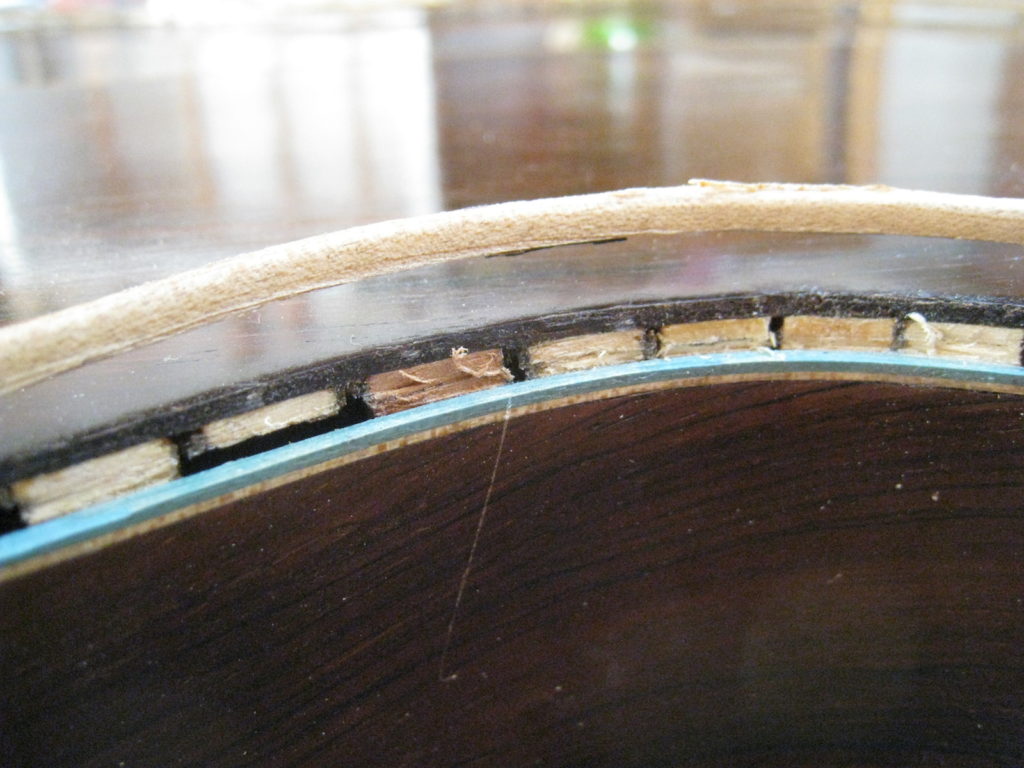
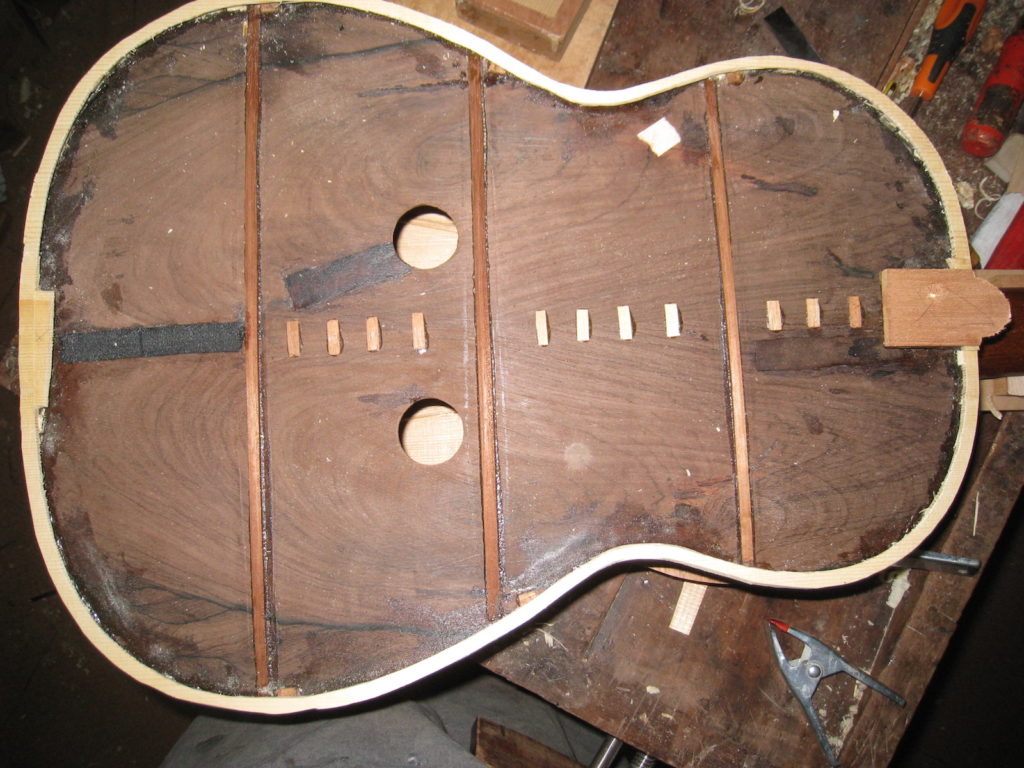
 continuous cedar. However when removing the binding I could see that they were individual spruce glue blocks. When I made a copy of this guitar (years before ever opening it) I put continuous reinforcements both visible inside the guitar as well as outside the inner back and inside the outer back. It was a struggle to see how to completely immobilize the inner back and I opted to glue in cut sections of reinforcement. Well, as always, this 19th century builder had a better idea than mine. He made the interior back even smaller than necessary and then glued triangular blocks wedged between it and the sides. These wedge glued to the sides provide the glueing surface for the outer back, the spanish peon. The inner back is imobilized so that we don’t have unwanted vibration and with some preparation we have the perfect surface to glue the outer back to. Now it is also clear that it was not such a bad idea to make a saw cut to remove the back since the triangular blocks are more delicate especially if they are
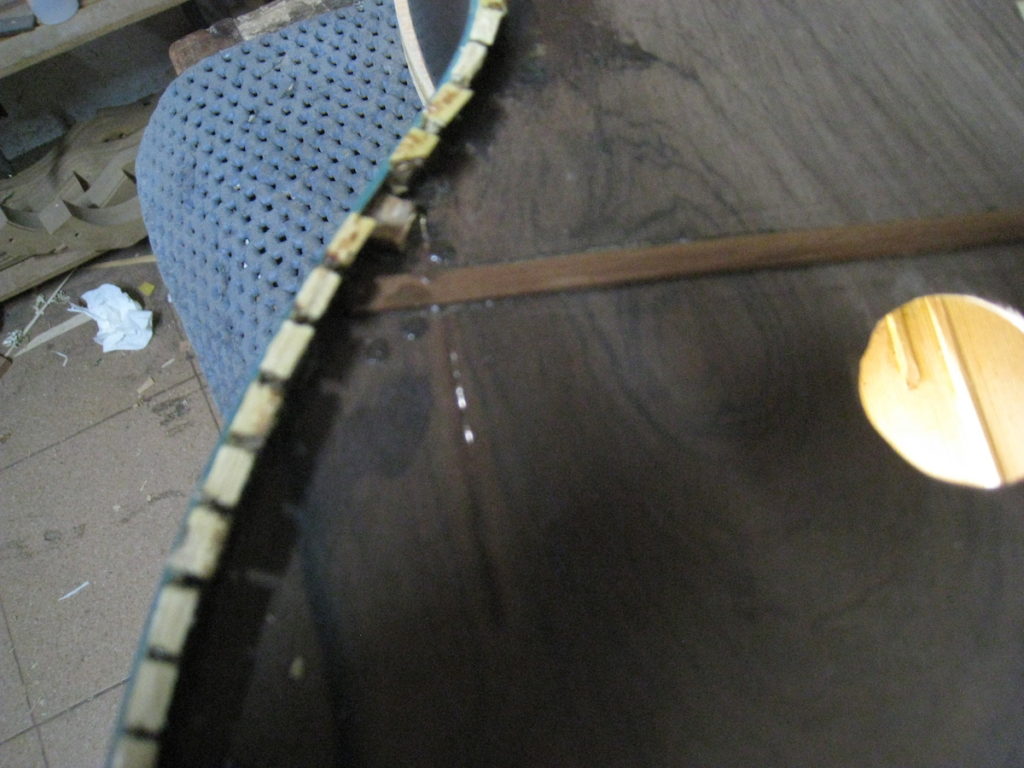
 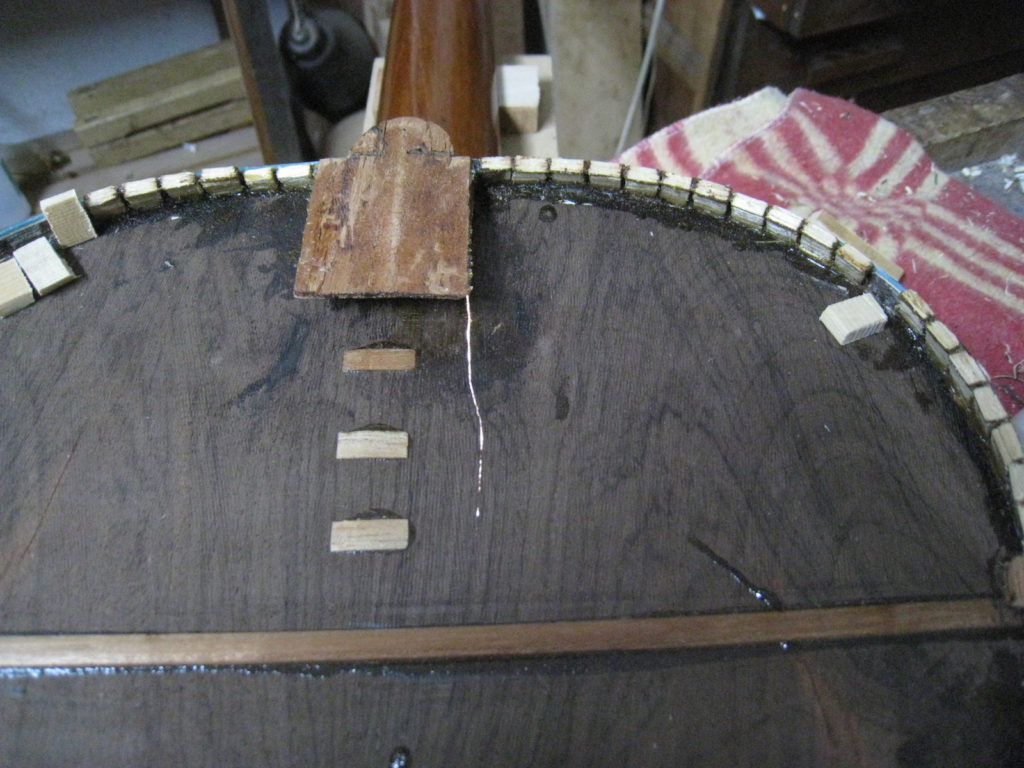 separated from each other as is the case here. Between the cut of the saw and my spatula some glue blocks were damaged and had to be replaced. Then, to give a slight curve to the back, the height of the blocks had to be increased so that we could plane or sand them to receive the back. The profile of the sides has to rise a little at the waist of the guitar. I did this by sanding the rim to level the repaired blocks and then gluing a spruce back on top to get the height lost by the cuts and repairs.
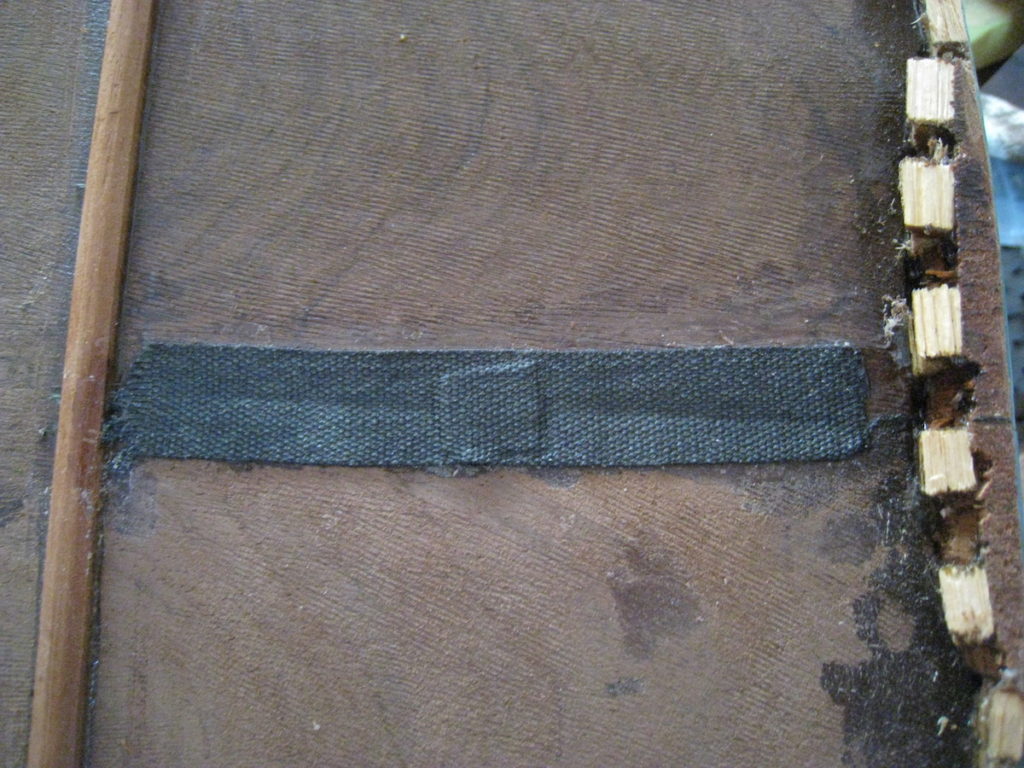
 This allowed me to use the plane to get the contour I need for a healthy domed back. After planing I was able to cut away the interior spruce leaving only a rim of spruces just thick enough to correct the curves.
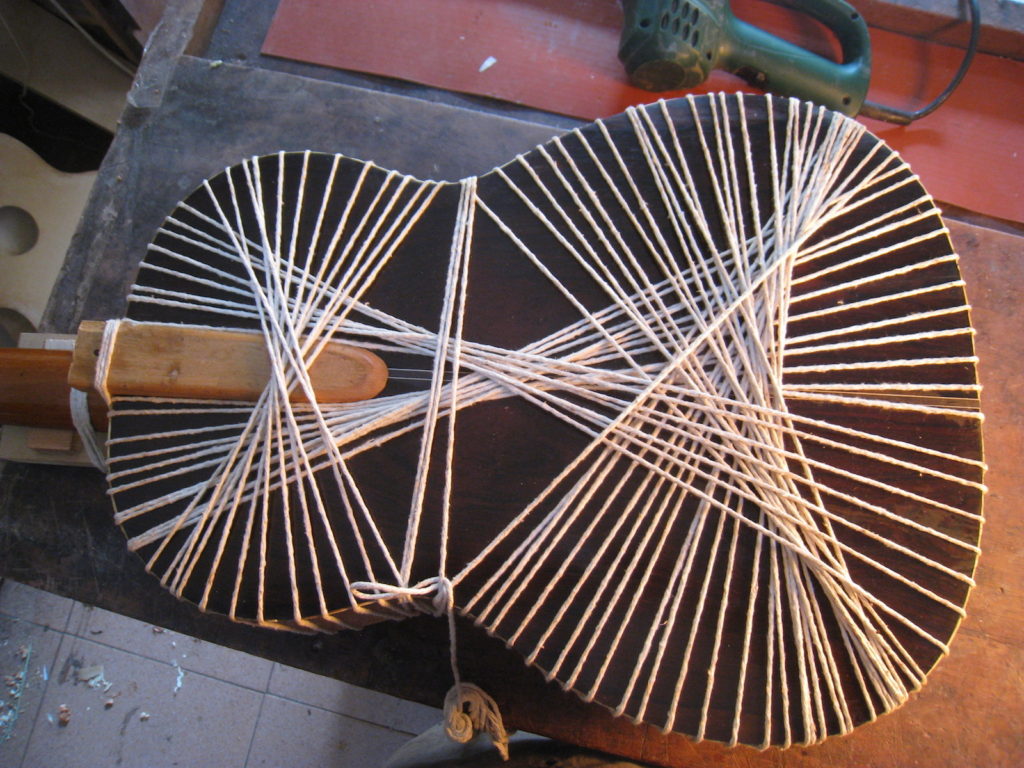
The bars are now curved but a little less than in a new guitar, counting on the probability that the back does not continue to lose width as it ages. The only thing that remains it to couple the back and glue it, prepare the channel for the bindings, prepare the borders with the black and white fillet and glue them too. 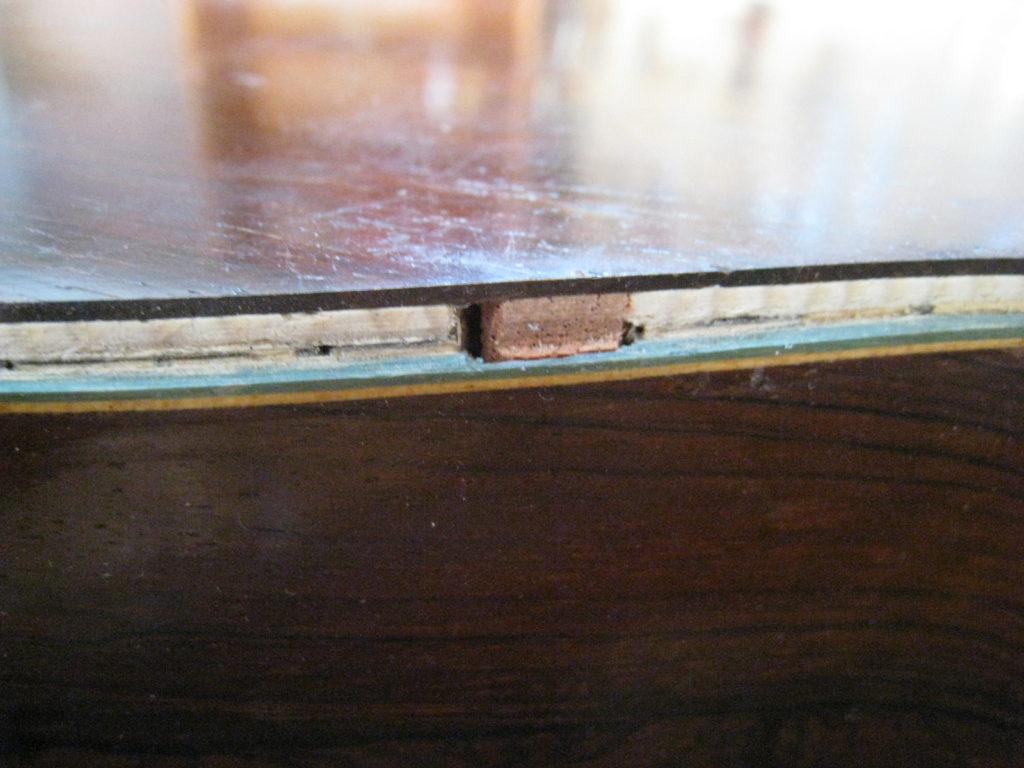
 We chose to leave the green fillet intact on the guitar due to the difficulty of finding or making the same green. The last step is always to re-polish the guitar which in this case was a bigger job than for most restorations.