This flamenco festival is one of the most important in Spain, especially the competition. I just want to congratulate guitarist Álvaro Pérez of Granada for his first prize.
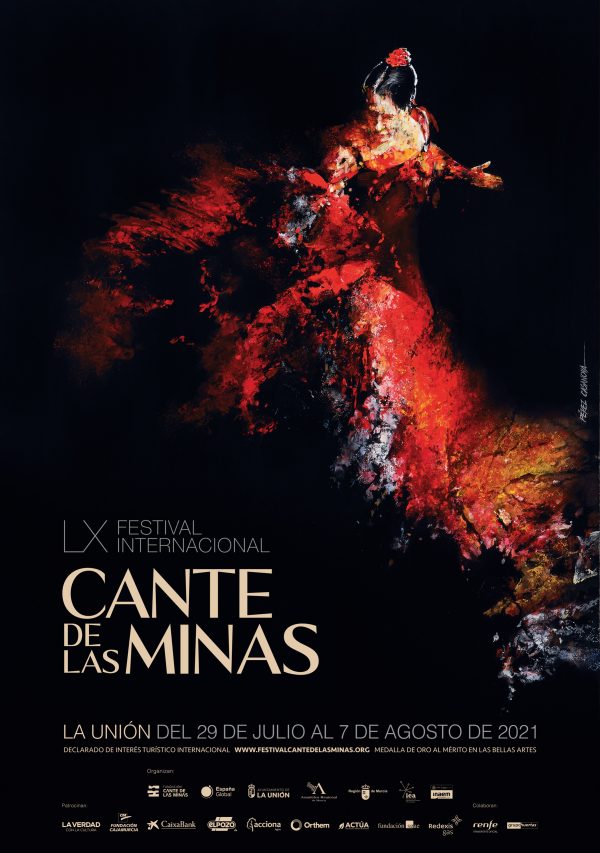

This flamenco festival is one of the most important in Spain, especially the competition. I just want to congratulate guitarist Álvaro Pérez of Granada for his first prize.
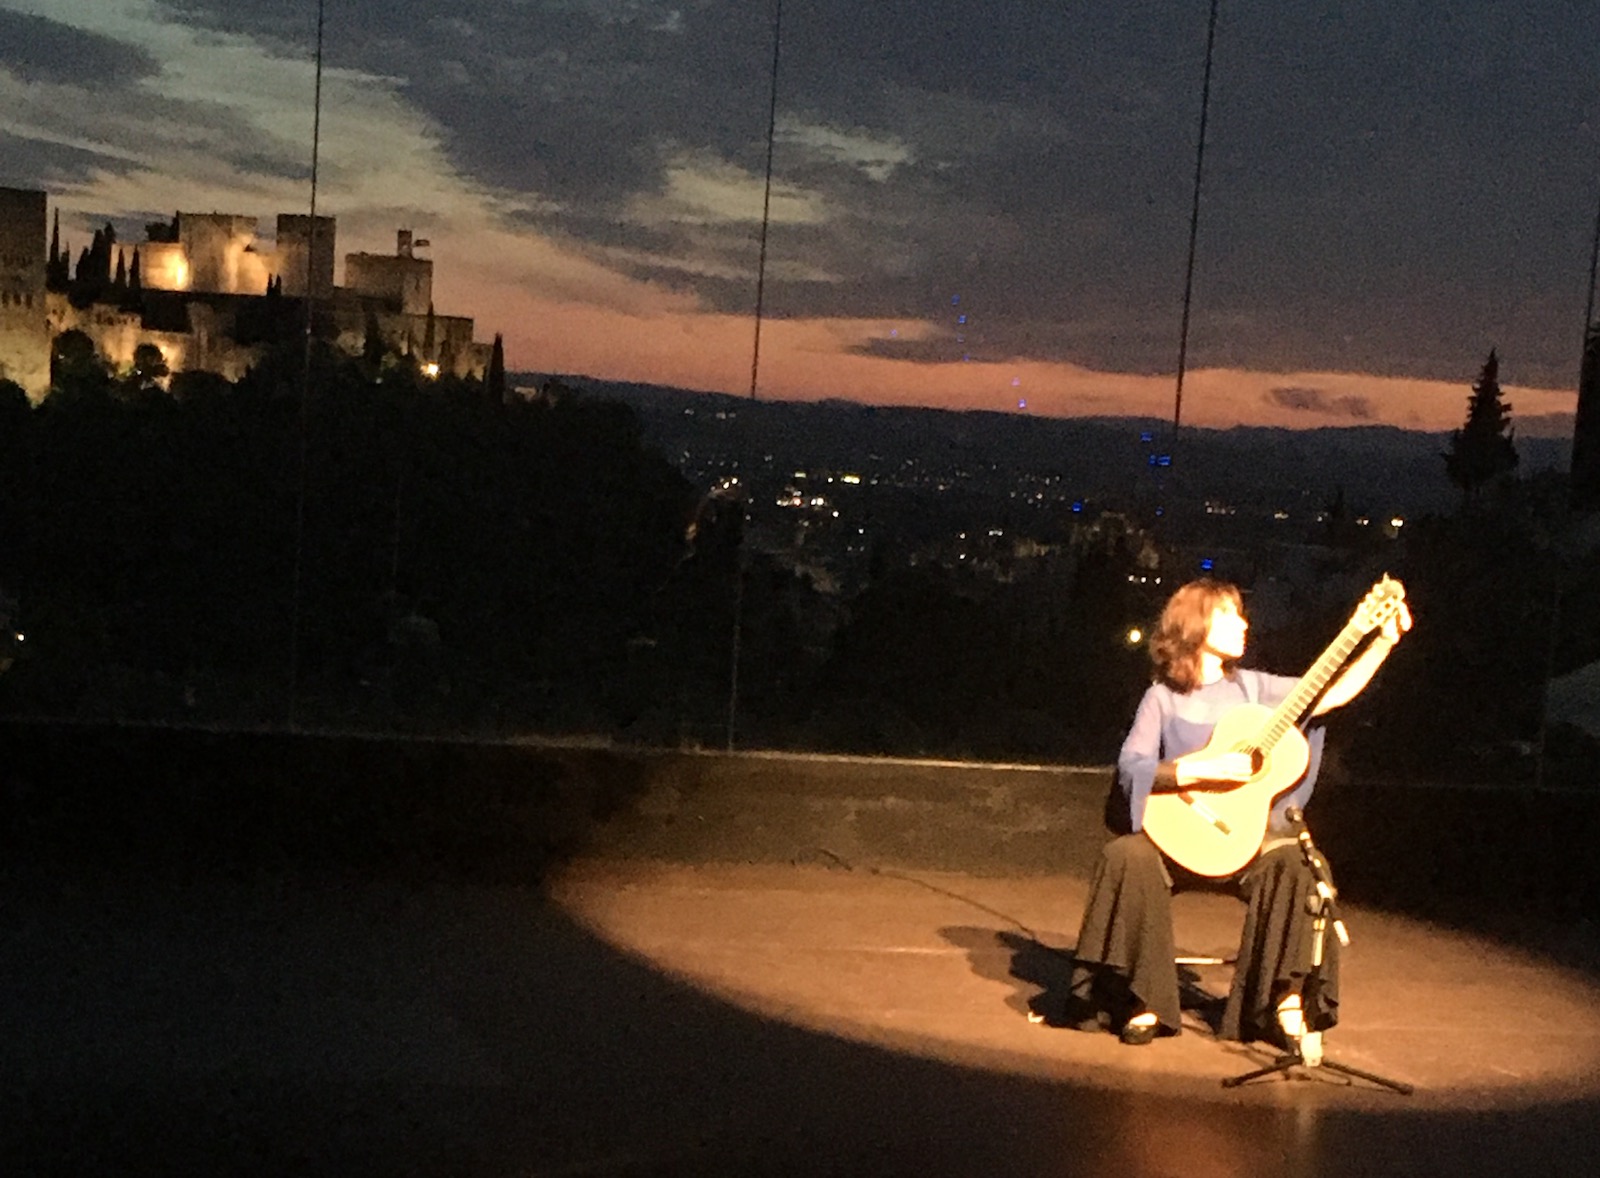
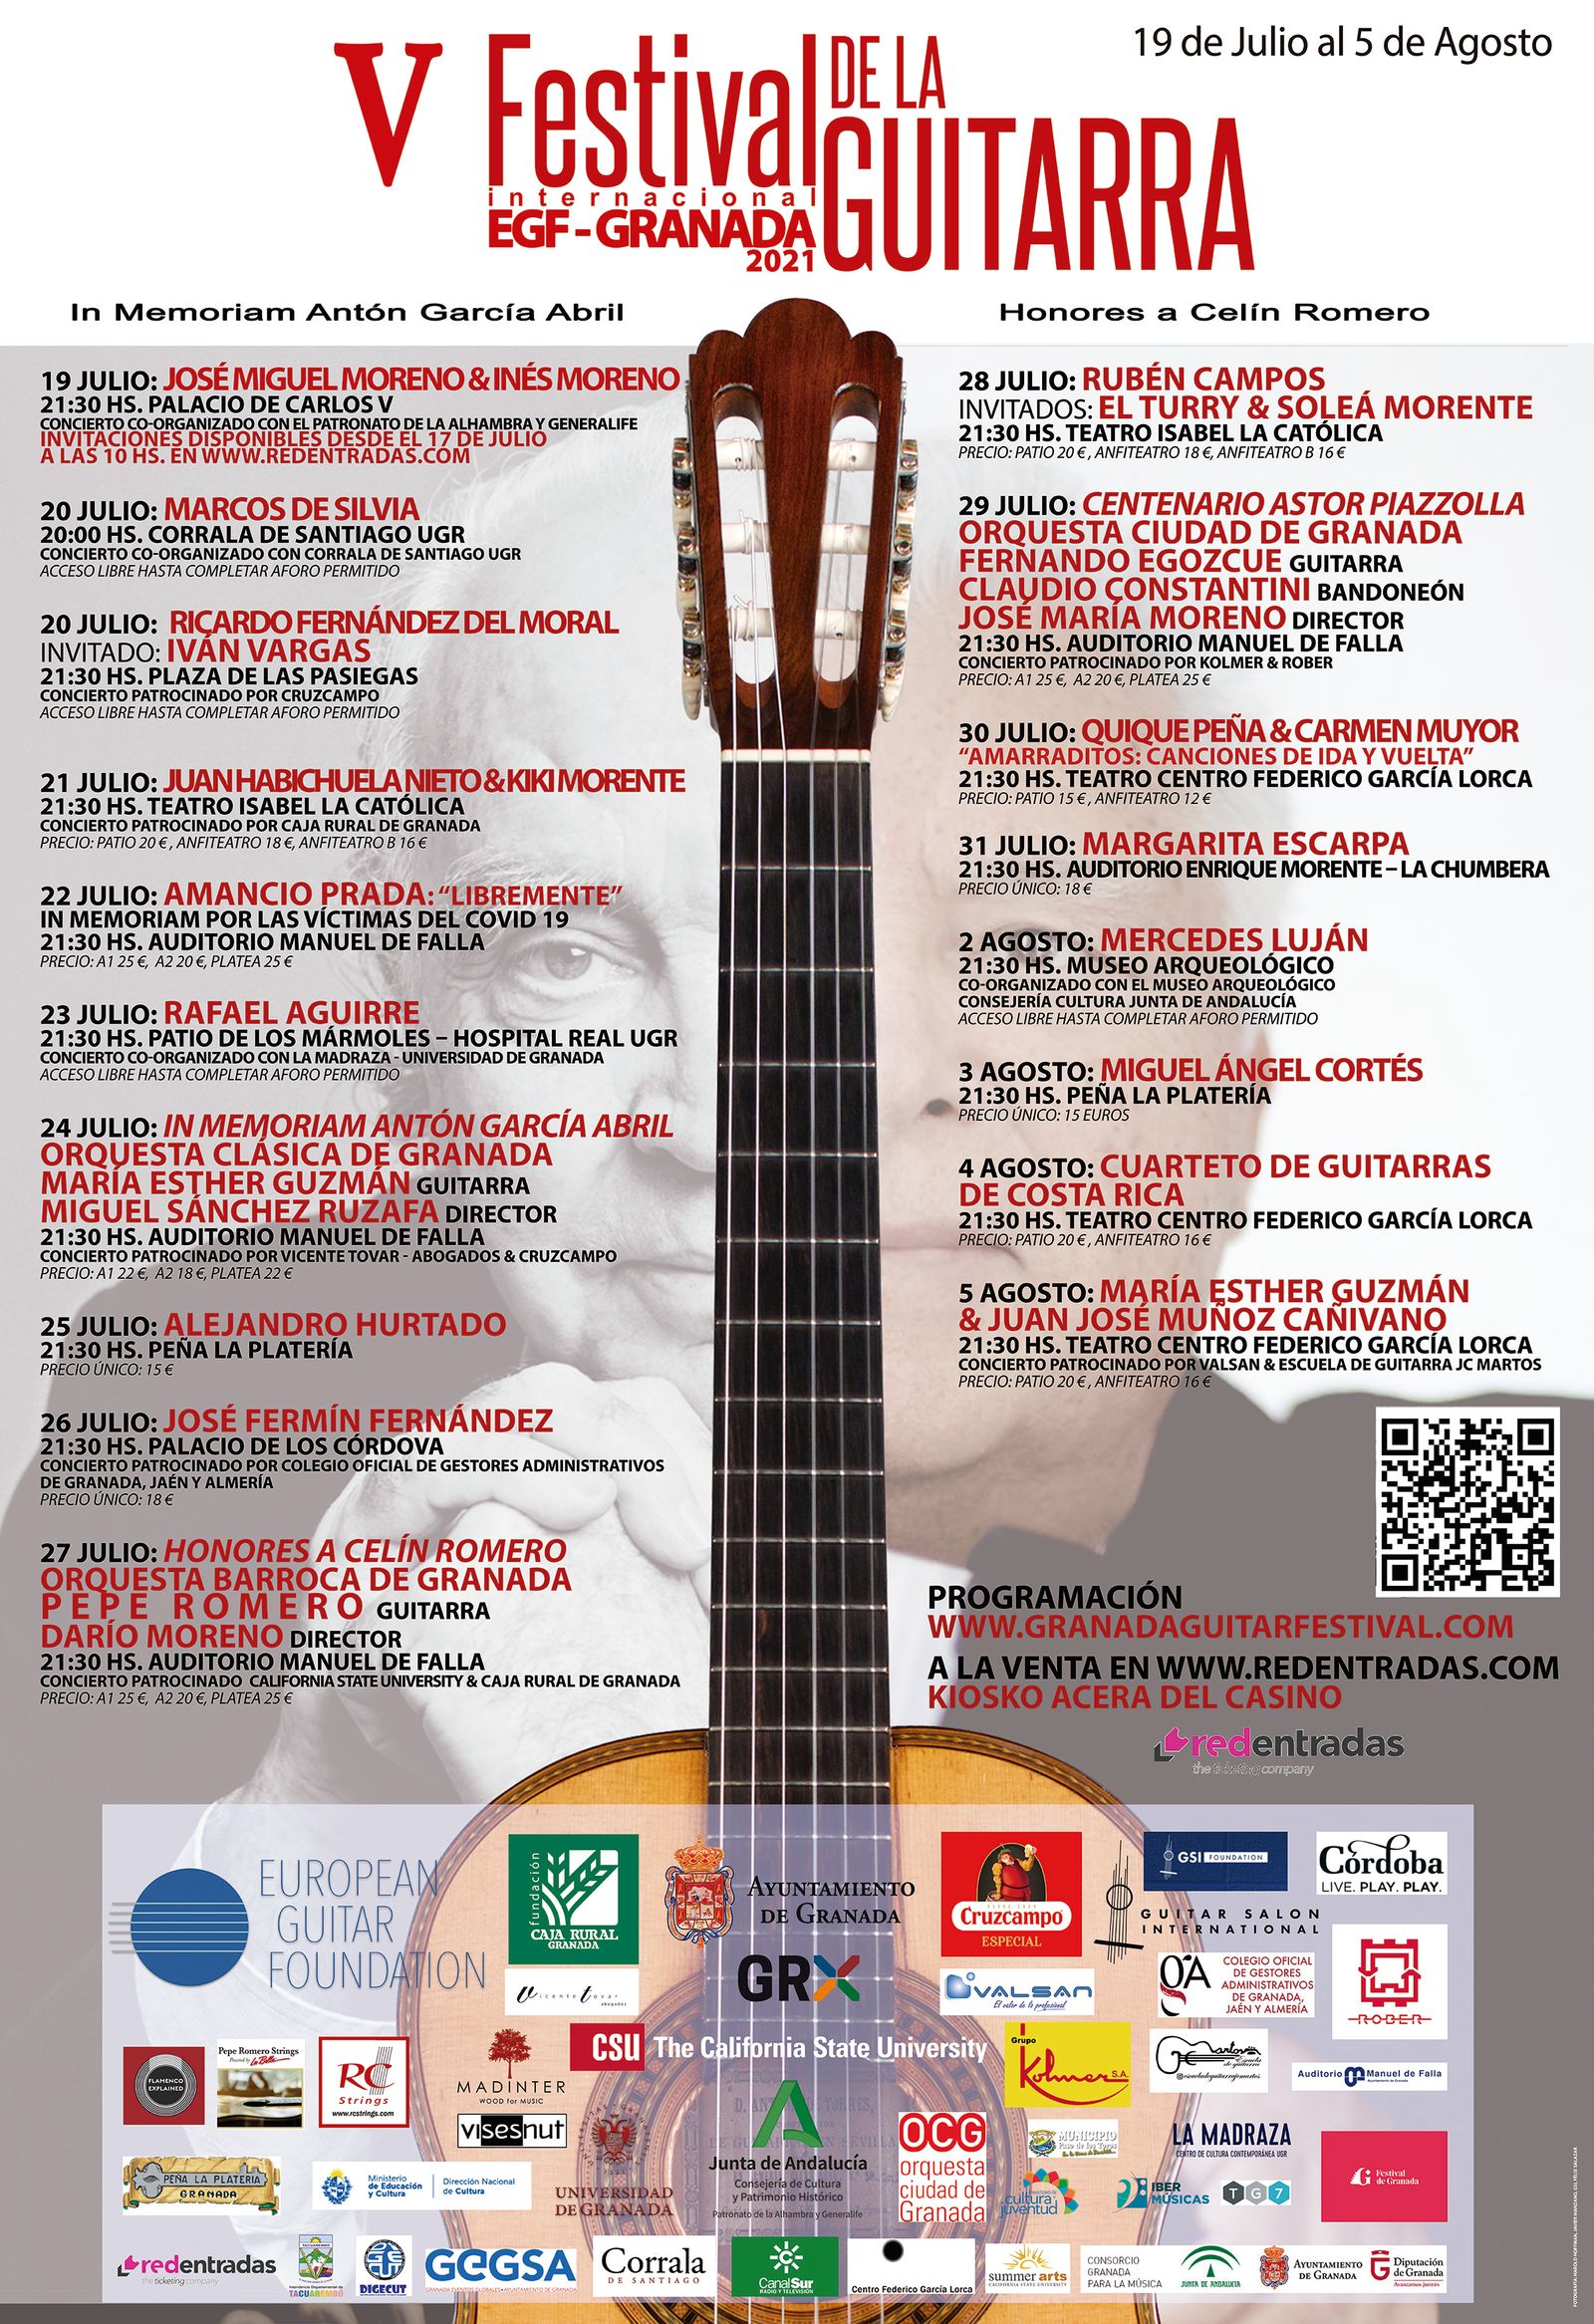
I think this is the first time that this venue has been used for the guitar festival and I hope it is not the last. La Chumbera is a small auditorium in the Sacromonte part of Granada with a huge window behind the stage giving views of the city, the Alhambra and the multi-hued sky as night falls. The choice of who should play there must have been easy to make. Margarita Escarpa always treats us to something new and challenging. My wife has accompanied me to many guitar concerts and often finds the programmes very unoriginal and dislikes hearing the same pieces from one concert to the next. Last night we were thrilled to hear Gismonti, Dyens, Schwartz, and Piazzolla among others. Once again I would like to celebrate the way Margarita brings the music closer to the audience through her passion and the exquisite way she wraps each piece with a combination of its history and her own relationship to it. 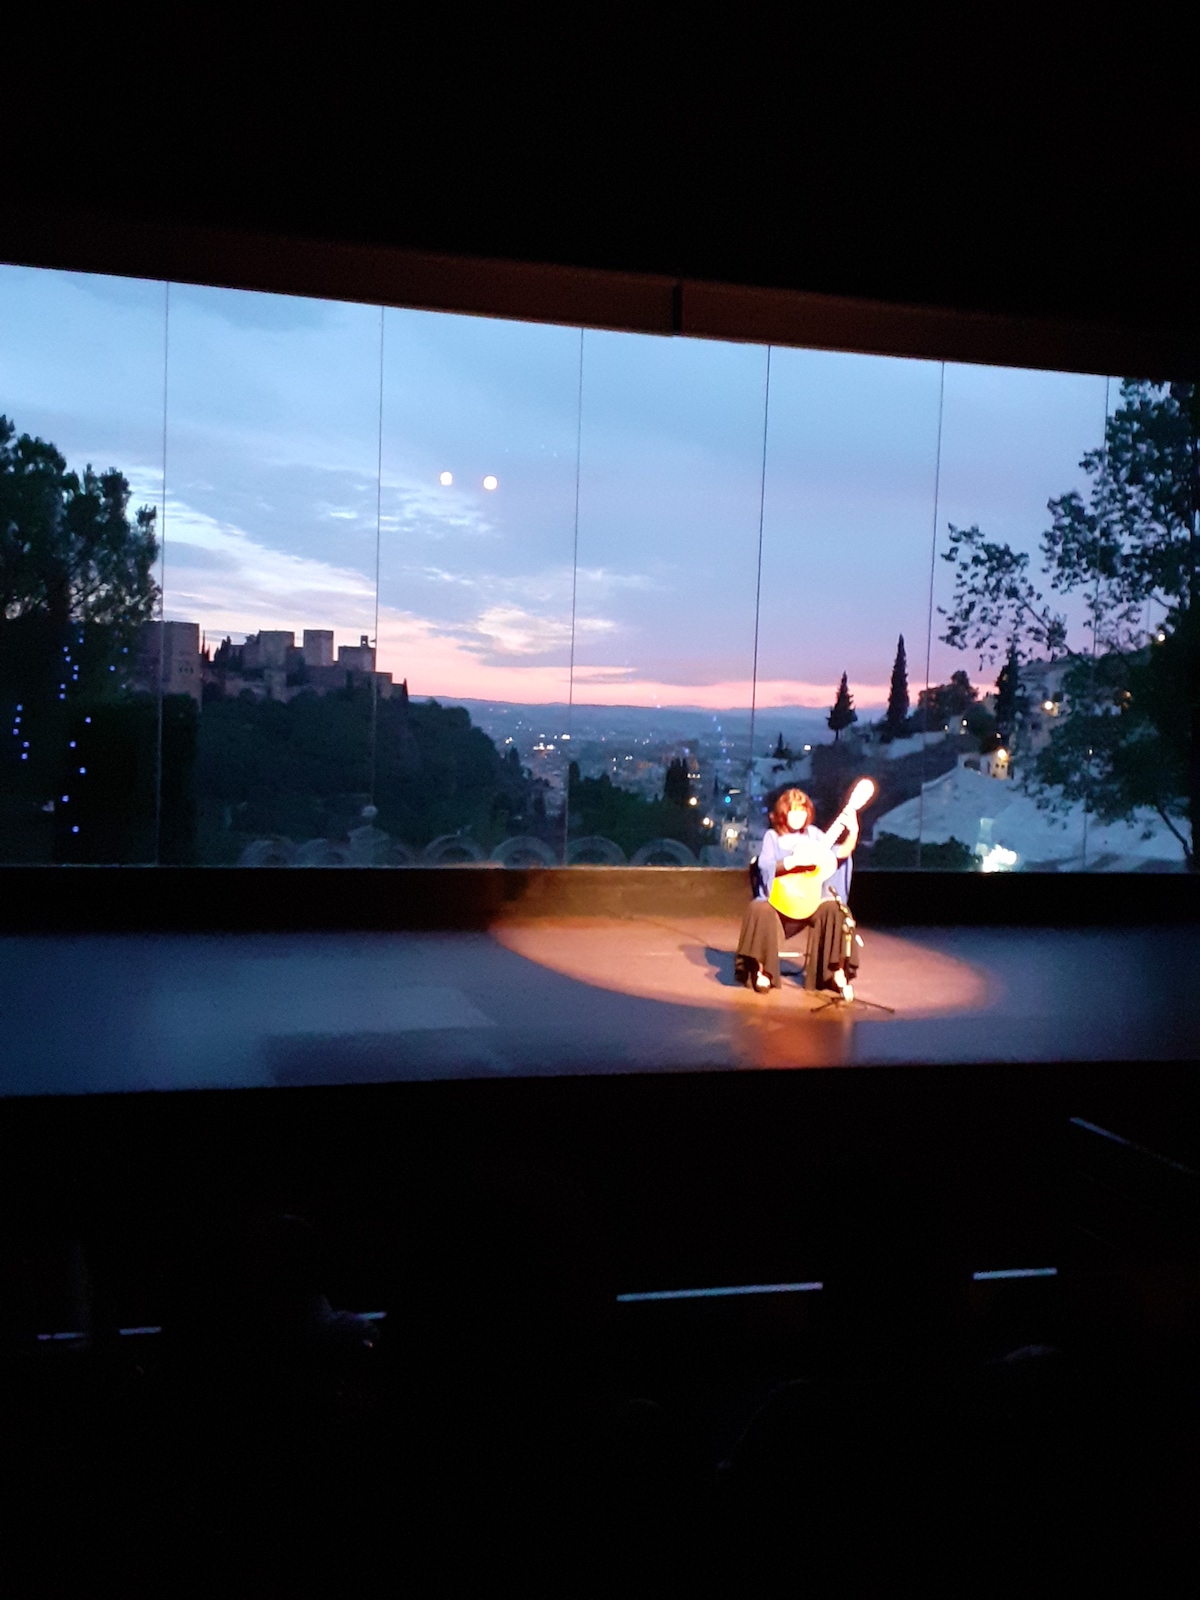
Temperatures will reach 39 this week so I am glad to be finished with the job of binding the guitars I am making. The glue is on the hotplate all day, I use a hot air gun to reheat the bindings after I clamp them with rope and then I press them flush with a hammer that has been sitting in the hot water. On the other hand, summer is a great time for me to be working because more people come to visit the guitar shops in Granada and because the humidity is low. However, if my workshop were not so cool I think I would organise some time off for the hot season. 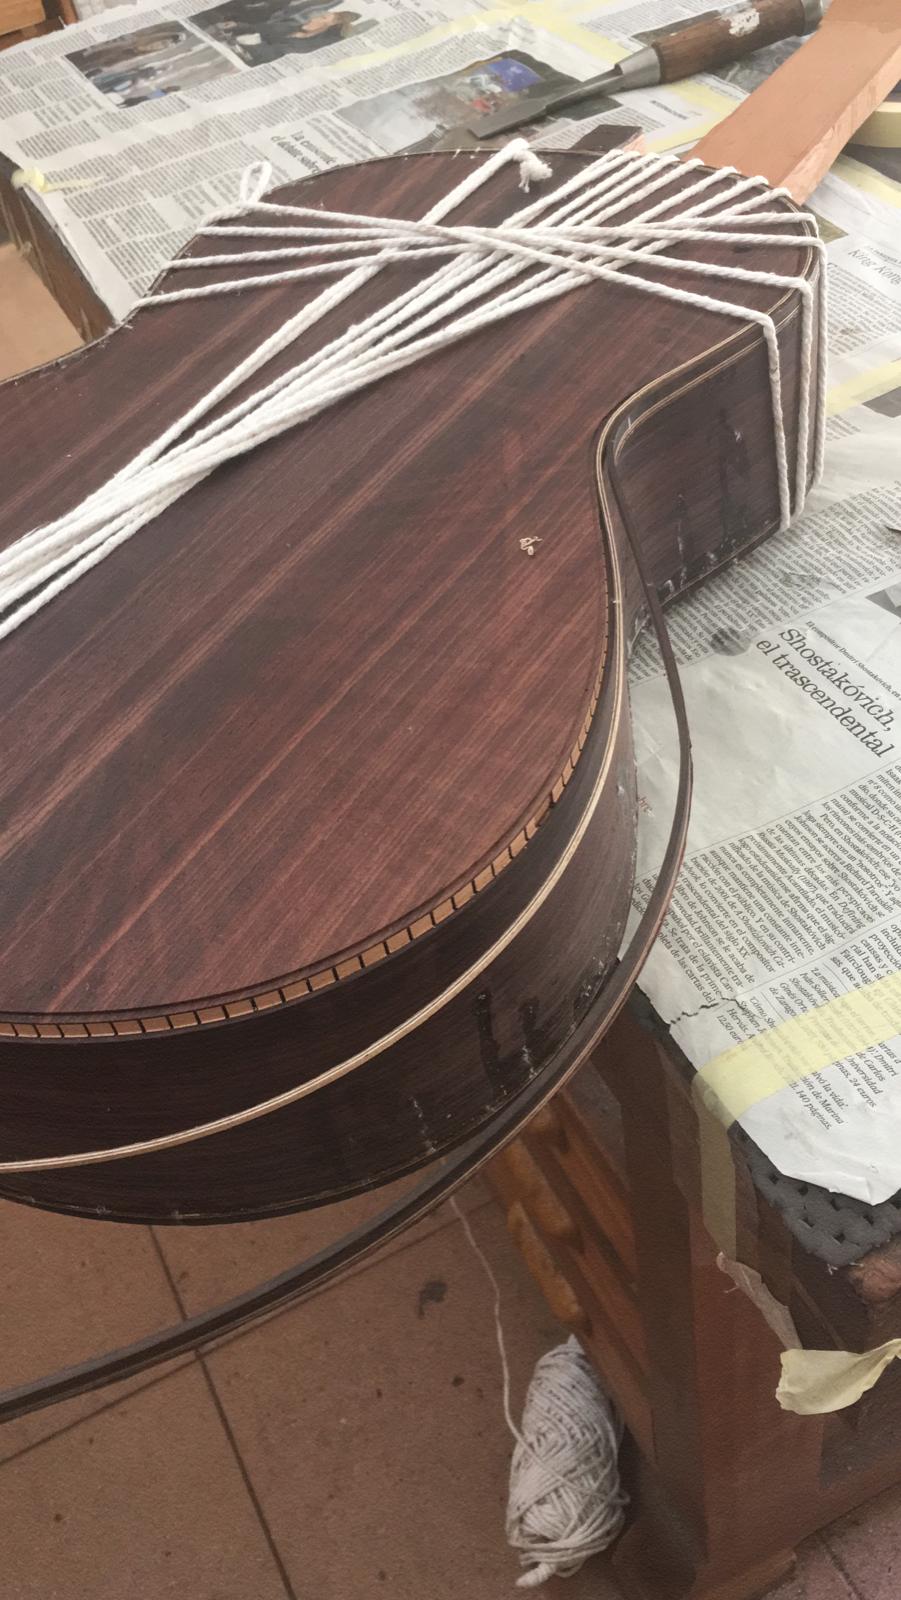
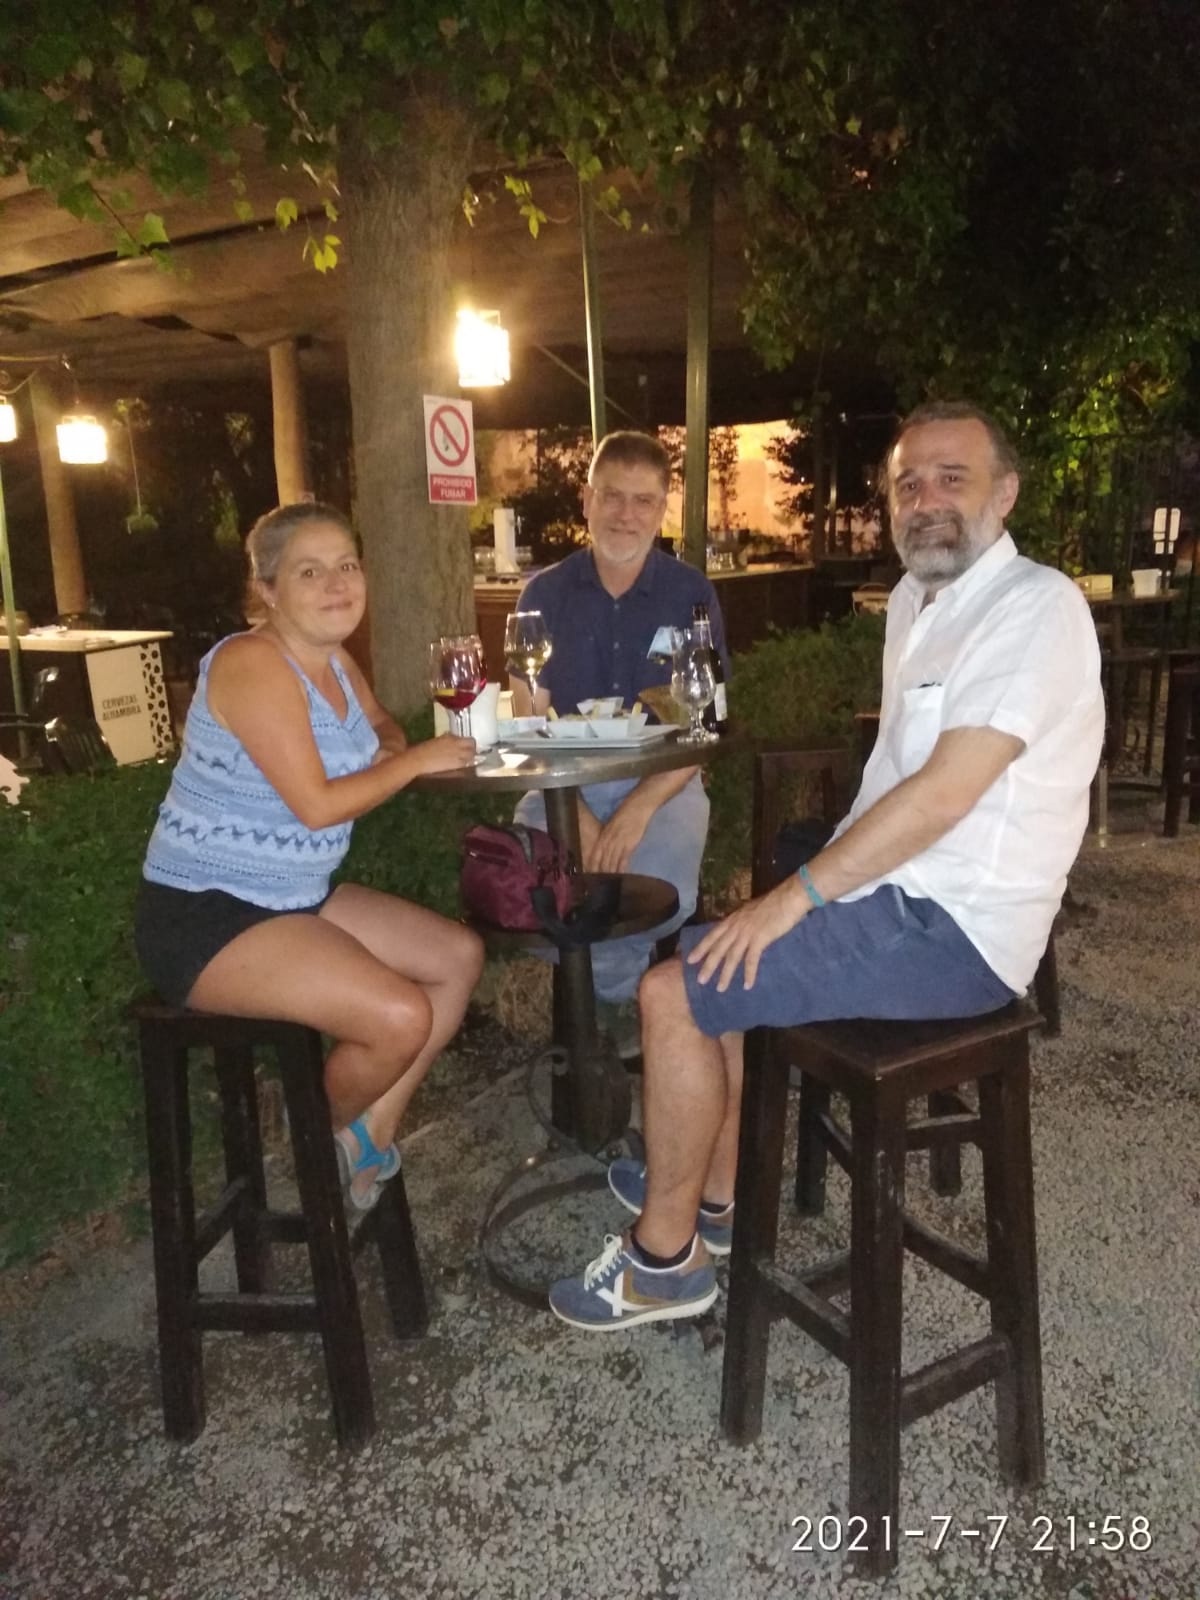
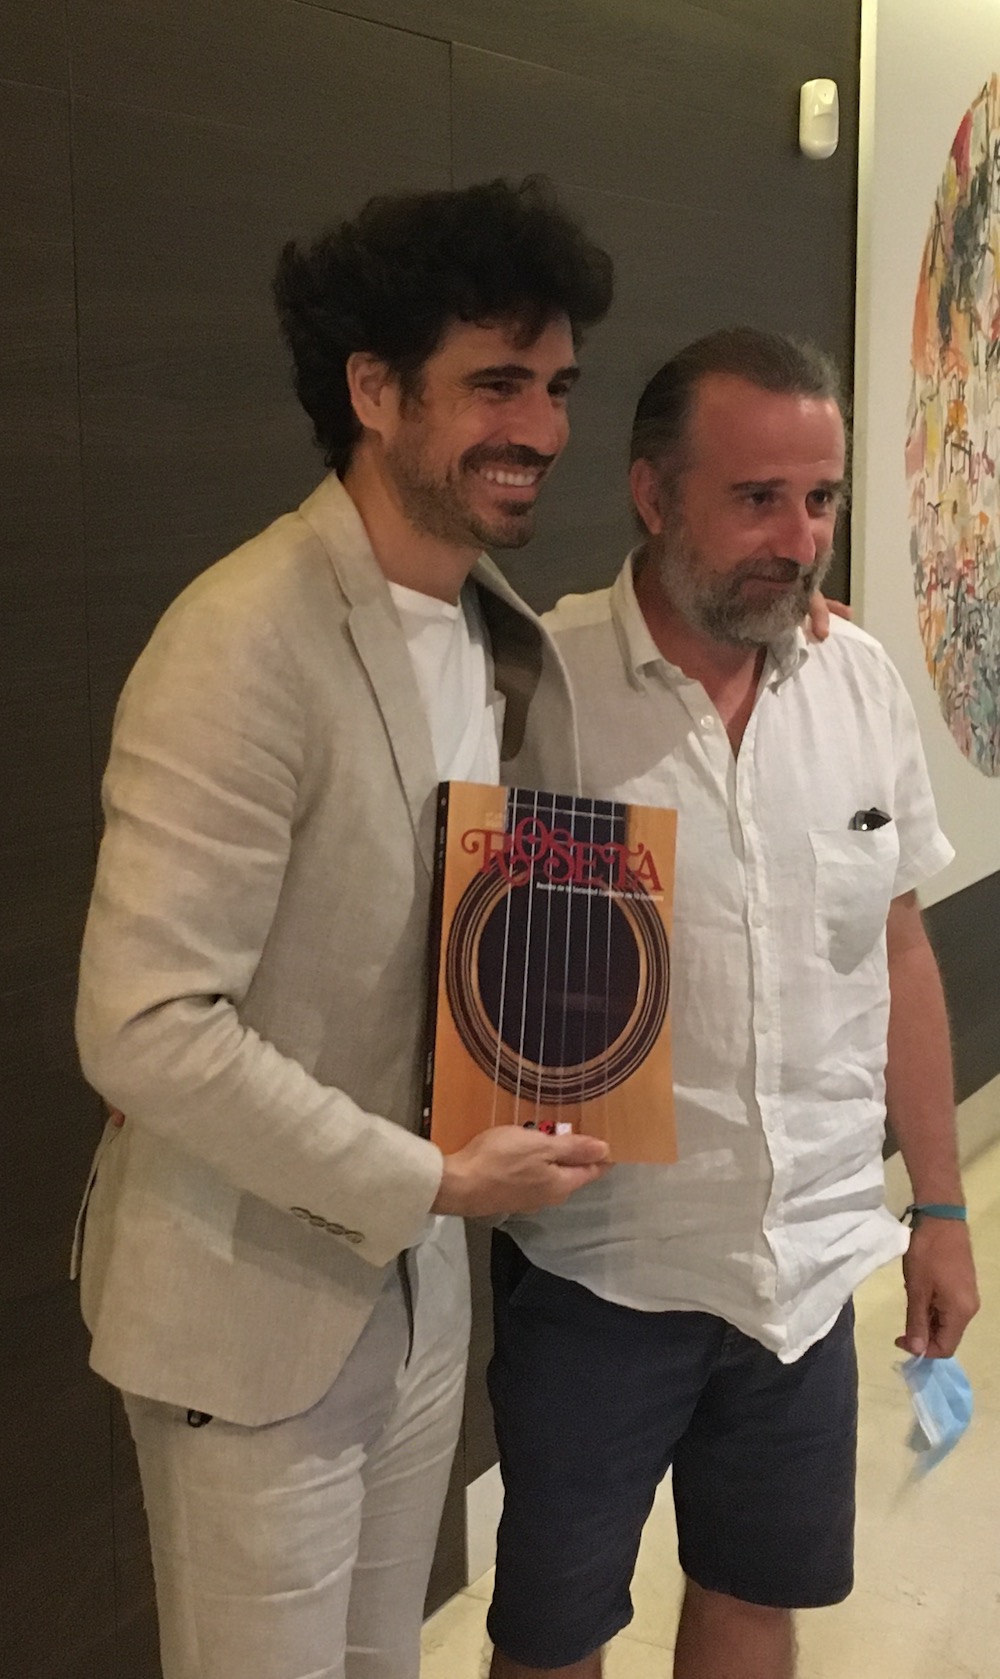 Yesterday I was lucky enough to accompany Leopoldo Neri and Rocío Jódar for an interview of Pablo Sáinz-Villegas which will be published in the next issue of Roseta. I met Leopoldo and Rocío back in 2017 when we presented the “Segovia” issue of Roseta at the Fundación Casa Museo Andrés Segovia. It was nice to catch up with them afterwards over a few drinks and the famous avocado and prawn omelette at La Mimbre just outside the cool walls of the Alhambra.
Pablo is here in Granada for his concert and masterclasses which are part of the Festival Internacional de Música y Danza. As you can imagine I come into contact with quite a few guitarists in my work and there is no doubt that Pablo is the exception to the rule: the manner in which he chose to manage his career and set his priorities, the way he chose to step outside of the established “guitar world” in Spain and other details which came up during the interview. He is often called the successor of Segovia and although that is an easy thing to say about any successful guitarist in this case his strong personality certainly adds some weight to that claim. Watch for the interview in the next issue of Roseta. It was a pleasure to meet him and I enjoyed hearing his point of view on concentration and stage fright. Pablo is an inspiration to musicians, guitar-makers and anyone else who thinks that it is enough to be great at what you do. It is not enough, you have to get out there and step outside your comfort zone, convince people that you have what they want and above all enjoy what you have chosen to do as your life’s work. I was very unhappy that I had missed out on getting tickets for his concert 2 days earlier. The tickets to the concerts at this festival take all of one hour to sell out. Well, maybe next time.