
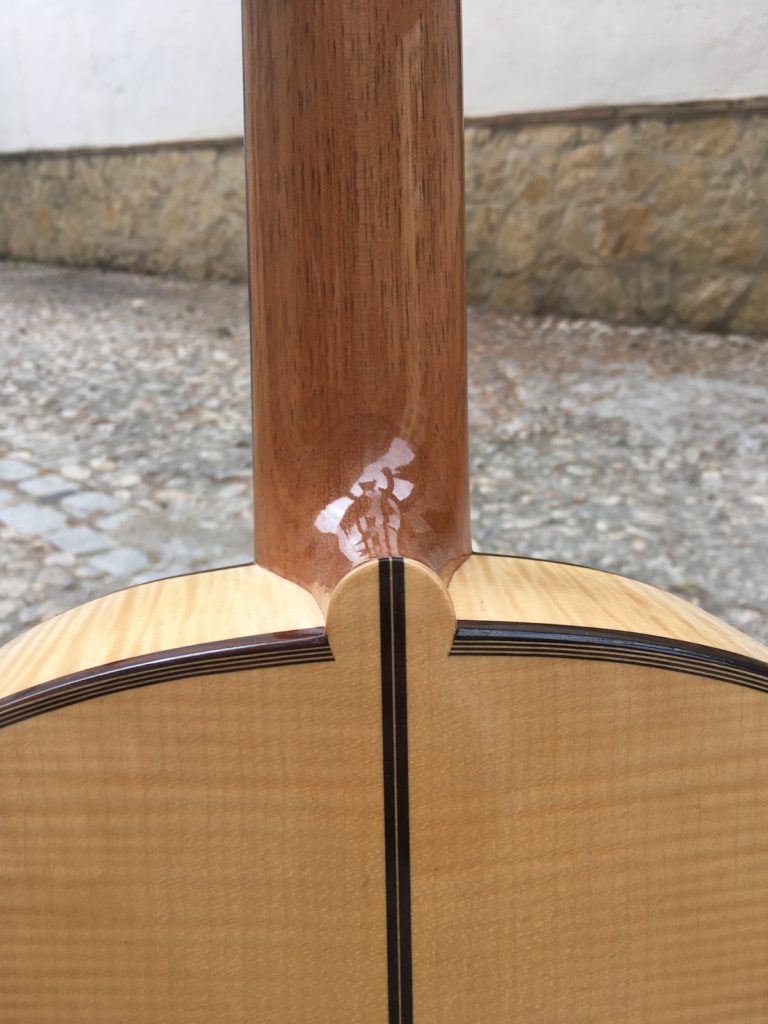
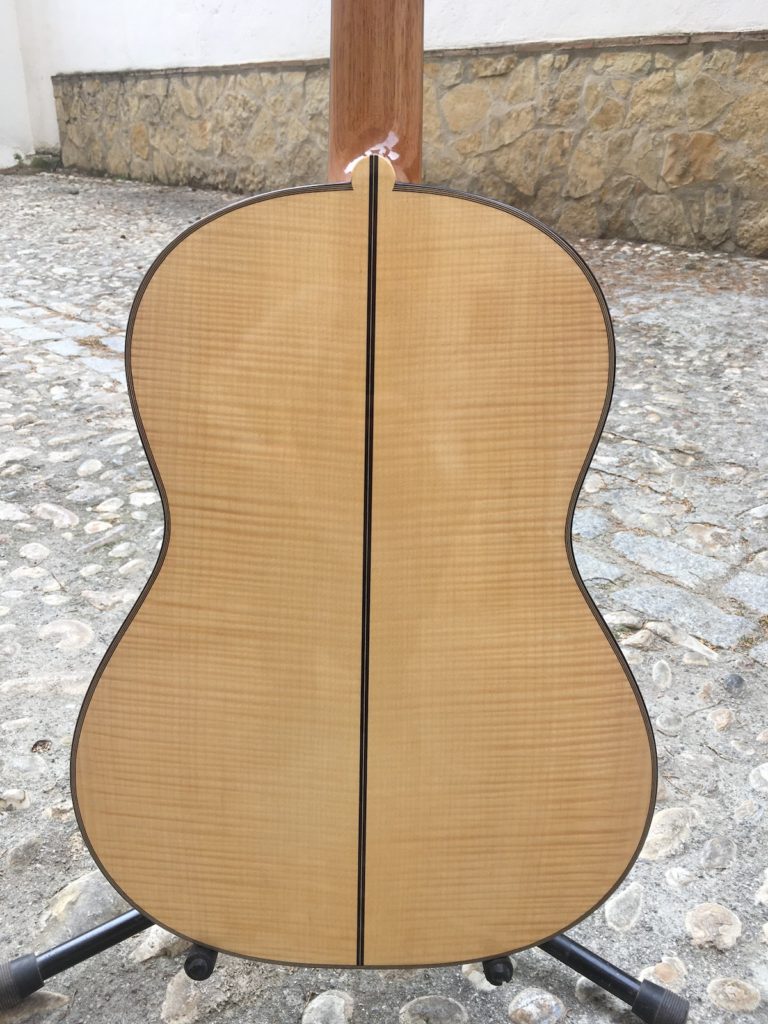
My short scale guitars have always sold quickly and have made their owners very happy. Here is a recent one which sounds great and is of course easy to play. This one uses the body shape and bracing that Rolf Eichinger used on most of his later instruments. I think I might keep this “plantilla” for all of my short scale instruments.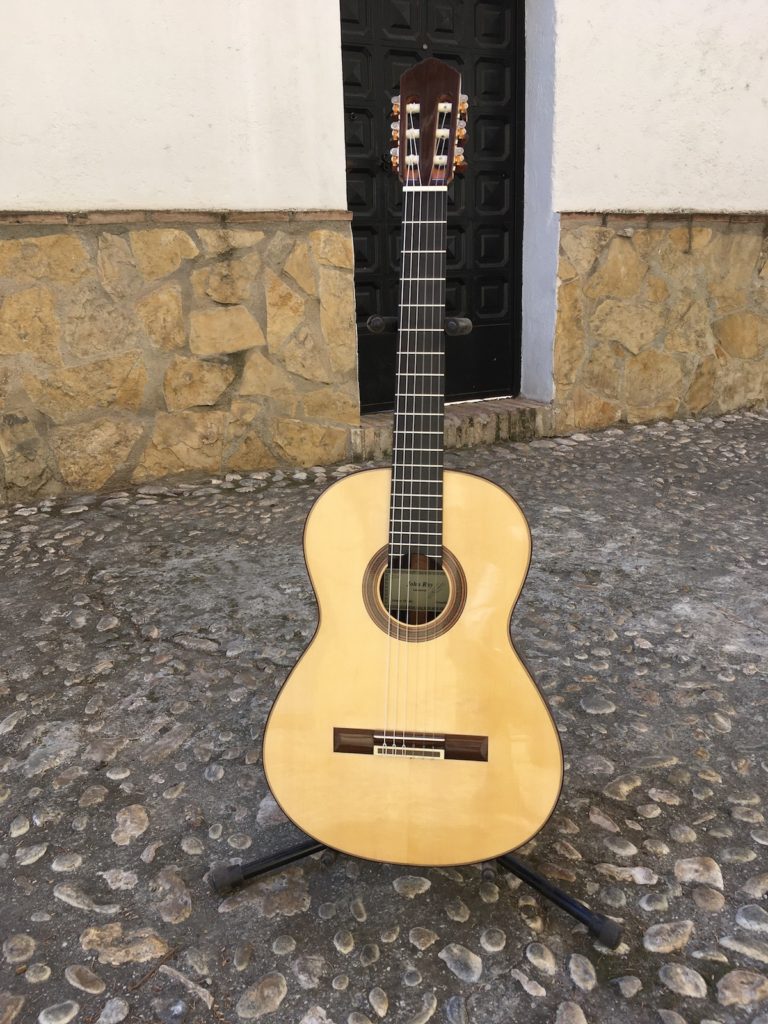

Tag Archives: rosewood
Using hide glue
I got some feedback from the latest video I posted and it gave me the idea to explain how I use hide glue. I may have already written something about this and certainly many others have done so but as we are all sitting at home anyway waiting out this worldwide sickness I guess it won’t matter if I have covered some of this ground already. I love hide glue. It has fast grab, the glue lines are often invisible, and in the case of rosettes I think it heats up again upon installation and resettles into the perfect round shape. Hide glue doesn’t creep, I think it is less damping than other glues and clean-up, working the joint and re-glueing are easier. Heat resistance is very high and it doesn’t show up like PVA under a finish.
There are a few things to keep in mind when you use hide glue:
1. You need to make perfect joints especially with thin stock. The glue shrinks as it loses water and draws the two pieces together and causes deformations where the surfaces are not perfectly mated. With thicker stock the result is a weak joint because hide glue won’t fill up the space and even if it does it won’t have the same strength as a very thin glue line. A thick glue line or pockets with some glue inside has another drawback: They might attract moisture and thereby mould or insects. It will not fill in gaps.
Guitar International magazine 1989
2. The glue needs to be warm (liquid) at the time of applying pressure. This often means preheating one or both pieces or heating once they are fit together in the case of thin pieces. I heat bindings, back fitting (like in the video yesterday), rosettes, and plate joints after applying the glue and joining the pieces. Almost every other operation involves heating the wood beforehand. One exception I can think of right now are the peones (triangular glue blocks) which seem to stick well enough just from the heat in the glue. I preheat with bridges, fretboards, bars and fan braces, headplates, neck stock; I even have a heat blanket for heating when I glue up a large number of veneers at the same time. Flame is the traditional way to heat the glue joint after the fact. I have seen it used on rosette installation and glueing on the back and when glueing the two halves of the back together. Of course you can use other methods but I love these traditions and it really works well. One of the advantages is that it seems to dry out the wood a bit less than something like a heat gun.
3. You have to learn to get the consistency right and each job requires a specific consistency. When you are heating up after the fact a slightly thicker mix can be good so that the glue flows less before the heat is applied. Bridges and fretboards like a more liquid mix because ebony and rosewood won’t absorb so much of the glue and a glue line which is too thick could fail. Another theory that I have is that although a thick mix has less water per unit of glue a thinner glue has less total water going into the wood (bridge and fretboard don’t like water). I like a very thin glue too for installing a rosette from its components because it wicks better. In general you can use glue thinner than what you are used to and it will work better. 
4. Reversiblity is nowhere near as easy as some will try to tell you. If you can break the joint (usually because of a thick glue line) you can do whatever you came to do and it will re-glue very nicely but opening a tight joint with very little glue (the best kind) requires so much water and heat that you often severely compromise the wood. On a partially open joint that needs repairing this is much easier because you can get the heat and water in more easily.
5. You need to plan ahead to have it in its gelled state and heat it up when you need it.
Glueing the back on
 You might want to turn the sound right down on this one.
Torres 640 extra fret
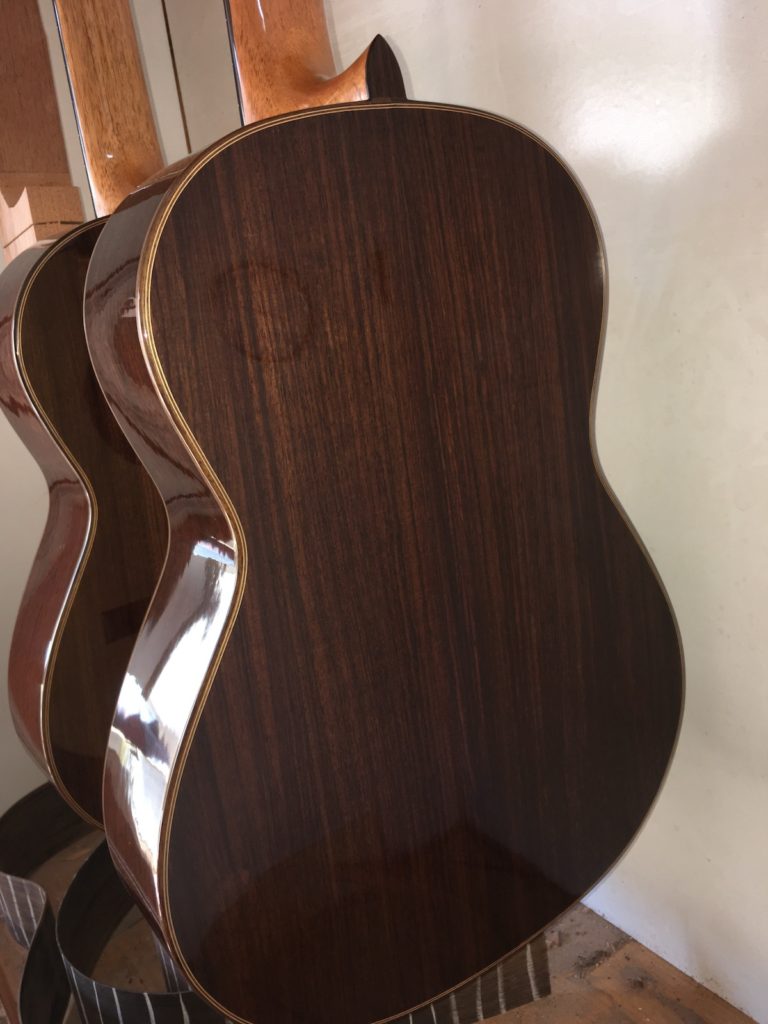
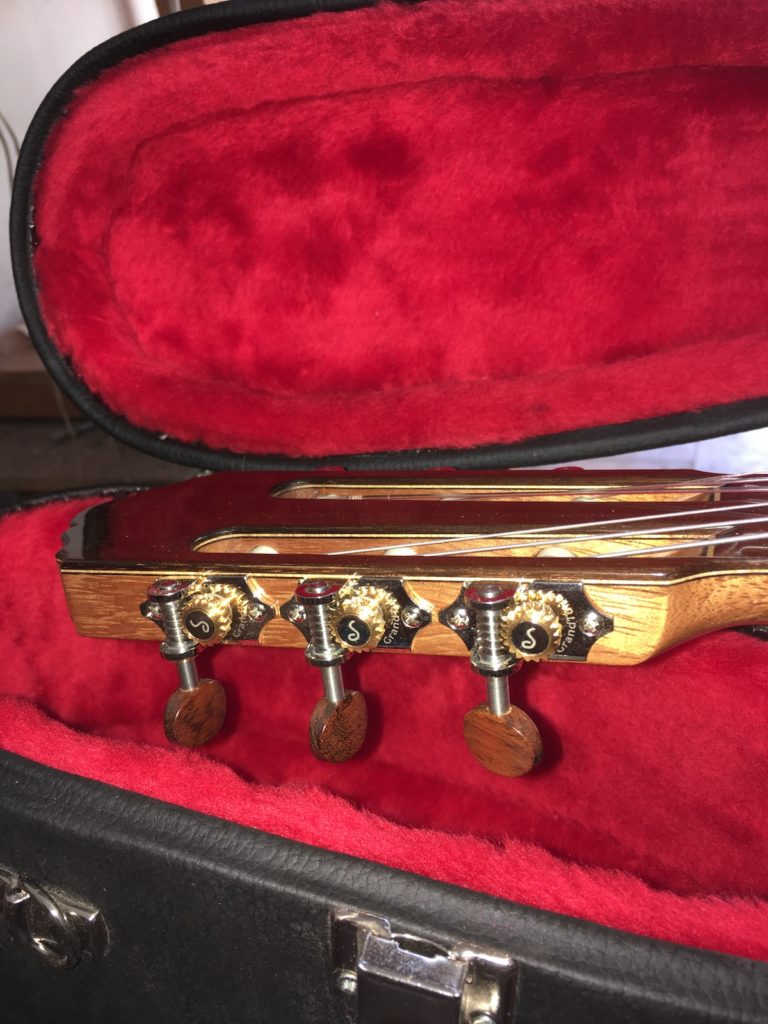
 The original SE153 is 650 and of course only has 19 frets. Although I have made many with rosewood, this is the first time I have changed anything else on this model. The measurement at the nut is 50 on this one and on all of the SE 153 copies I make. 640 works very well because of the small body while the extra fret is seen by some to be indispensable for modern music. I have resisted making the extra fret standard just like I don’t usually put a marker on the 7th position but obviously these things can be included for no extra cost at the time of ordering.
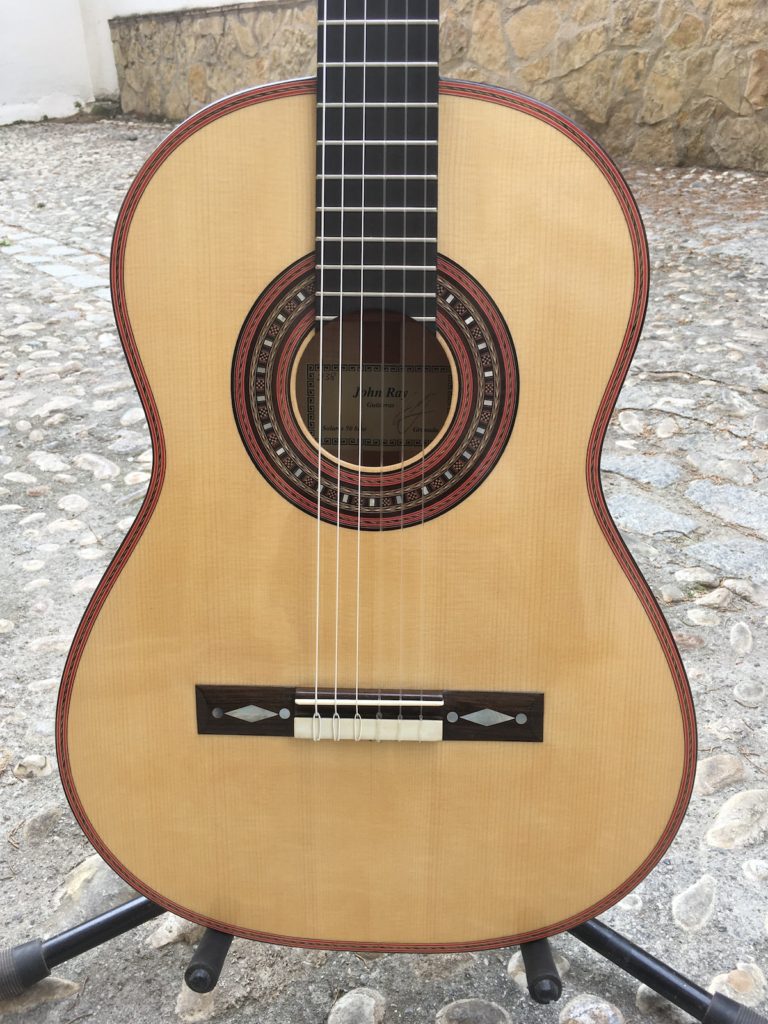
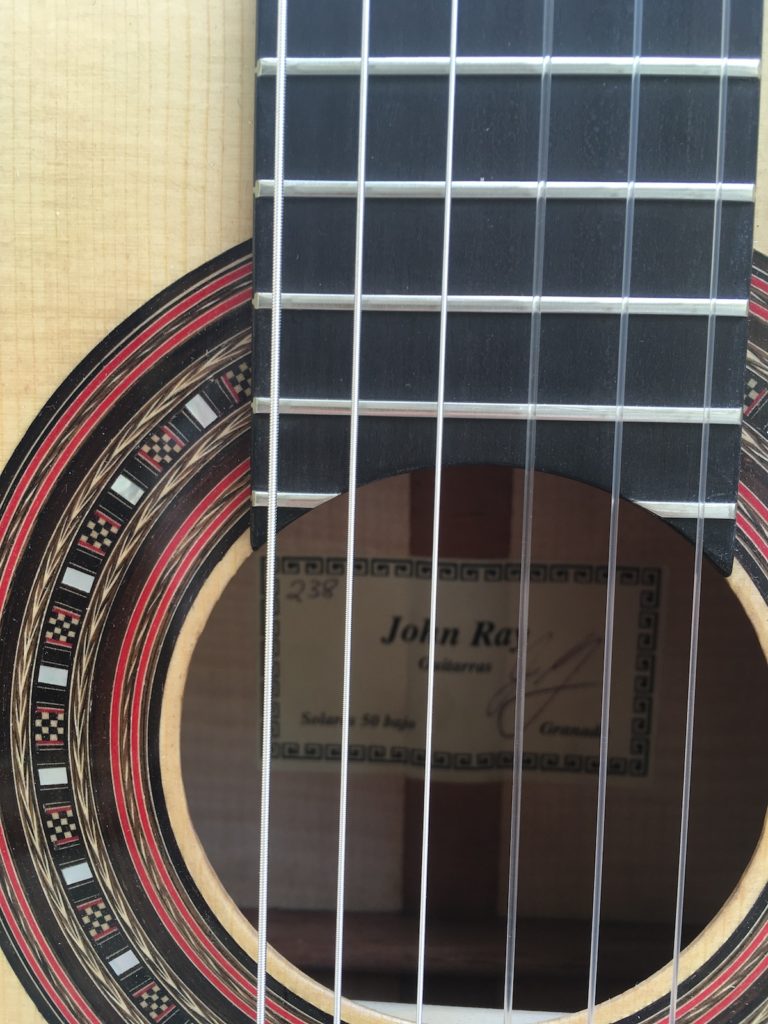
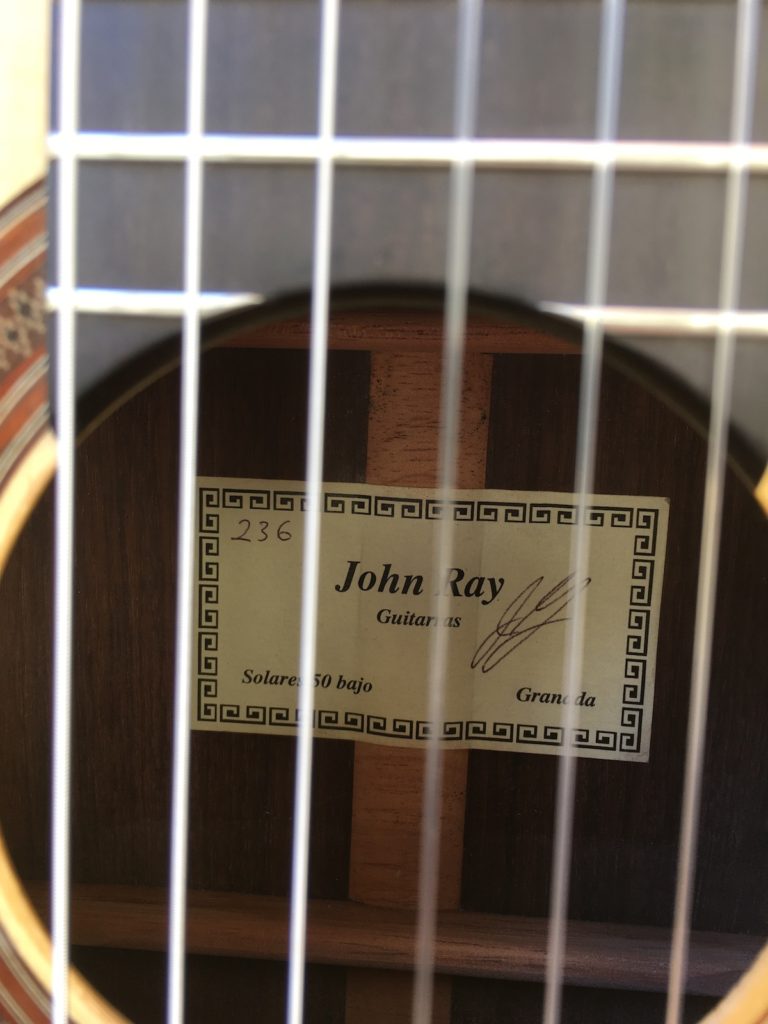
Label
 Another video, continuation of the previous ones. There might be about 10 in total once we get the large video cut up into manageable pieces.