The back of this double back guitar had been removed and replaced in order to deal with some cracks which had developed over time. It was done many years ago and by someone who did not take the care that this instrument deserves. The first indication of this is a black veneer line which appears and disappears as it runs next to the binding.
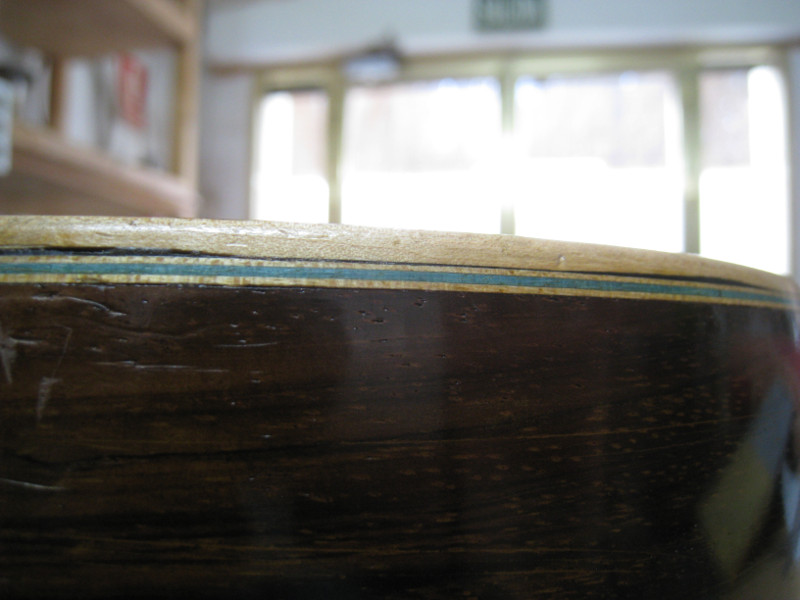
The back was removed it seems by sawing through the purfling and sides on the black line. Although it must be extremely difficult to keep the saw within the limits of the black purfling, it would have been easy enough to remove all of the black and replace it once the top was glued back on. The other mistake made back then was a failure to register the curve of the back before taking it off. This can be done by checking the relationship of the back to the sides before taking the back off. Actually I compare the lift or angle which a straightedge placed on the edge forms with the plane of the back (as if the back were flat). Even a back (or top) which is sunken will conserve this relationship out at the edge where the reinforcements don’t sink. In this case the sides were planed flat to receive the flat, sunken back when it was replaced. I say all this not to criticize the repairperson but rather to explain later how I restored these elements.
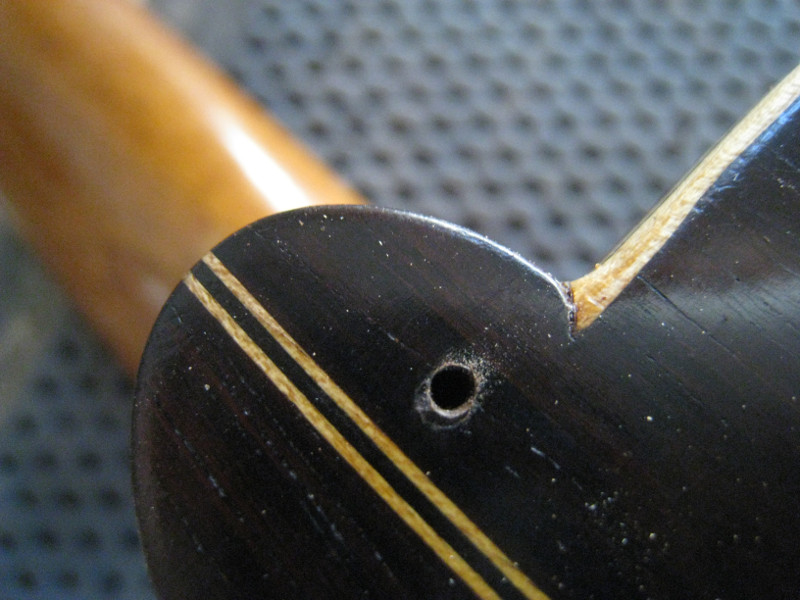 Firstly I removed the rosewood pins which had been used to locate the back in the previous operation by drilling them out. Knowing that I would be replacing the black veneer I choose to remove the binding from the guitar and take the back off by detaching it from the reinforcements instead of sawing through the way it had been done before. As soon as I did that I realized that sawing through had not been such a bad idea.
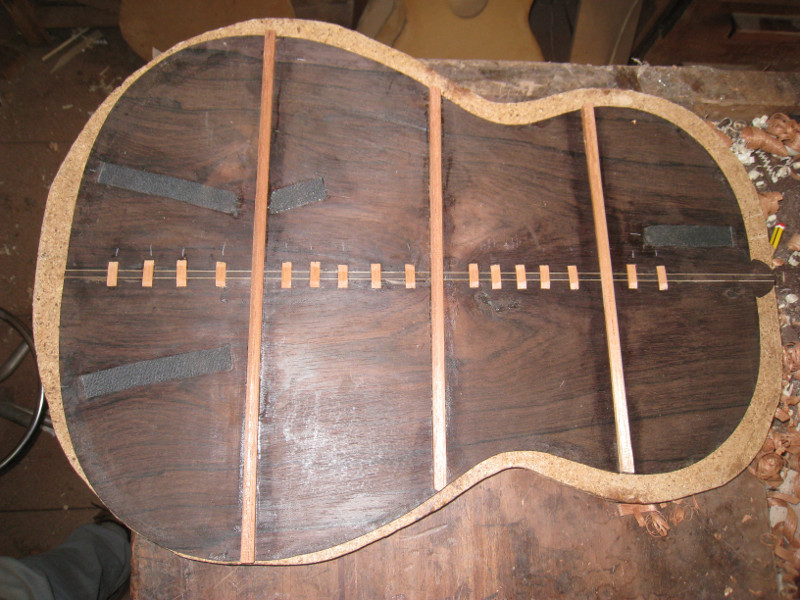
 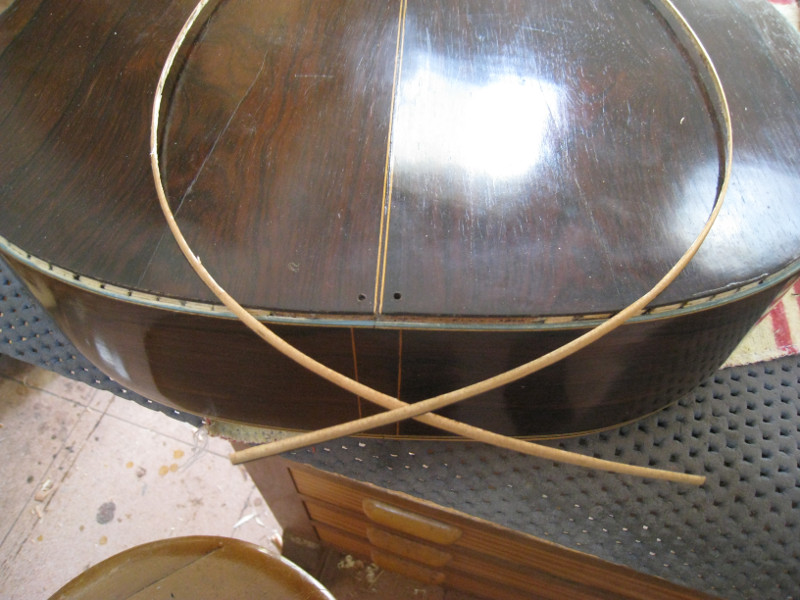 When I got the back off I saw that Arias had used triangular spruce blocks instead of reinforcements. The thin edges of these blocks are quite delicate and so sawing through them might have been better than separating the joint on each one. It took a lot of time but finally the back was off and only a few of the blocks had to be replaced. The outer back had three cracks and the seam was separated causing ugly splits in the white centre purfling. I chose to replace the centre strip with a slightly wider one which also served to widen the back enough in order to allow a curve and to keep it from spittling in the future. The back of a guitar tends to shrink over time and this will cause either splits or for the back to end up too small for the outline formed by the sides and the damage is visible where they meet.
 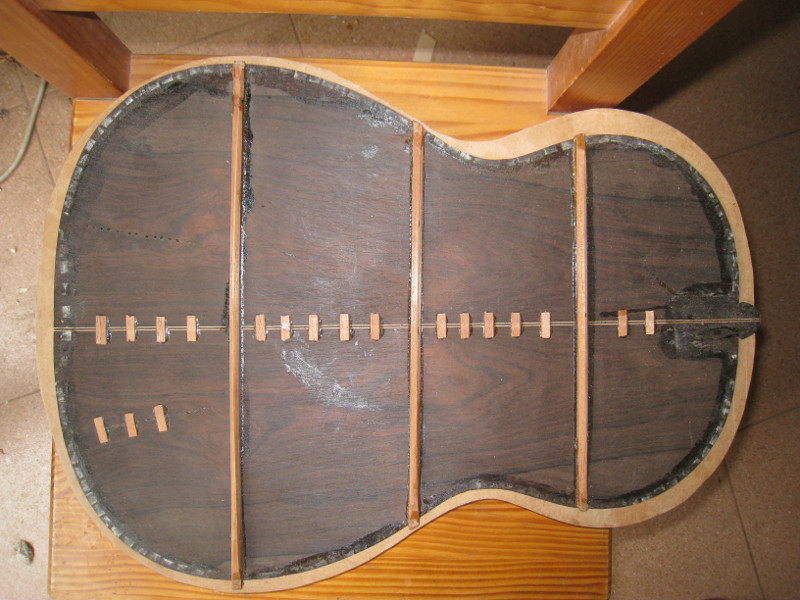 With the back off I could see the repairs that had been made and the possibilities that I had for restoration to the original state. The priorities were to secure any cracks, recuperate the width of and to restore the curve of the back. The back bars had to be removed because they were concave over their length and were holding the back into a negative curve. In removing the longest one I saw that cyanoacrylate glue had been wicked in through a hole in the centrestrip to deal with a loose spot between back and brace. That stuff is hard to remove! In order to reglue the two sides of the back to get clean purfling in the middle it was necessary to remove the cleats as well.
 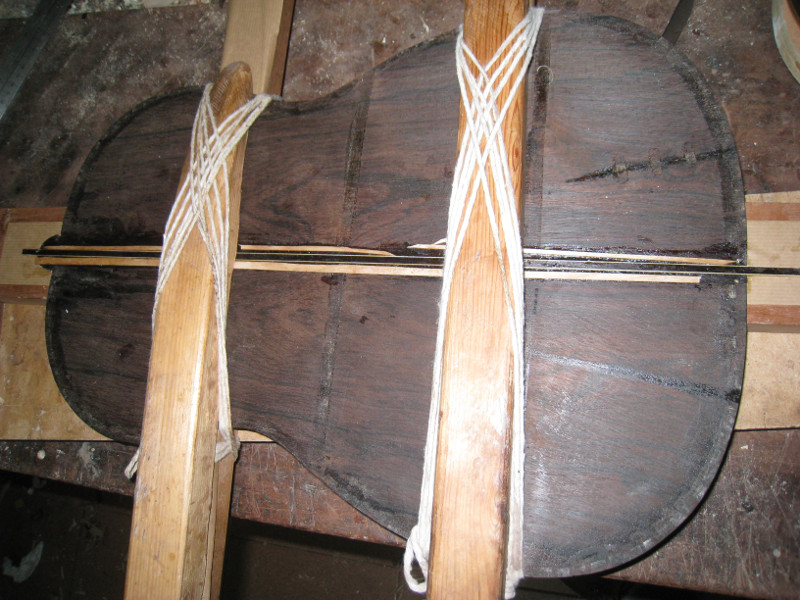 Once the two halves of the back were free I prepared a new centrestrip and jointed the back with the help of some old tricks to make sure that there would be no unevenness between the different elements. All efforts must be made in a restoration to avoid having to thin any further to even out irregularities and also having to re-varnish. The marks of Arias’ toothing plane were evident through the inside of the guitar so I didn’t feel too bad about using mine to ensure flatness of the surface before glueing on the cleats and the bars. This instrument seems to have been made with a very clear idea to make it as light as possible so I respected that idea and made the cleats the same size and shape and used cloth tape and hide glue to secure the cracks.
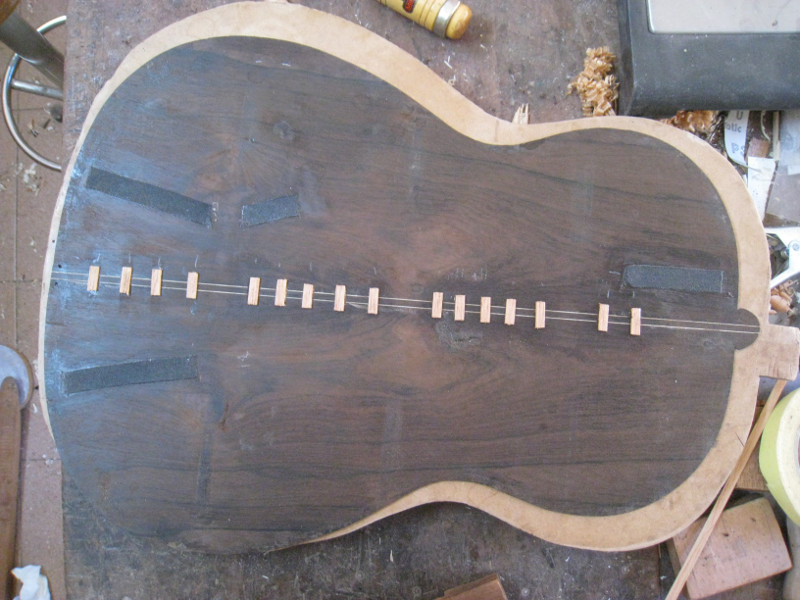
The bars could now be shaped to the curve I wanted and glued to the back. I had to guess at the curve but I have seen many instruments from this period and I chose to use as slight a curve as possible which is in keeping with what it might have had after 116 years of shrinking. Just two big jobs left to report on now: securing the interior back and preparing the sides for the outer back and glueing it on.