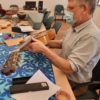
 The Casa museo “Andrés Segovia” in Linares is shrine to the Segovia legacy and was established in 1995. He left his belongings to the city of Linares when he died and his tomb is there also in the museum. The documents, photographs, instruments and personal effects tell endless stories of a very special life. It is well worth a visit but get a start by visiting the website and the facebook page. I was invited to study the Torres guitar which is housed there but discovered a world of history and music. In terms of guitars alone the legacy is astounding. Two by Hauser, 1950 and 1958, a 1970 Manuel Rodríguez, two rosewood guitars by Marcelo Barbero 1948 and 1951 ( which was damaged beyond repair long before it ever came to Linares), two Ramírez from his later years, the Torres (1883) and there was a romantic era guitar in one of the display cases which I did not get a look at. In my internet searches I have found a few photographs and mention of some of these guitars but I think it is time we made an effort to publicise this great legacy and find a way to hear some of these fantastic guitars in concert. Alberto López Viñan and a small group of volunteers are working hard to promote this legacy and to catalogue photographs and documents and I am pleased to offer any help I can with the instruments. For more about the Torres guitar check back in a few days as I will be sharing more details. My thanks to all those in the photo: Leopoldo Neri, María José Tirado and Alberto López.
Examining a Torres
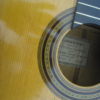
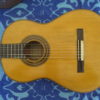
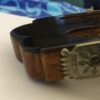
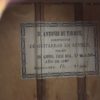
It was an honour to be asked to examine a Torres guitar which so far had escaped inclusion in the official (and unofficial) catalogue of his instruments. I hope to be able to share more information soon but so far I can offer these photos and details. I was able to examine the guitar at length and it shows striking similarities to La Invencible and other Torres guitars that I have studied. Among other aspects is the open transverse bar with the fans passing underneath. The typical pencil lines and the joints on the neck are all in the “right” place. The construction details all seem to match as well; re-inforcements, thicknesses and wood species. The age of the instrument seems to be about right although I have no method of solid confirmation for that. Before examining the instrument I was a bit sceptical because of the green colour used in the rosette and the fact that the rosette is exactly like SE 105 but my doubts were greatly lessened after the internal examination. Back and sides are what the guitar-makers here in Granada call sicomoro. One translation is sycamore but what they refer to is basically maple with no figure. One of the things that makes me think that this could only be Torres is the origin of the guitar and the length of time that it has been in the same hands; possibly since 1962.
How to cut wood for guitar-making
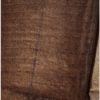
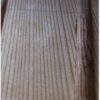
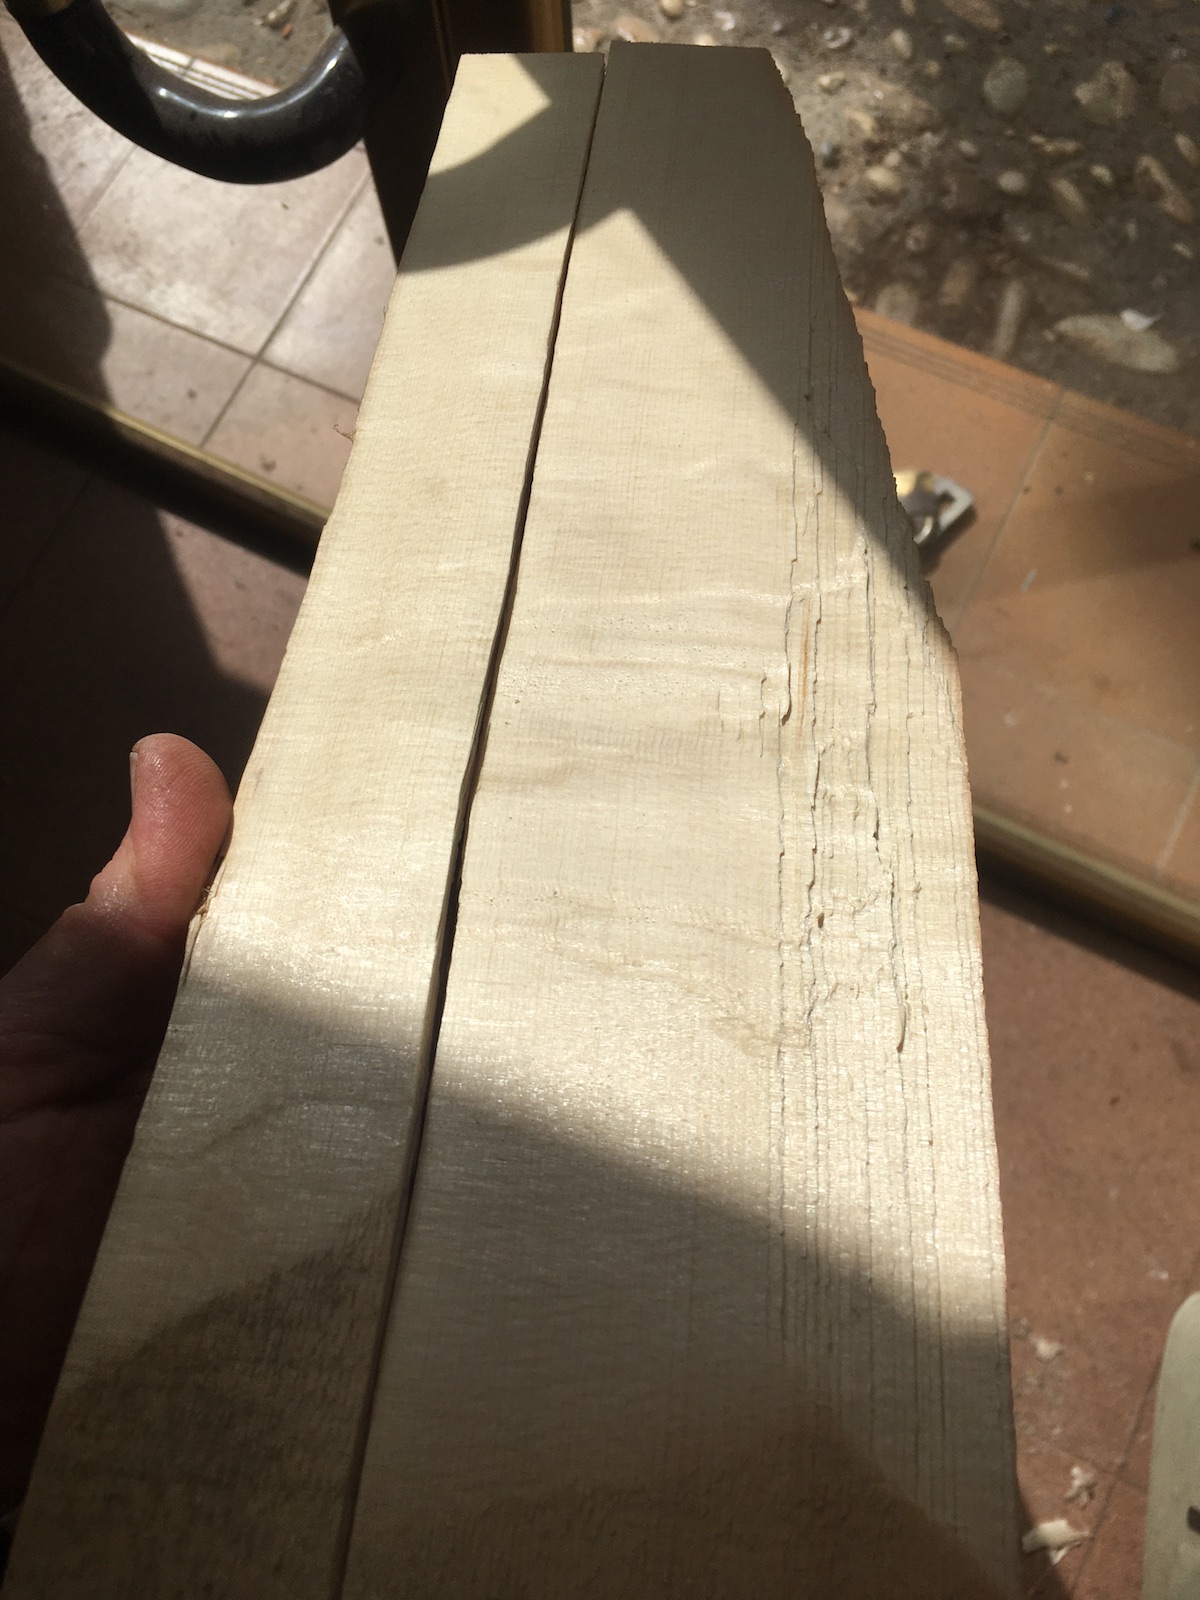
I usually write here with the guitarist or guitar-maker in mind or at the very least someone with in interest in woodworking. However, the other day I was explaining the concepts of “quarter-sawn” and “split billets” to a layman and there were a lot of things that I took for granted. I am going to try to explain those concepts here. First let me clarify a few definitions. When I want to use a piece of spruce I look at the fibre of the wood and the tree rings. There are many other considerations but in terms of structure that is it. The fibre or grain is what runs along the length of a tree and very often along the length of a piece of wood. A splinter in your finger is a short length of fibre. If you work along the grain (or against the grain) that is the dimension I am talking about. Tree rings are the lines that you see on the end grain of a board; circular but on a piece from a larger tree the sections of a circle can look straight. When I use spruce for tops or bracing and cedar for necks and braces I usually want wood that is cut perfectly along the fibre in the length and I want the tree rings to be sitting perpendicular to the plane of the neck or the plane of the top. In the photos of the bookshelf below you can see circular tree rings on one board and perpendicular tree rings on the other.
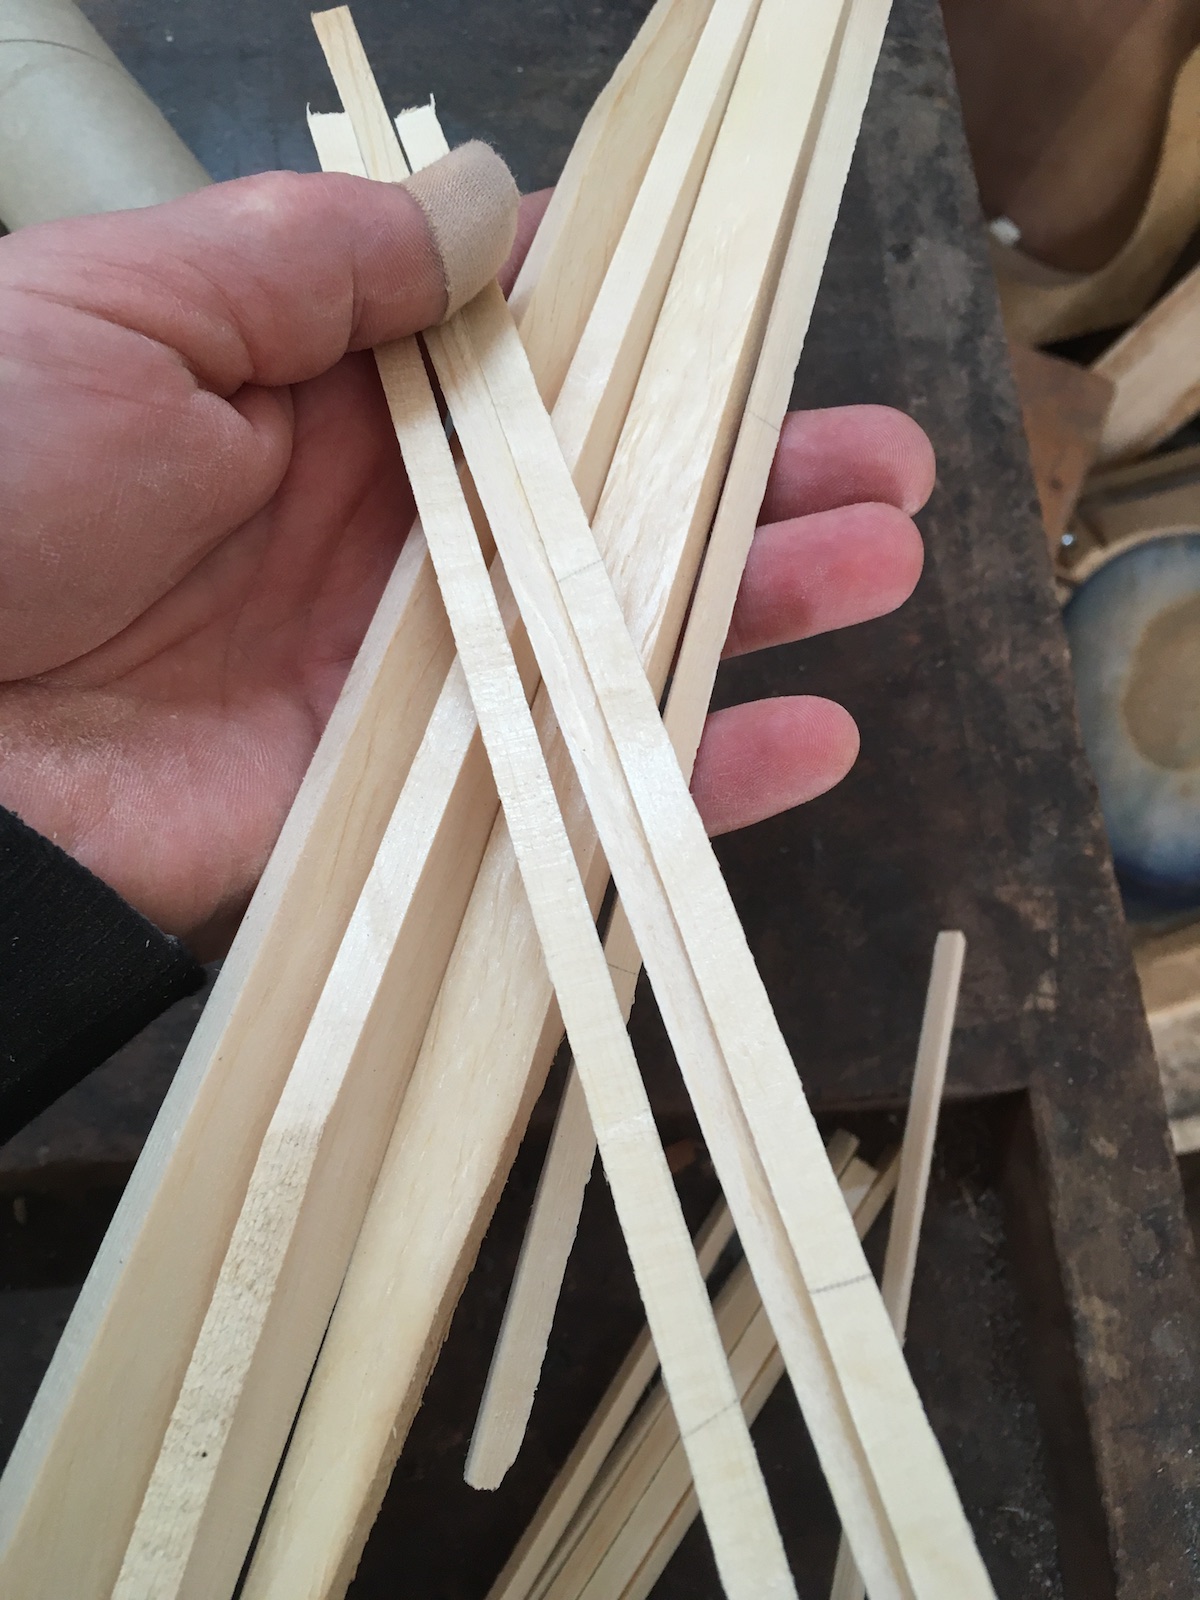
The question is how do I get wood which is cut along the grain and has the tree rings in the configuration I am looking for? The only way to cut your wood along the grain is to split it and then use that surface as a reference. You have to correct it a bit because it will neither be flat nor smooth. As for perpendicular tree rings it is just a question of cutting the wood so that the width of the board ends up being a radius of the circular section of the tree. 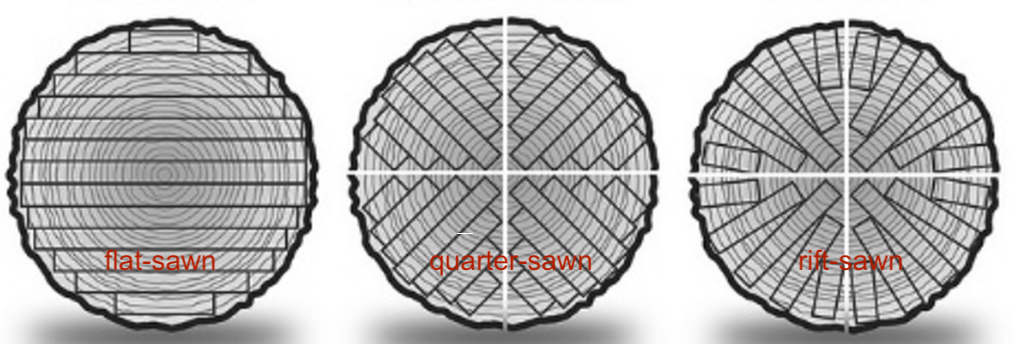 The way to do that is to rift-saw your tree. If you quarter-saw a tree you will end up with some boards that are a perfect radius and the rest will be close. This is why many folks refer to perpendicular tree rings in wood as quarter-sawn wood even though this is “incorrect”. Rift-sawn actually gets misused as well probably because quarter-sawn is taking its place. The problem is that the words refer to the process but we want to talk about the result so we use the best word we have. Flat-sawn gives you wood like you see in the bookshelf photos above, some good, some not so good but there is no waste. Most applications that use wood will use wood with any ring orientation, not so for instrument-making. A quarter-sawn top is stiffer across the grain and so can be worked thinner and lighter which is desirable for sound production. Quarter-sawn wood will also react less to humidity changes and so will lose less volume over the years across the width (less likely to crack) and will warp less. Wood cut along the fibre of the tree is stronger and stiffer along the grain and theoretically will transmit sound better. It is also easier to carve when you scallop the braces or carve the shape of the neck. We are always looking for maximum responsiveness, maximum strength and minimum mass. (This is a massive generalization but useful here.)
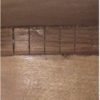
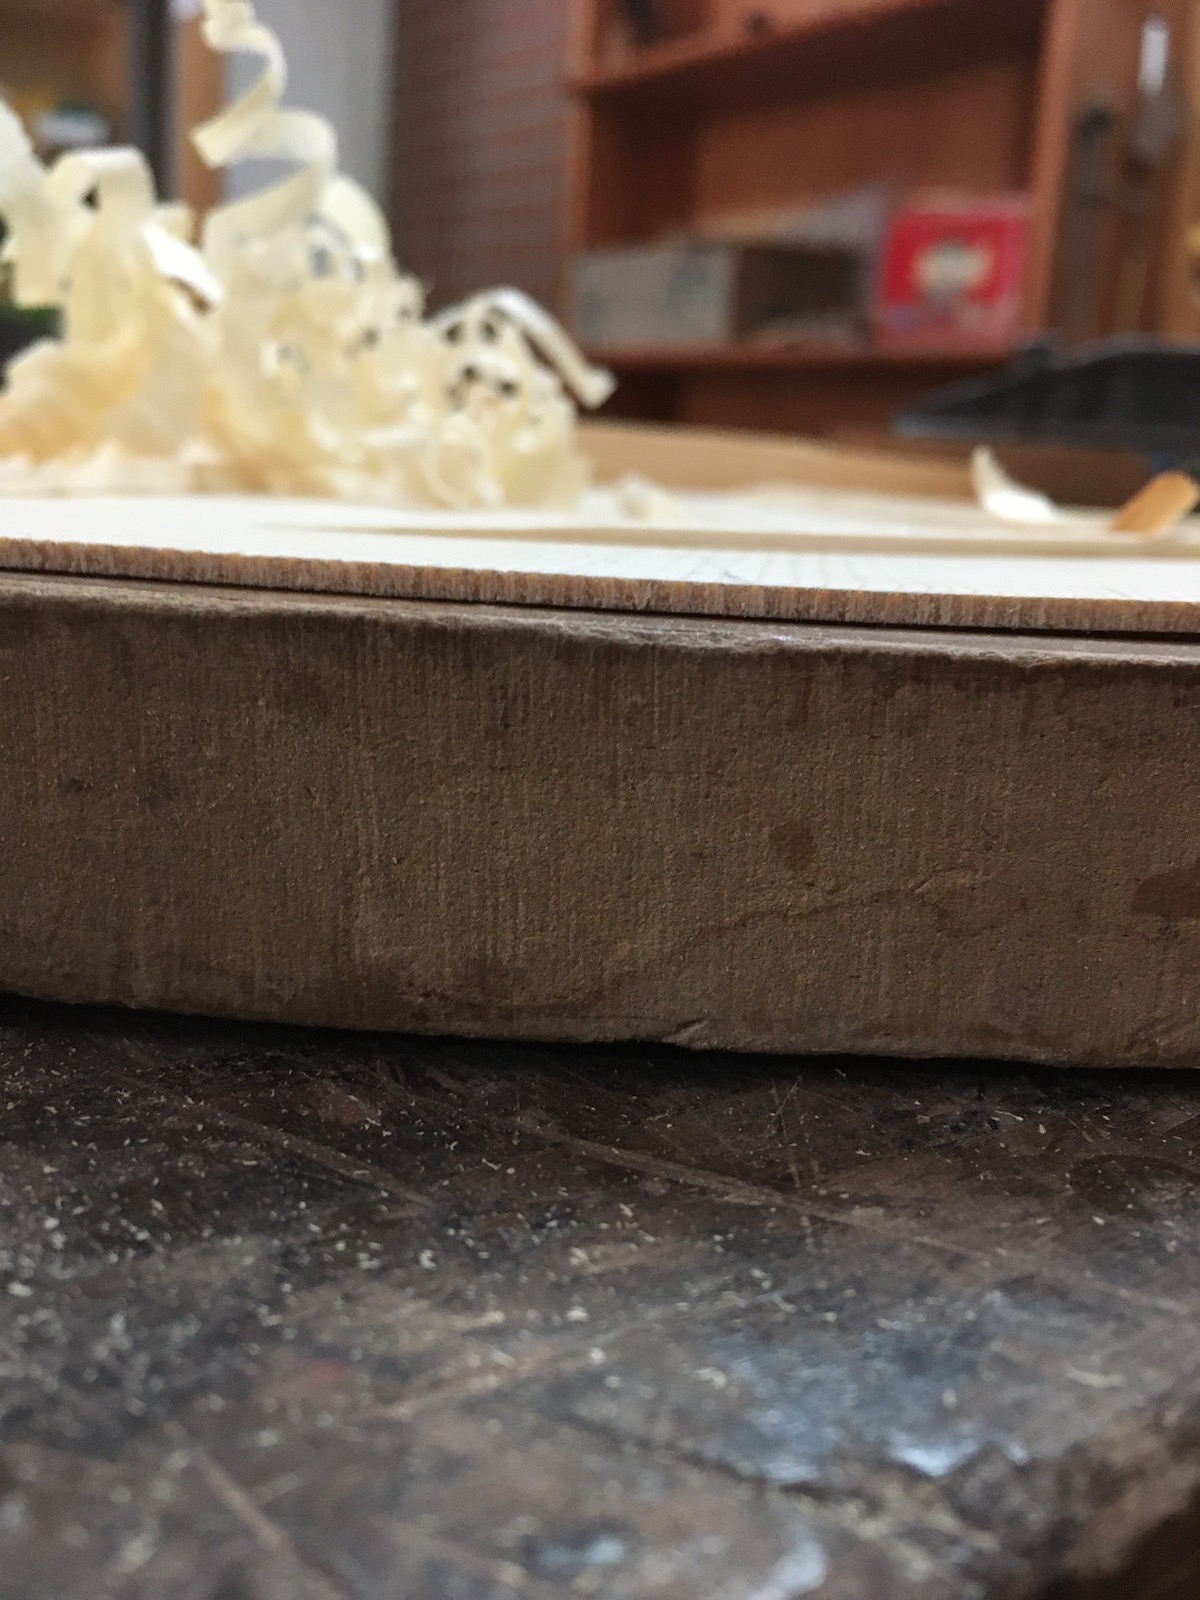
Above is a photo of a guitar top’s edge which shows the tree rings perpendicular to the width of the top so they are vertical to the plane of the top. I am including a video which shows a board which I split in order to see how the fibre runs and there you can see the tree rings portraying how I will have to modify the cut to get “quarter-sawn” braces out of it. In the photo below of the thicker brace you can see the final result that I am going for in cutting braces. I want the rings to be tall and parallel to the height while for a top I want the same “vertical” orientation and parallel to the wide dimension.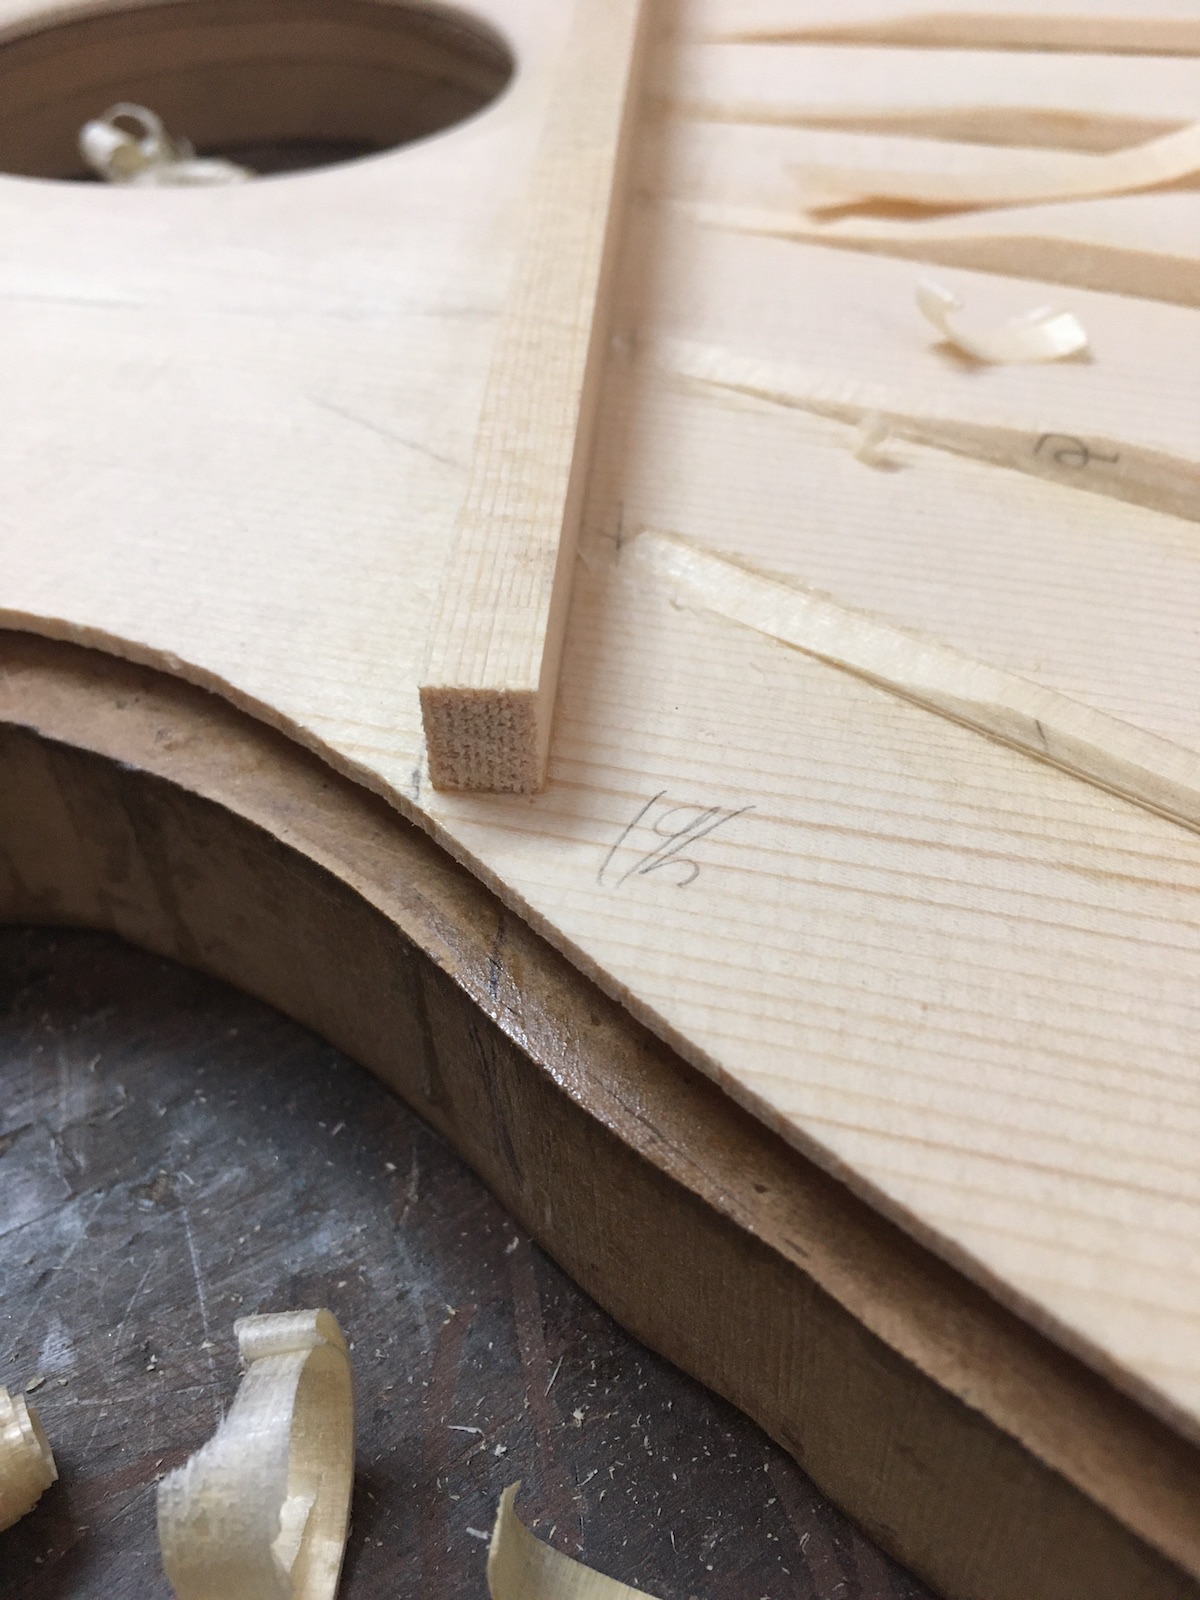
In conclusion, if you can split your own wood and examine the rings you will always have perfectly cut wood. If you are examining the wood on a completed instrument there are indications that a top has perpendicular tree rings (the appearance medullar rays) and that a top was cut following the split line (the reflections on a bookmatched top). You can use these tricks when choosing tonewood which is almost always sold with cut, not split surfaces.
Trip to Alicante
 I had to take a guitar to Alicante yesterday and the guitarist and I met at the workshop of F.J. Riquelme. It is always a pleasure to meet someone who is passionate about the guitar and I had lunch and conversation with Riquelme (in the photo) afterwards by the sea. He studied for a time with Dominique de la Rue so I expect great things from him soon. See his work at Galerie de Luthiers.
Bearclaw spruce
We all know what bearclaw looks like whether we call it maschiato, hazelfichte or rizado. However, I had never examined the flat-sawn surface of a really good bearclaw board. My last post showed some of the spruce that I used to make braces and here is another one. You can see the typical surface of the bear claw along the quarter but in the next picture you see what the flat-sawn surface looks like. Pretty cool, eh?
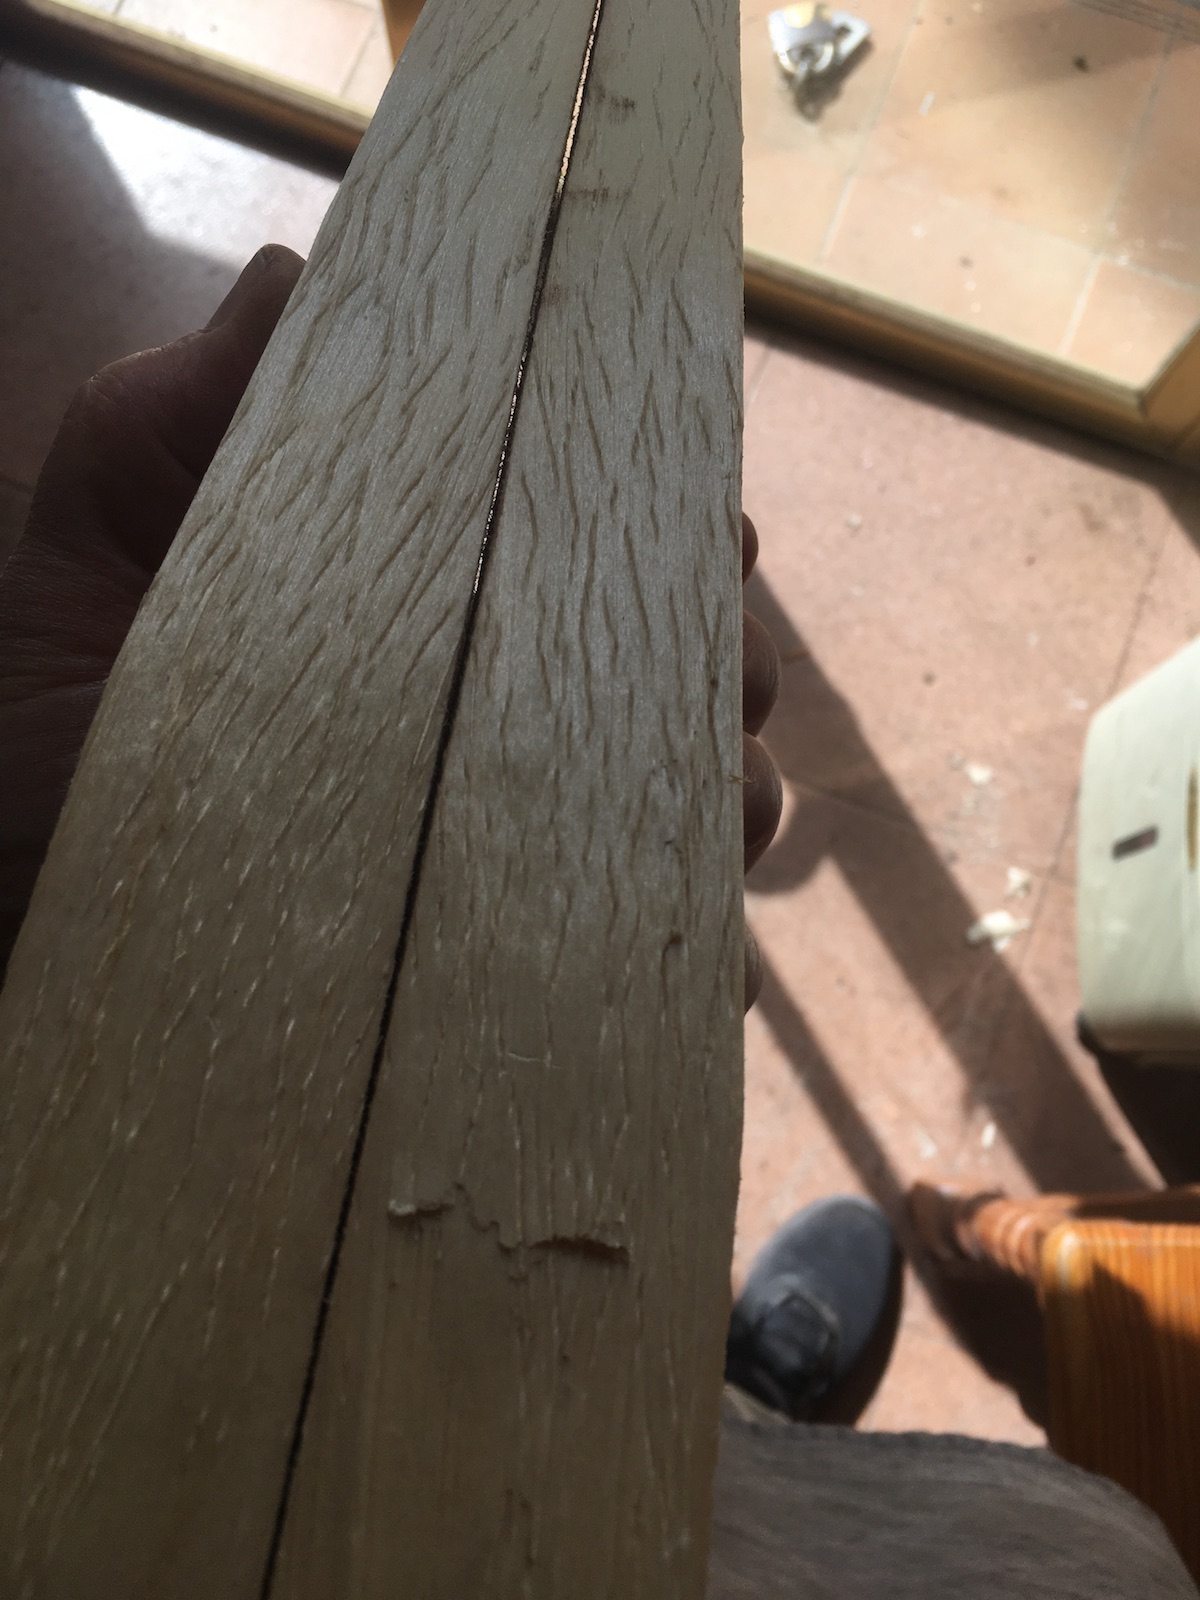 Some think that bearclaw is very desirable for guitar tops while others feel that anything which interrupts the straight, parallel grain cannot possibly be good for sound transmission. I have seen very flexible bearclaw and very stiff, both along the grain and transversely. I have made some excellent guitars with bearclaw so while I don’t think it is any better I do think that a well-chosen piece can make a great instrument. The main attraction of bearclaw of course is its beauty.
I don’t think many makers are using bearclaw for bracing and I normally wouldn’t either but I did put aside one set this time. I am going to dig through my bearclaw tops and find a particularily intense one and brace it with this set of braces, just for fun. I don’t think I will see any great difference especially since I selected the braces the same way I always do: split them and test them for longitudinal strength.