 My position on restorations is that instruments should be conserved in the original state as much as possible. It puts me at odds with many musicians who feel (justifiably) that a guitar should be returned to playability above all else. We have learned so much from antique instruments and we could learn so much more, but with every modification we lose information about the original instrument and its maker. Documenting a restoration is a way to perserve some of this information but trusting the eyes and opinions of someone who worked on the guitar many years ago is often not enough. This problem is exacerbated by the fact that some restorations or repairs are undertaken by untrained individuals or even in the case of ethical professionals the criteria for restoration has changed over time and may continue to change in the future. What I might do today with the best intentions might in the future be deemed woefully misguided.
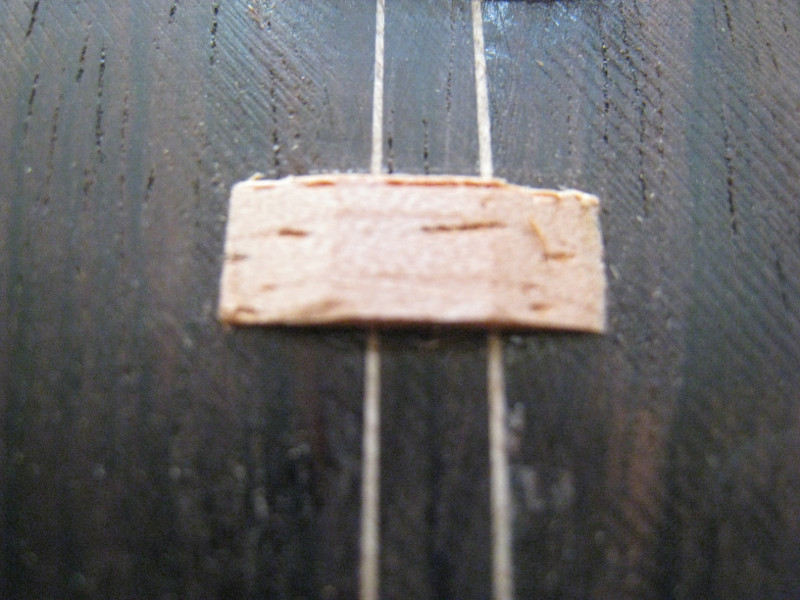
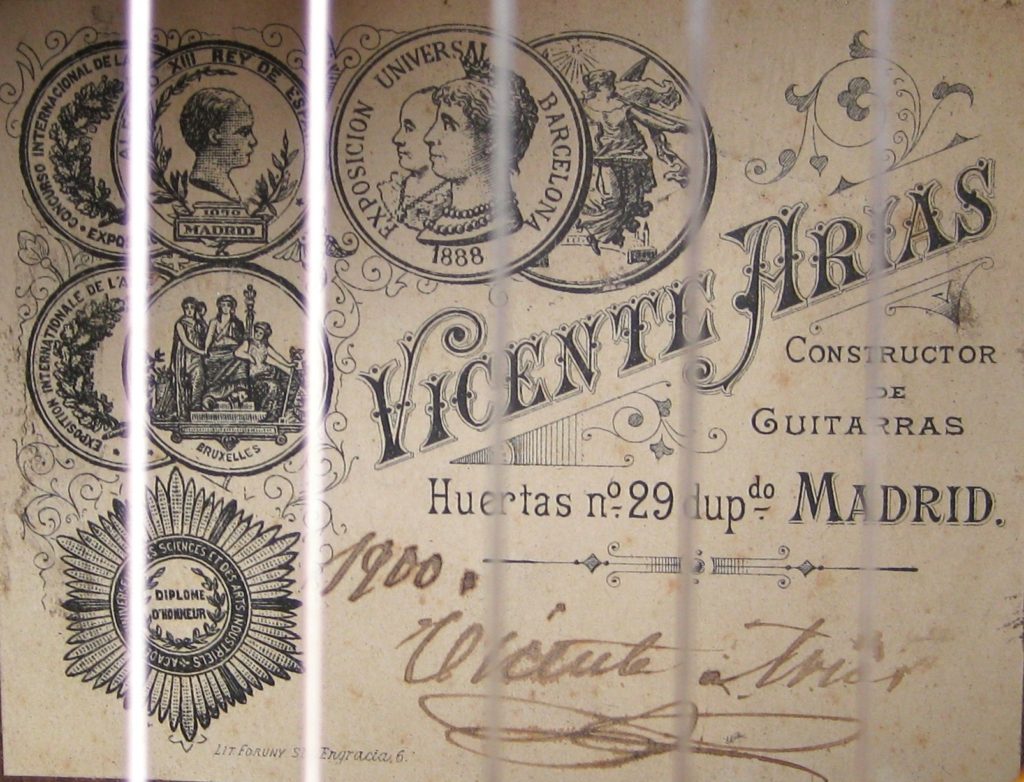
With all that in mind, I will tell you a bit about a recent restoration that I performed more in a way that made the instrument a better tool for the musician as opposed to prioritizing the preservation of the instrument in its original state. The first time I came across this guitar in 2010 it was suggested that I take the back off in order to properly restore it. I chose not to do that but rather to do only what was absolutely necessary to preserve the instrument. Since it was already playable that was good enough for Javier Riba (the owner) at the time. I re-fretted, secured some small cracks on either side of the fretboard, removed a tap plate and re-clamped the bridge which was lifting (although I did not remove it completely beforehand).The guitar has been used in many concerts since then and on an excellent recording for Tritó. Aljibe de Madera
The problems I chose not to address at that time included some cracks in the back which I was sure had been repaired, some back seam separation 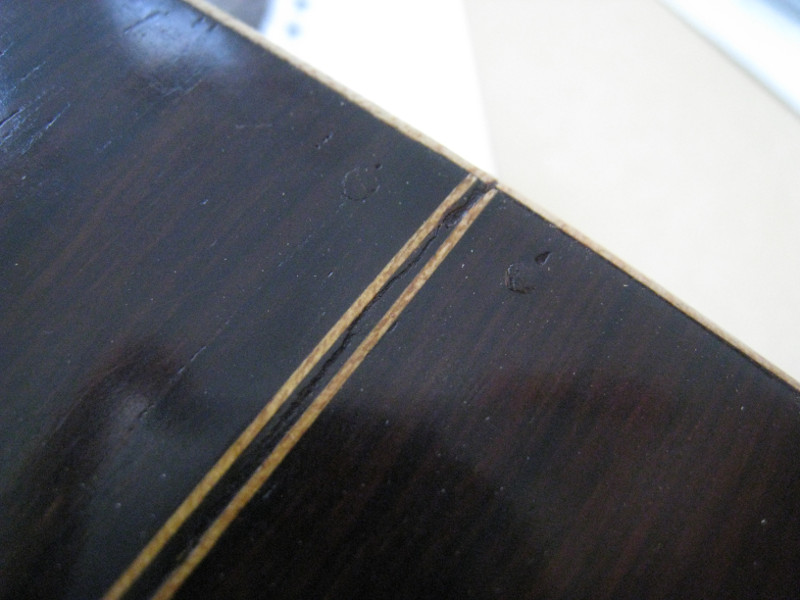 and a general fragile nature to the guitar (worsened by the fact that the curve on the outer back had been destroyed by the back removal and the two backs sometimes touched). When the back was removed by someone else many years ago, some of the purfling had been destroyed as well. Now the bridge was once again lifting and Javier was feeling nervous every time he played the guitar. It was time to take the bridge off, remove the back and take care of all the problems there might be inside.
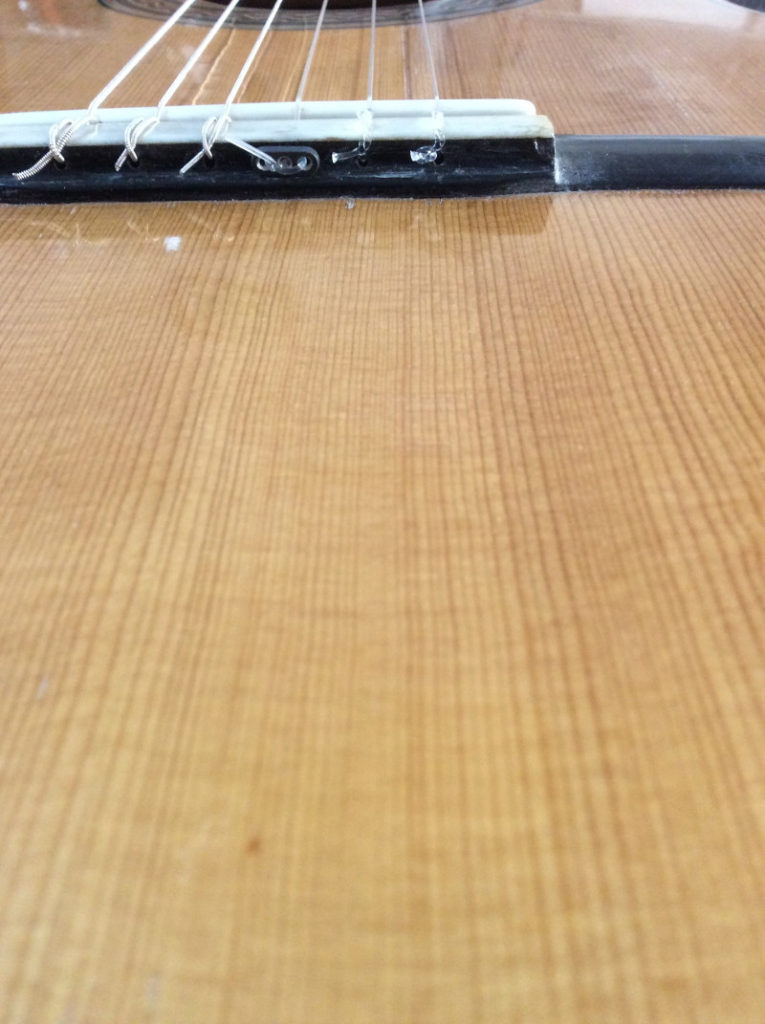
First I removed the bridge very carefully so as not to damage the top. The combination of a few factors made this job easier than I had thought it would be. The bridge is ebony which is notoriously difficult to glue well. The bridge was already lifting and I believe that this was not the first time that the bridge had been taken off. I say this because the top had some old glue-filled “divots” under the bridge. For a great joint you need both surfaces to be very even. 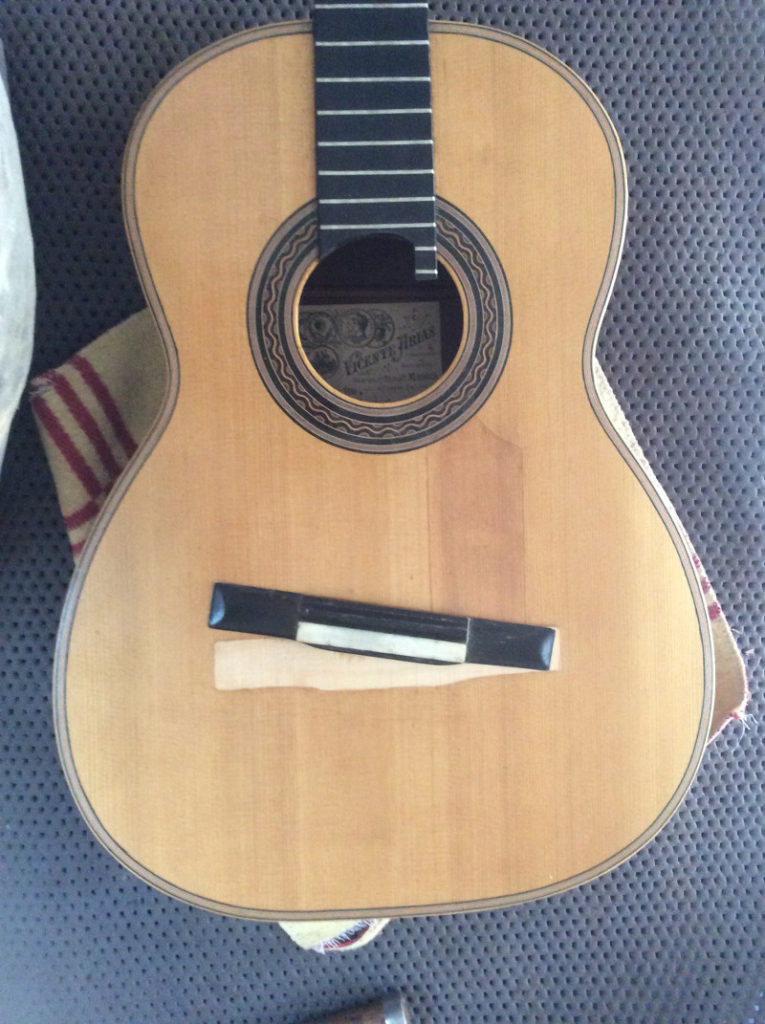 Once the bridge was off I was able to see just how deformed it was and how unrealistic it was of me to hope for a lasting repair just by adding glue and clamping as I did back in 2010. So, how to obtain two smooth and correctly shaped surfaces which I could then glue together? If I were to work the top smooth and shape the bridge to it as we do in construction, the bridge would end up lower causing incorrect action as well as losing some of its edges as deformation was quite considerable. Sanding the top is always unadvisable with a historically important guitar and in the case of a top with a thickness of 1.7mm, completely out of the question.
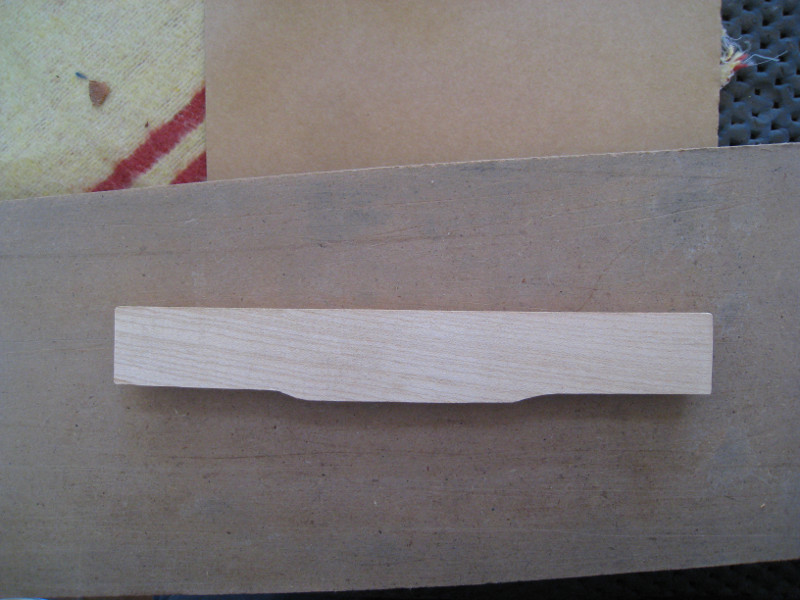 I was unwilling to glue ebony to ebony in order to make the bridge slightly higher so I used european beech to laminate a layer on to the bottom of the bridge which allowed me to work the bottom of the bridge into a curve which was mated to the top. The minimal edges of beech which were left showing were coloured black. In the photo below you can see the beech layer before trimming, shaping and dyeing.
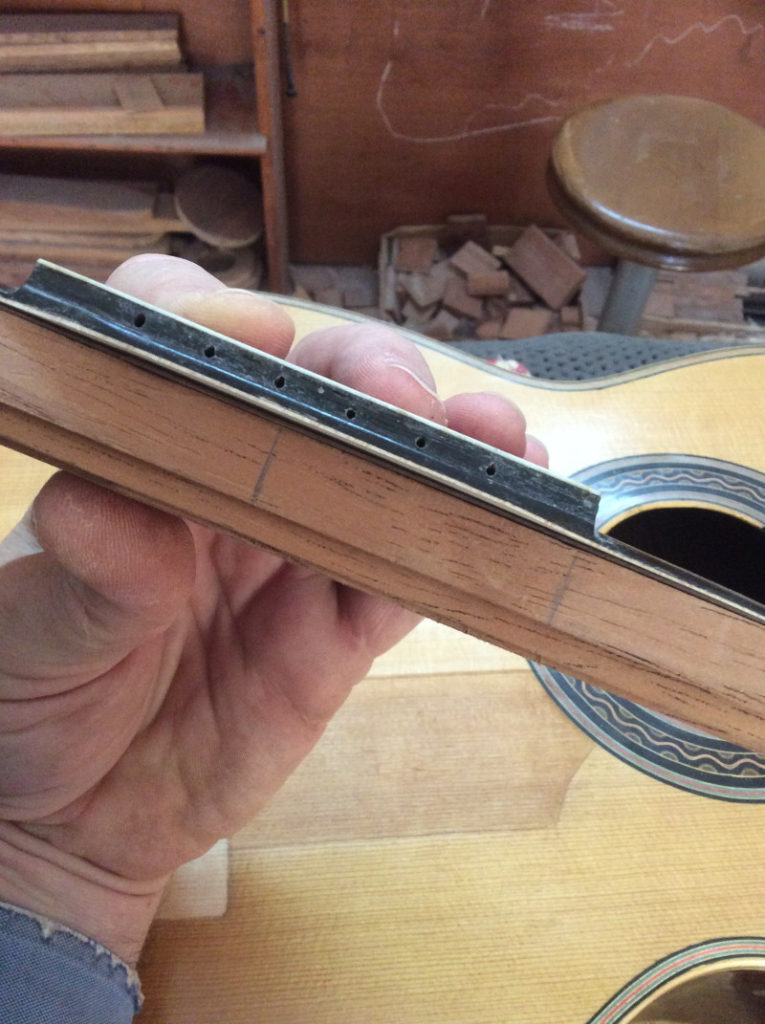
The top where the bridge was to be glued was not smooth enough to allow for a good glue joint so I used a small router to deepen the outline of the bridge just enough to get a surface which was in its majority smooth and free of irregularities. That turned out to be about 4 tenths of a milimetre. The flexibility of the top was so great that I didn’t think I could glue the bridge using only outside pressure the way we do here so I used bridge clamps. From what I could tell from the “grab” of the glue, the squeeze out and the finished product I think this joint will last the rest of the guitar’s life. I took pictures of the restoration of the rest of the instrument as well so I hope to share those in future posts.