
A client who owns a Torres copy of mine came in today and it seemed like the right time to make a recording of the new Torres with gut strings. As I have said I am very happy with the result but you need to make up your own minds. For those of you with ears trained to hear gut strings you will notice that not all of the trebles are gut but you get the idea.
Category Archives: Guitar making
Intonation
 I spent a good chunk of time intonating the gut-string guitar on Thursday and came to the conclusion that unless I am going to start building a lot of these guitars, the compensation doesn’t really need to be modified. In building the guitar I had reduced the compensation by 1mm but used a wider saddle so that I could find the perfect string length.
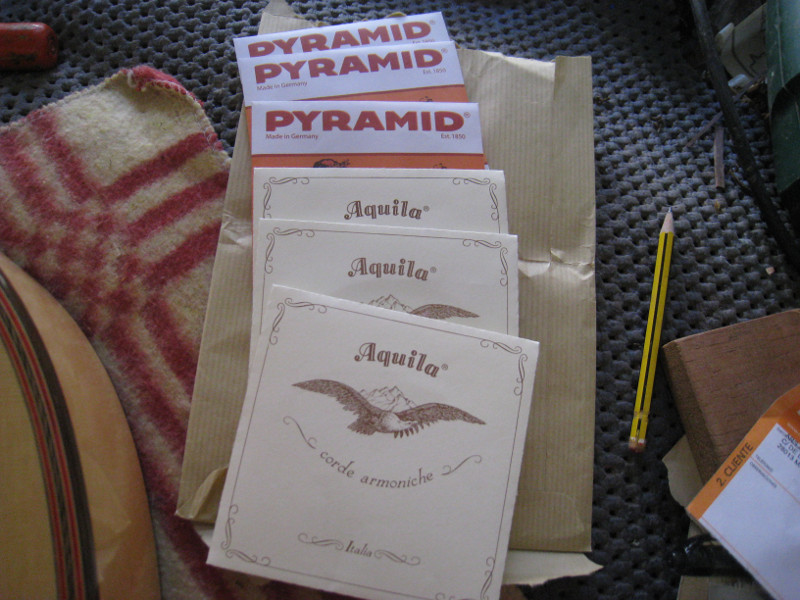
 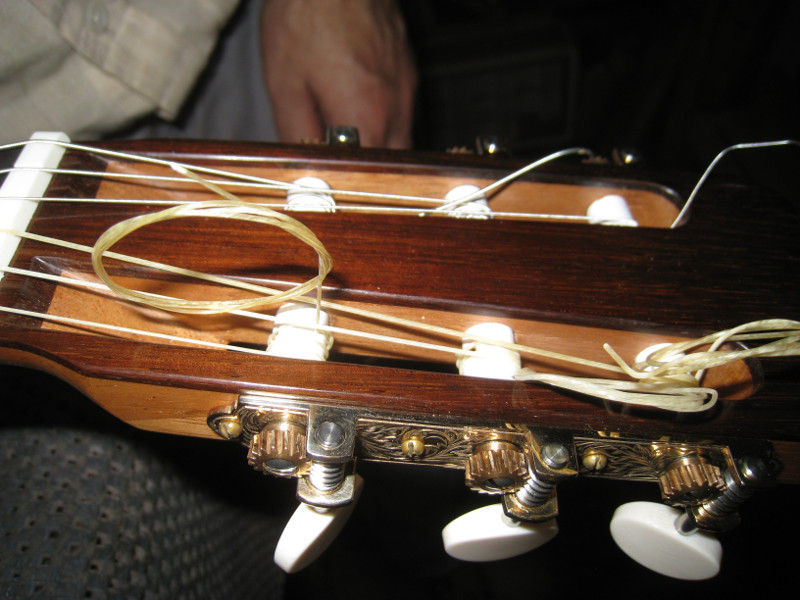 For the treble strings it ended up being very close to the compensation I use for nylon: of course that is for these particular strings I am using. For the basses I used Pyramid lute strings that use some synthetic core, I don’t remember what it is. Those seemed to want less compensation than the nylon.
  In the photo above you can see the colour of the strings and the look that gut has. I am very happy with the sound of this guitar with these strings and will consider doing this again. The problem of course is the fragility and the inconsistency of gut. Not many people are willing to put up with it and I can’t blame them. I made up my own set of strings to keep the tension below low tension nylon strings because of the extremely light build. This can be played at 440 although I imagine it will end up with slightly heavier strings and tuned down some.
Guitar concerts this summer
Gloria Medina is once again bringing great guitarists to Granada to liven up the summer.
– 16 July Zoran Dukic
– 23 July Ricardo Jesús Gallén García
– 30 July Rafael Aguirre Miñarro
– 6 August Ernesto Mayhuire and Claudio Constantini
– 13 August Javier Conde
– 20 August Lazhar Cheruana
– 27 August Joaquín Clerch.
– 3 September Esther Guzmán.
The concerts will be held in the garden in front of the Manuel de Falla auditorium and if last year’s concerts are anything to judge by, this summer will be great as well. Follow this link for more information.
Hide glue and hardwoods
I have no doubt that the best glue for instrument-making is hide glue. It resists high temperatures, vibrations are transmitted effectively, It doesn’t dull edge tools, restorations can be effected more easily on instruments that were made with it and there are many other advantages. In my observations, if similar instruments are made with different types of glue, the hide glue version will sound better. The joints on a musical instrument are not glued with high pressure but at the same time it is important that the glue line be as thin as posiible. Several factors can help us achieve this: thinning the glue appropriately, making sure the temperature of the glue does not drop too quickly so it can still flow and making sure that the excess glue has somewhere to go. For determining the right viscosity of the glue it is a matter of experimenting with more or less water in the glue. Heat can be maintained either by heating the pieces to be joined or in the case of thin stock, heating the joint once it is closed. Giving the glue somewhere to go is especially important with hardwoods which might absorb less of the glue and cause a thicker layer which can separate due to its low cohesive strength. This is done in a number of ways: you can rub the two pieces together which will force the glue out of the joint (this doesn’t work on something like a fingerboard as full contact is not made until clamped). Hiigh, even pressure helps but you can still trap pockets of glue in the middle of a large piece. Making a “key” on one of the pieces is useful but not for the reason that many think. Using a toothing plane or a knife to make grooves on a piece give the excess glue somewhere to collect. Some emulate this technique thinking that the grooves let the glue grab the wood but that is not how glue works. Of course if you do this you have to leave plenty of wood in contact along the glue line, if you rough the surface with a heavy grit sandpaper for instance you are NOT improving adhesion.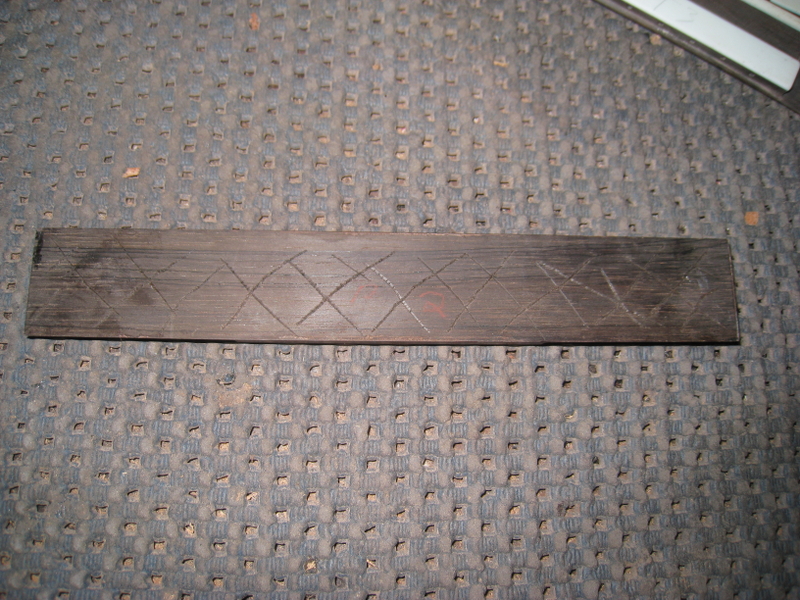
Don’t try this at home
I showed a photo a few posts back of the 100-year-old fret wire that I was to use on the “gut” guitar. The wire has no studs because it was produced by drawing it through a hole with the typical T-shaped profile. I have seen the tool that Manuel de la Chica used to do this and it was called a “trefilador”. A literal translation of that word would be trifiler (as in three-way profiler) The traditional way to get the wire to wedge into the fret slots is to strike the tang with a half-round file to produce irregularities on it. In the video you can see the process which I decided to use. The irregularities are very irregular and next time I will either use modern fret wire or a modern tool (which I have) that crimps the wire to get the wedging effect. The frets were noticeably deformed by this process and hammering them in straight became a bit of a challenge. 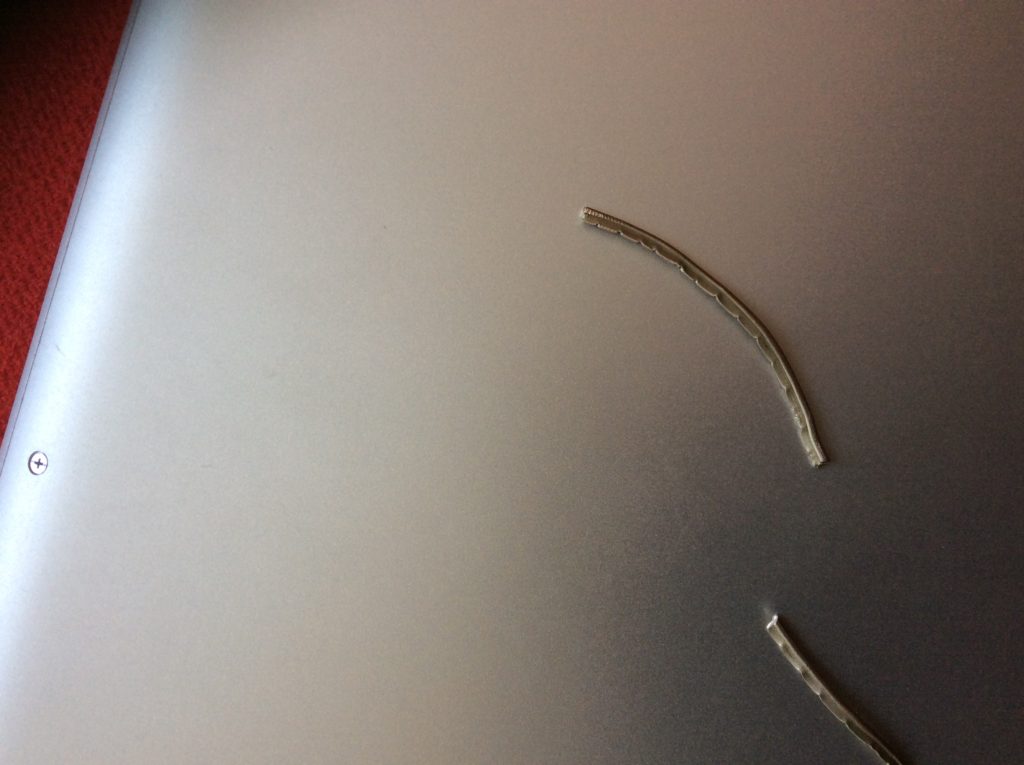 Below you can see the photo of what was left after I finished fretting, there wasn’t much extra wire. Sorry about the blurry video, no focus on the video camera.